Entering the Preserves section of a Show can be one of the most daunting, frustrating and rewarding experiences you can have in cooking. But making the perfect clear glistening jelly or marmalade an is an incredibly satisfying experience. Getting it to set properly is another story, which will be the subject of another post! Ultimately, the only way to succeed in the Preserves section is practice, practice, practice, and to learn by your mistakes.
• For jam making, cut fruit evenly, don’t over boil. Use a candy thermometer (available at kitchen shops) for more accurate cooking to test for jelling point. A thermometer is much better than guesswork for Show work. Even then, you need to use your judgment
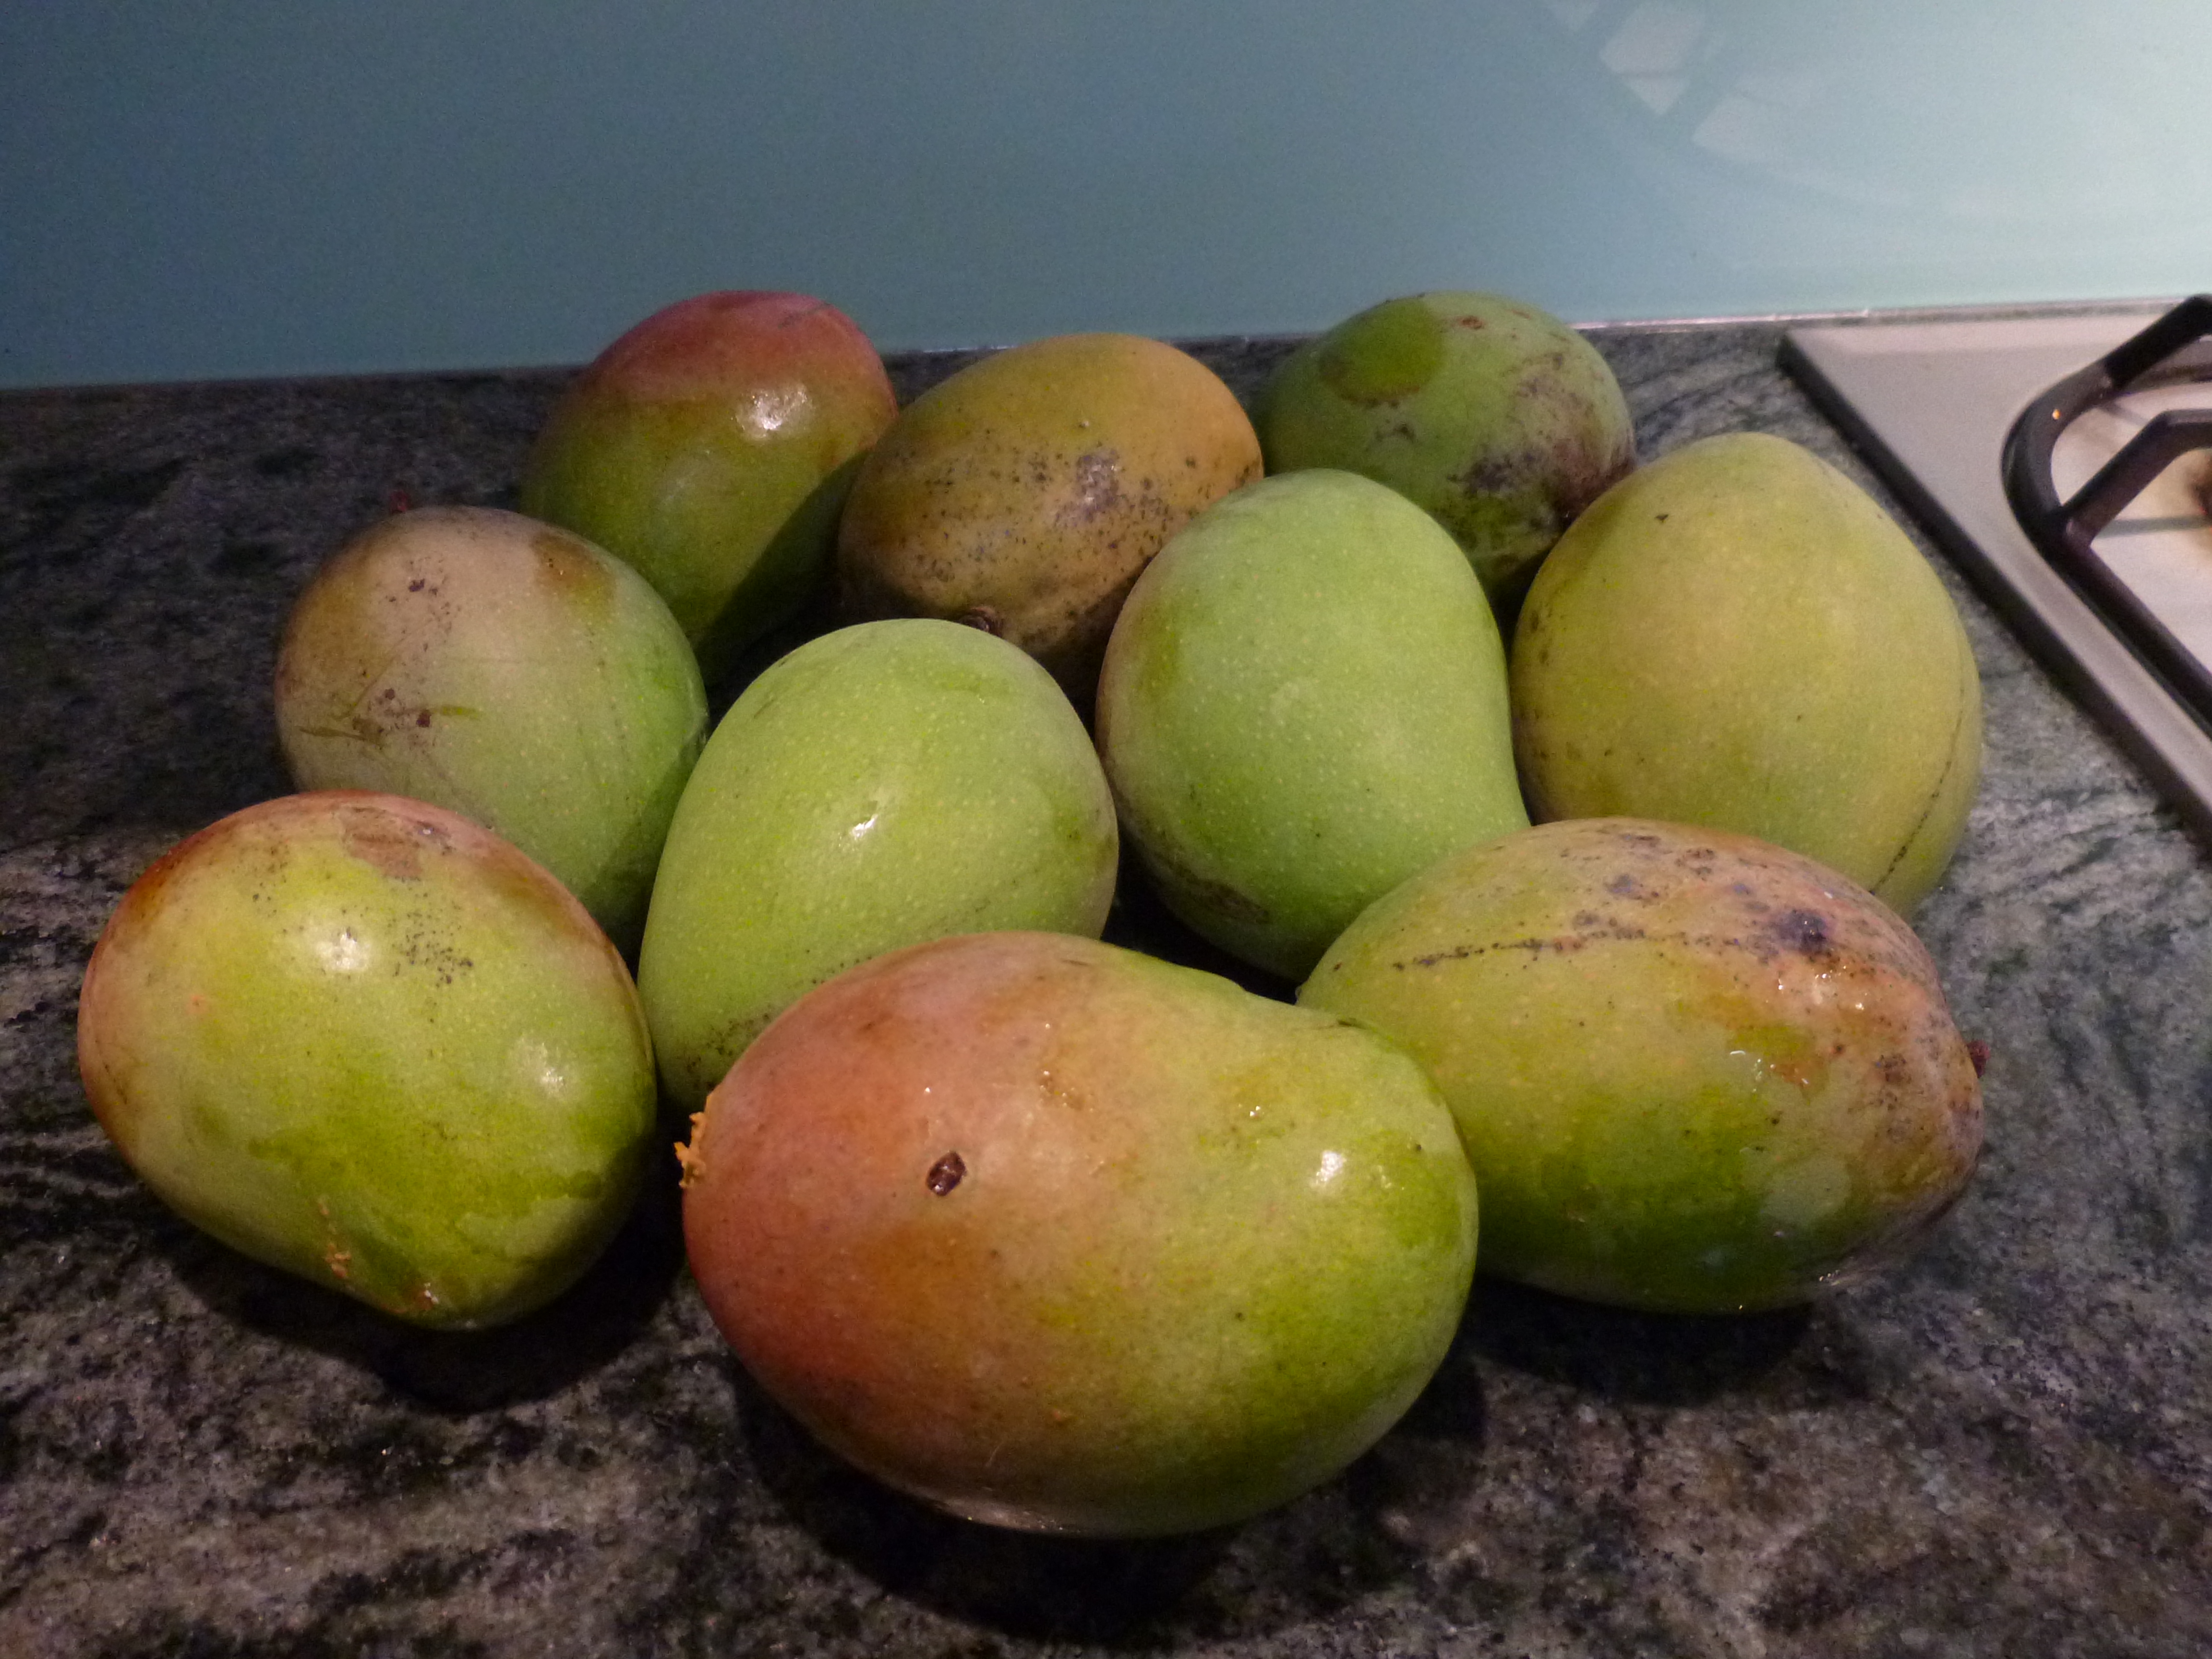
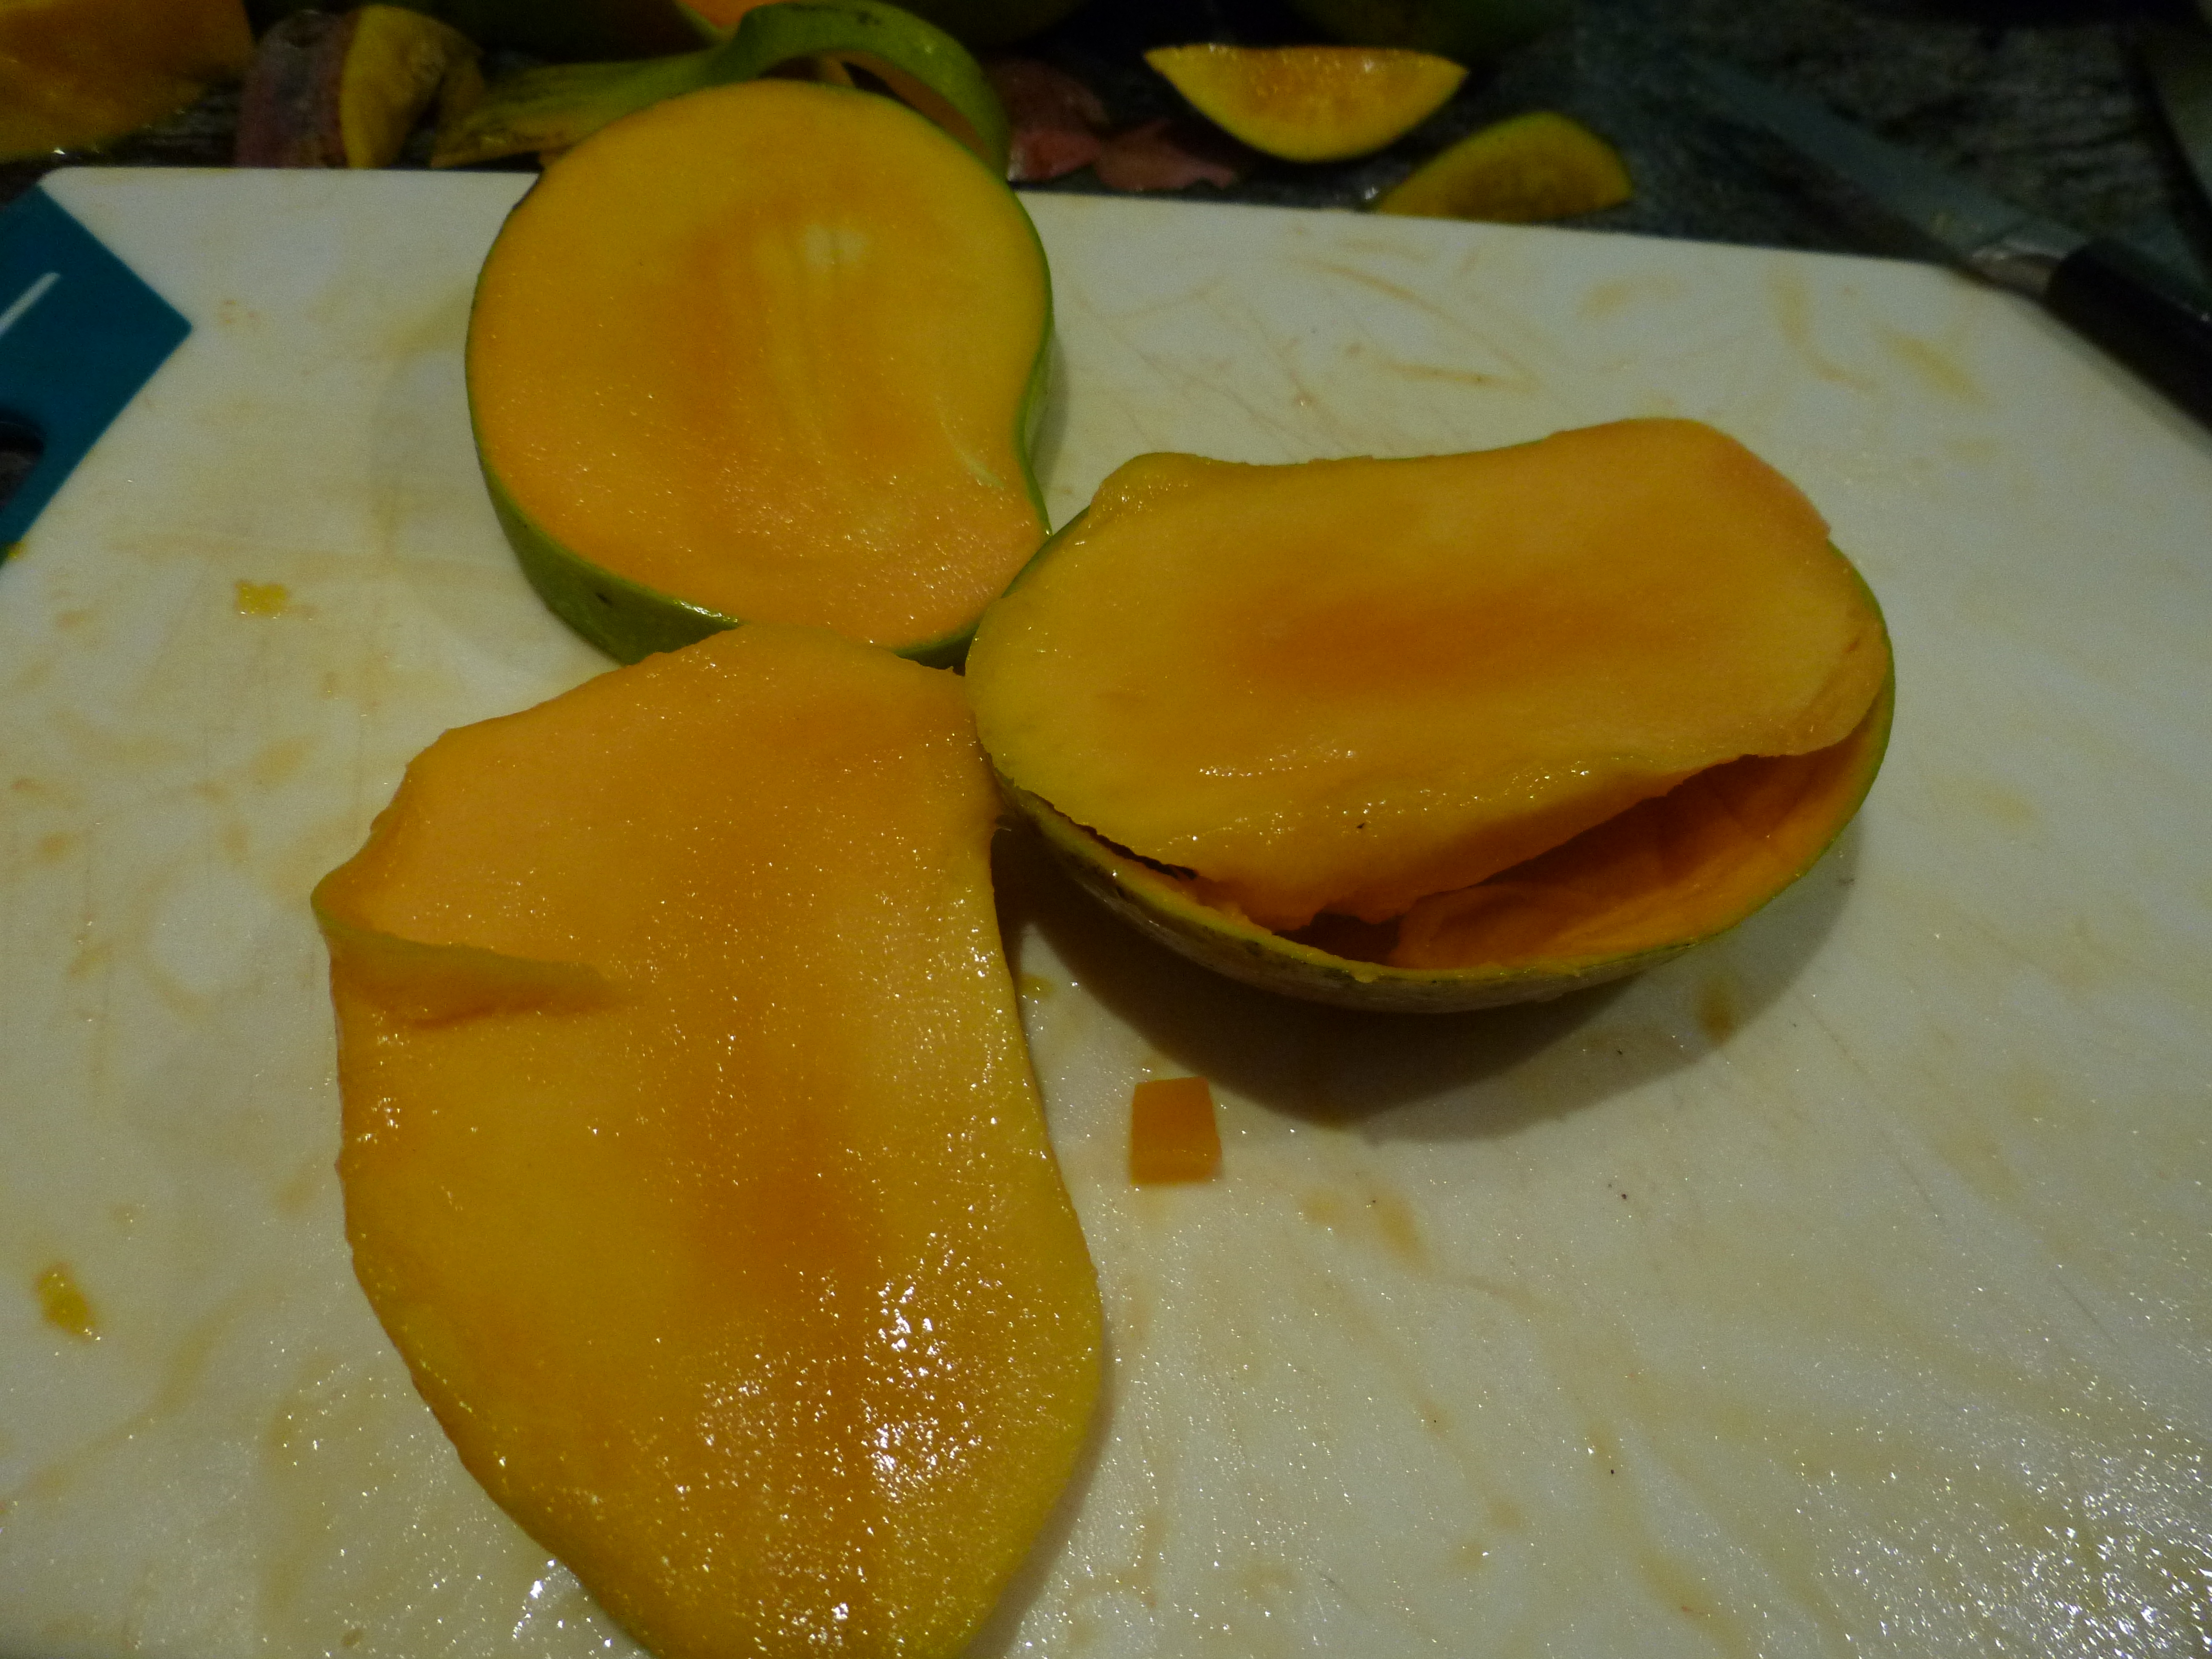
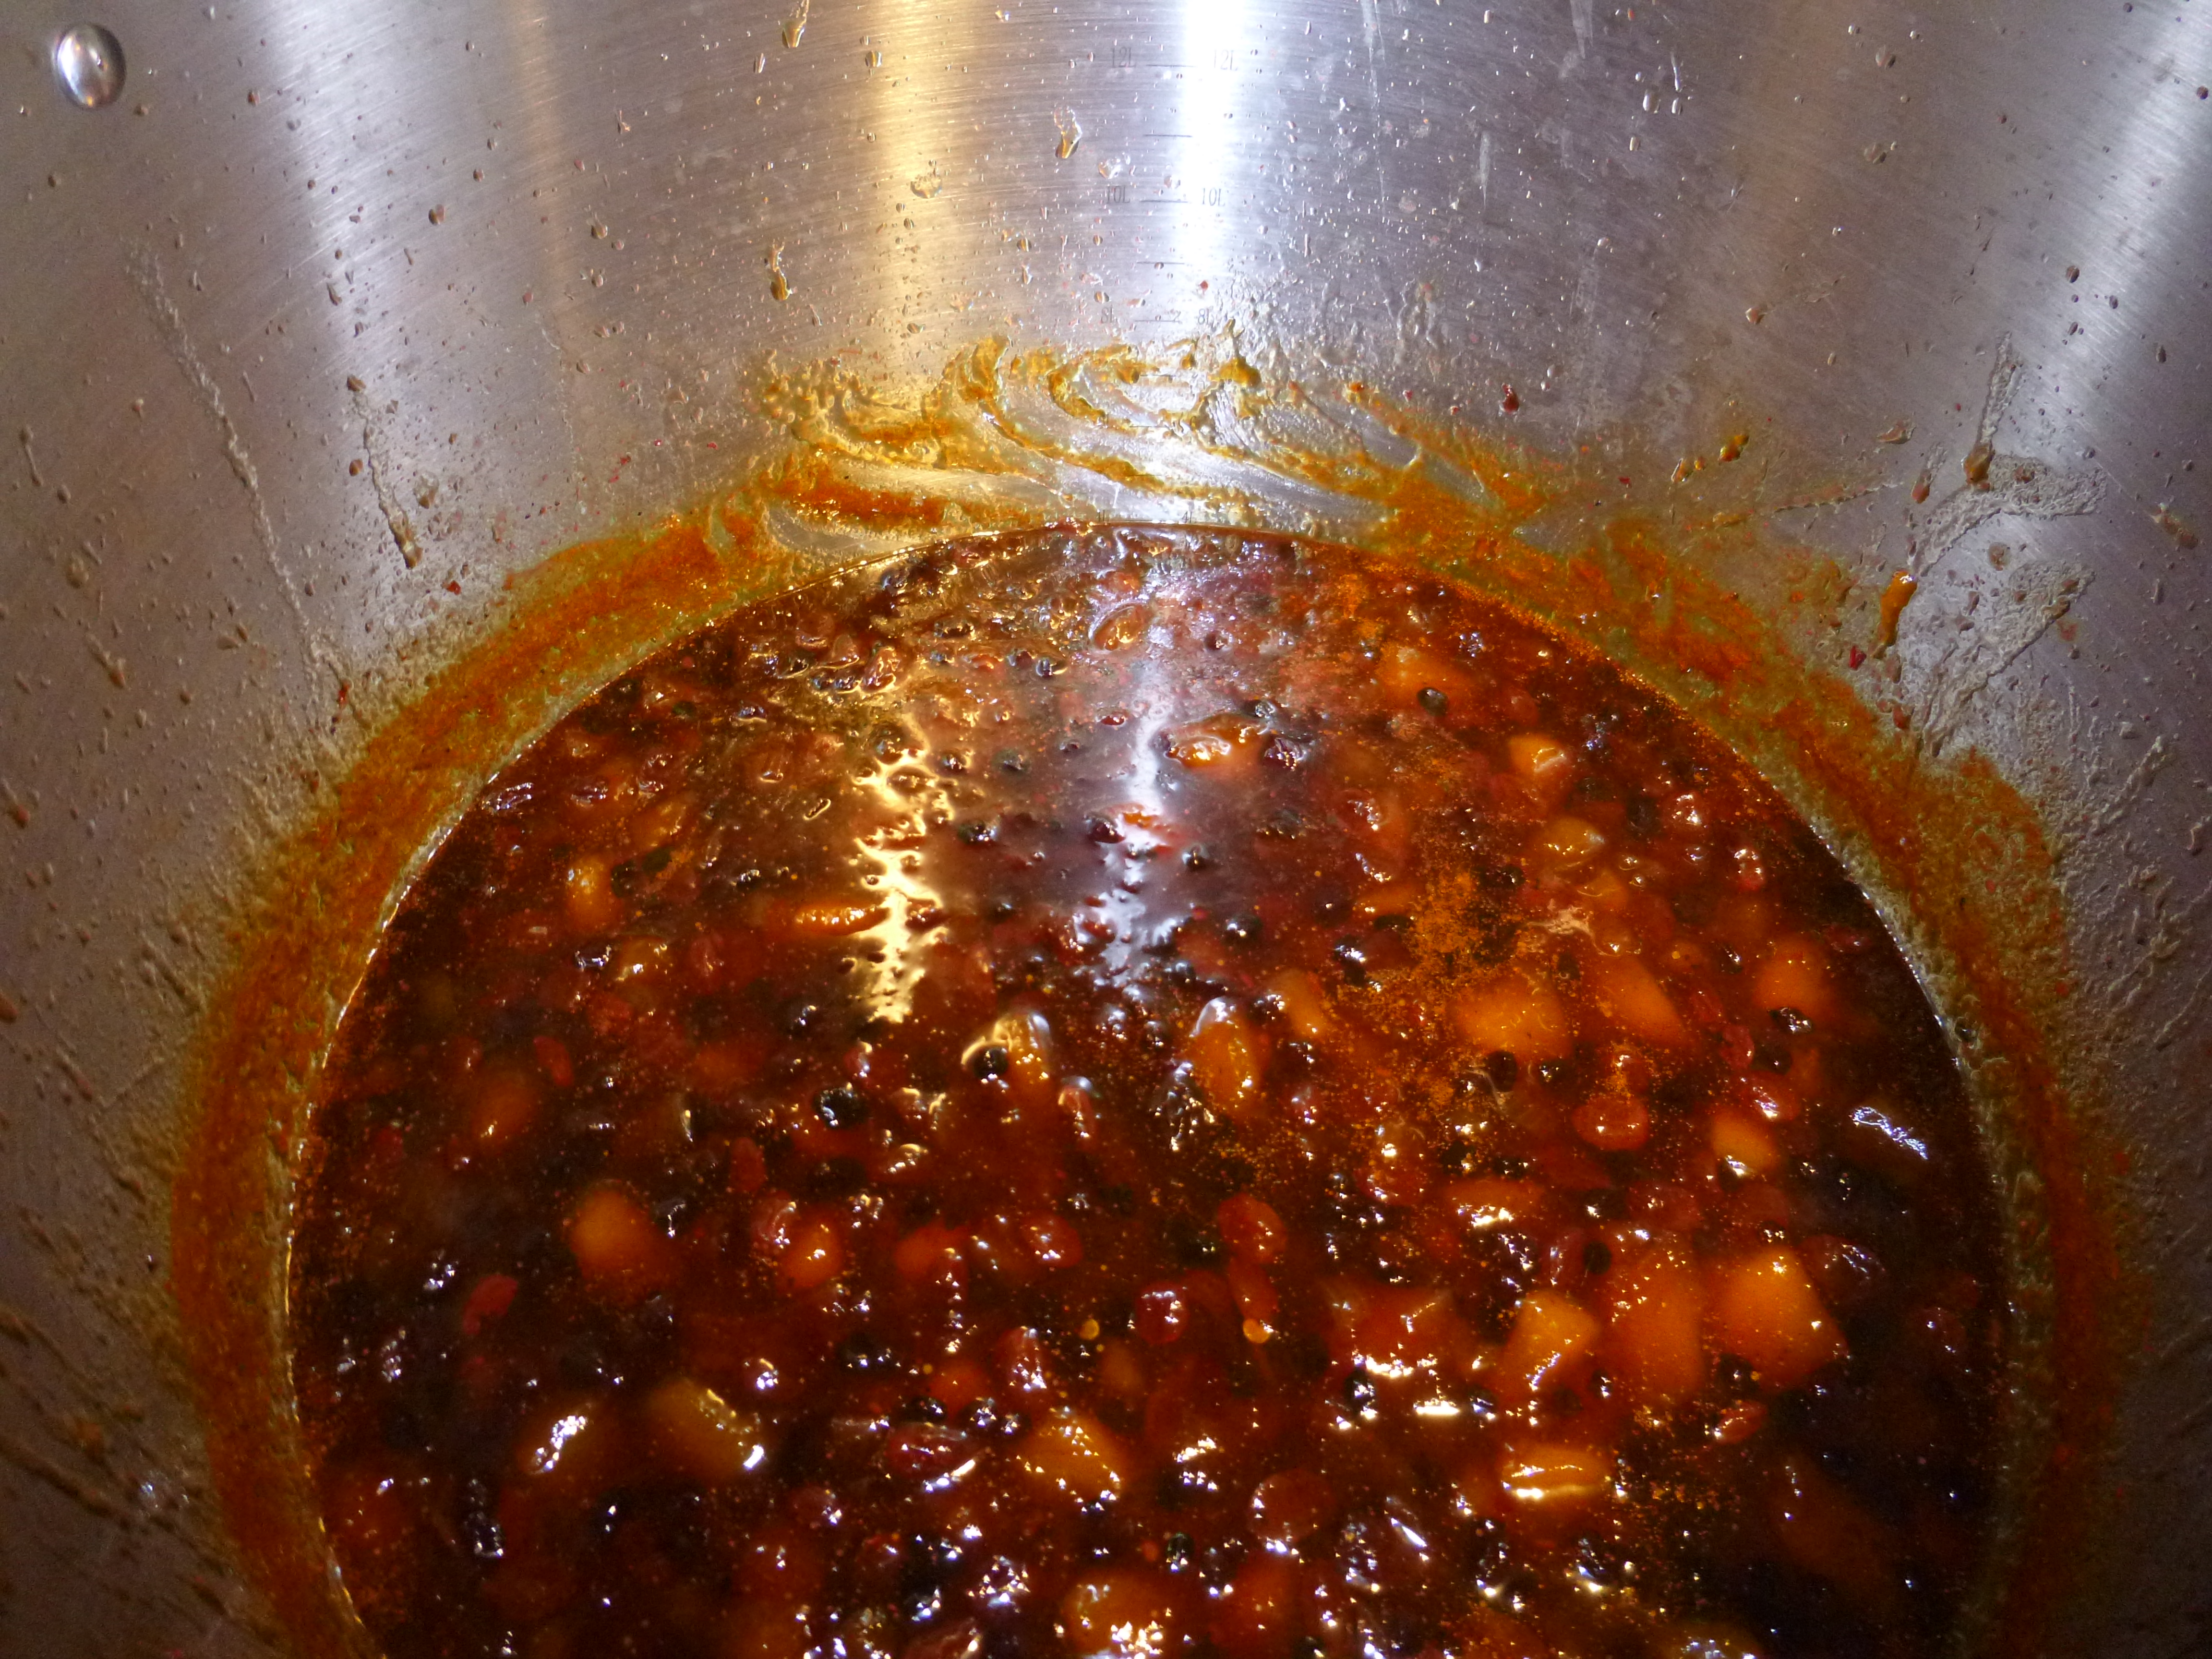
• Cut fruit for marmalade as finely as possible for Show work. Marmalade should be clear, with fruit evenly suspended. After soaking fruit overnight, cook thoroughly before adding sugar. This is absolutely critical. Most recipes specify an hour cooking before adding sugar to marmalade.
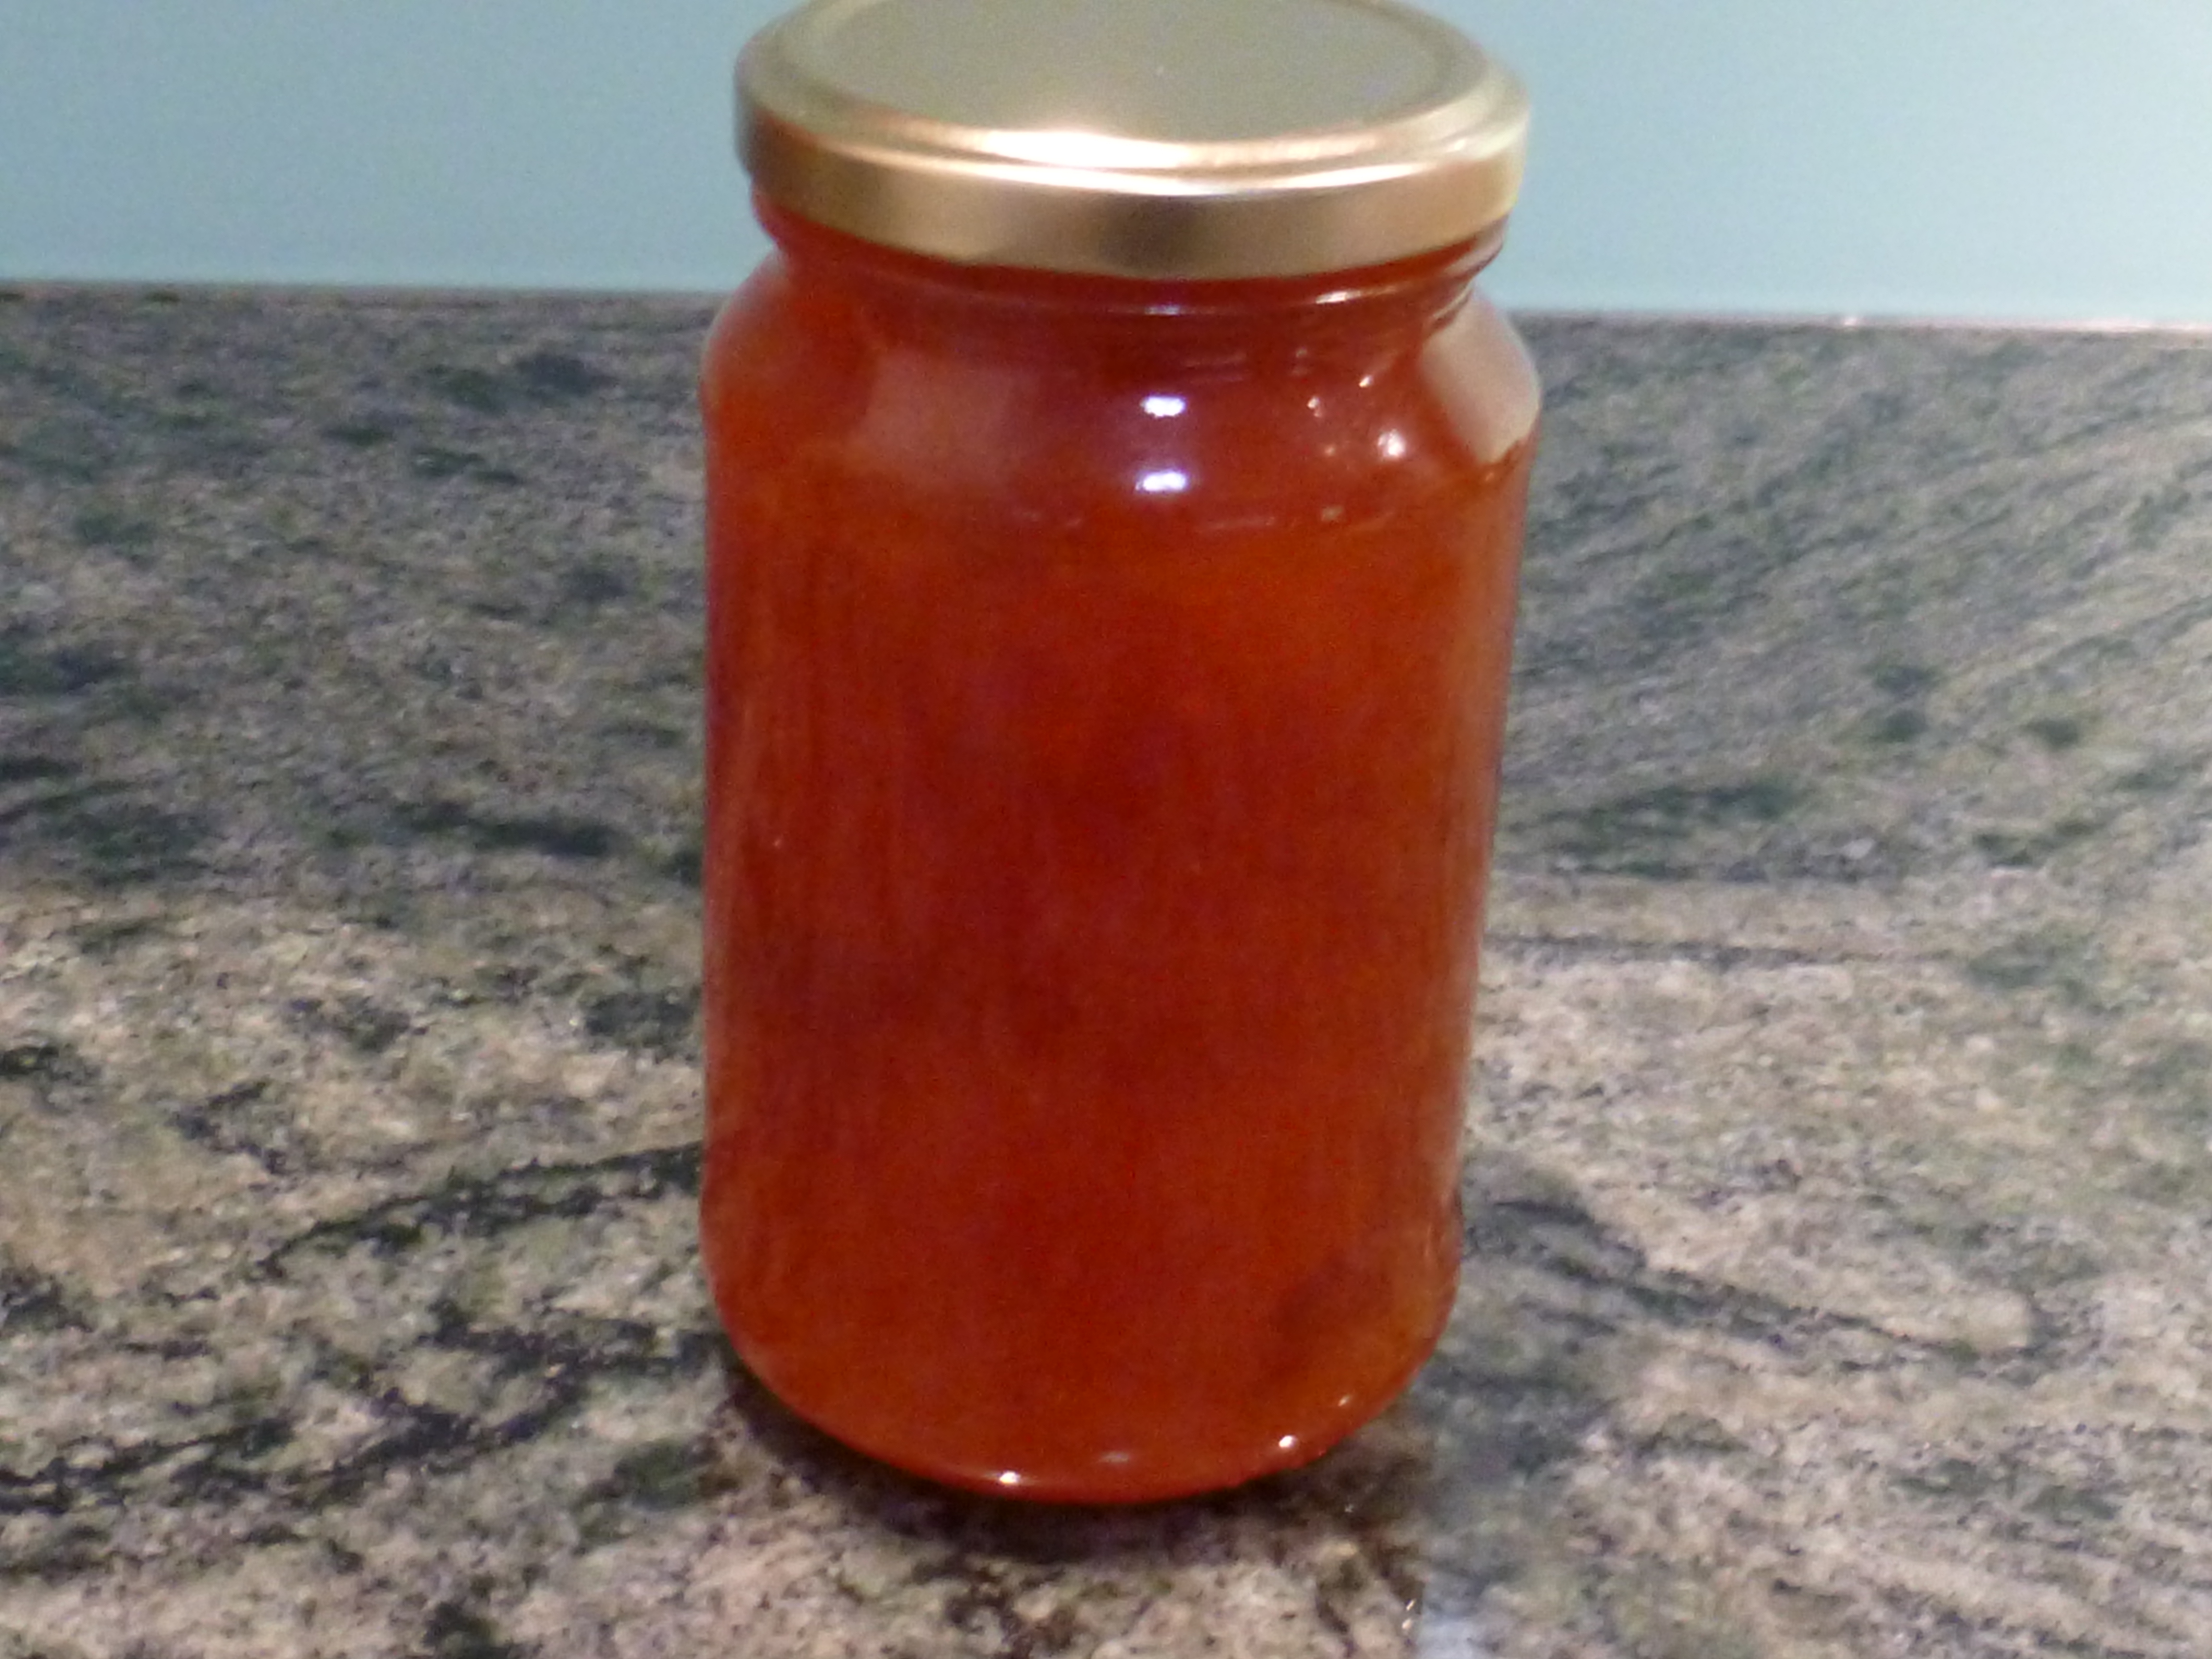
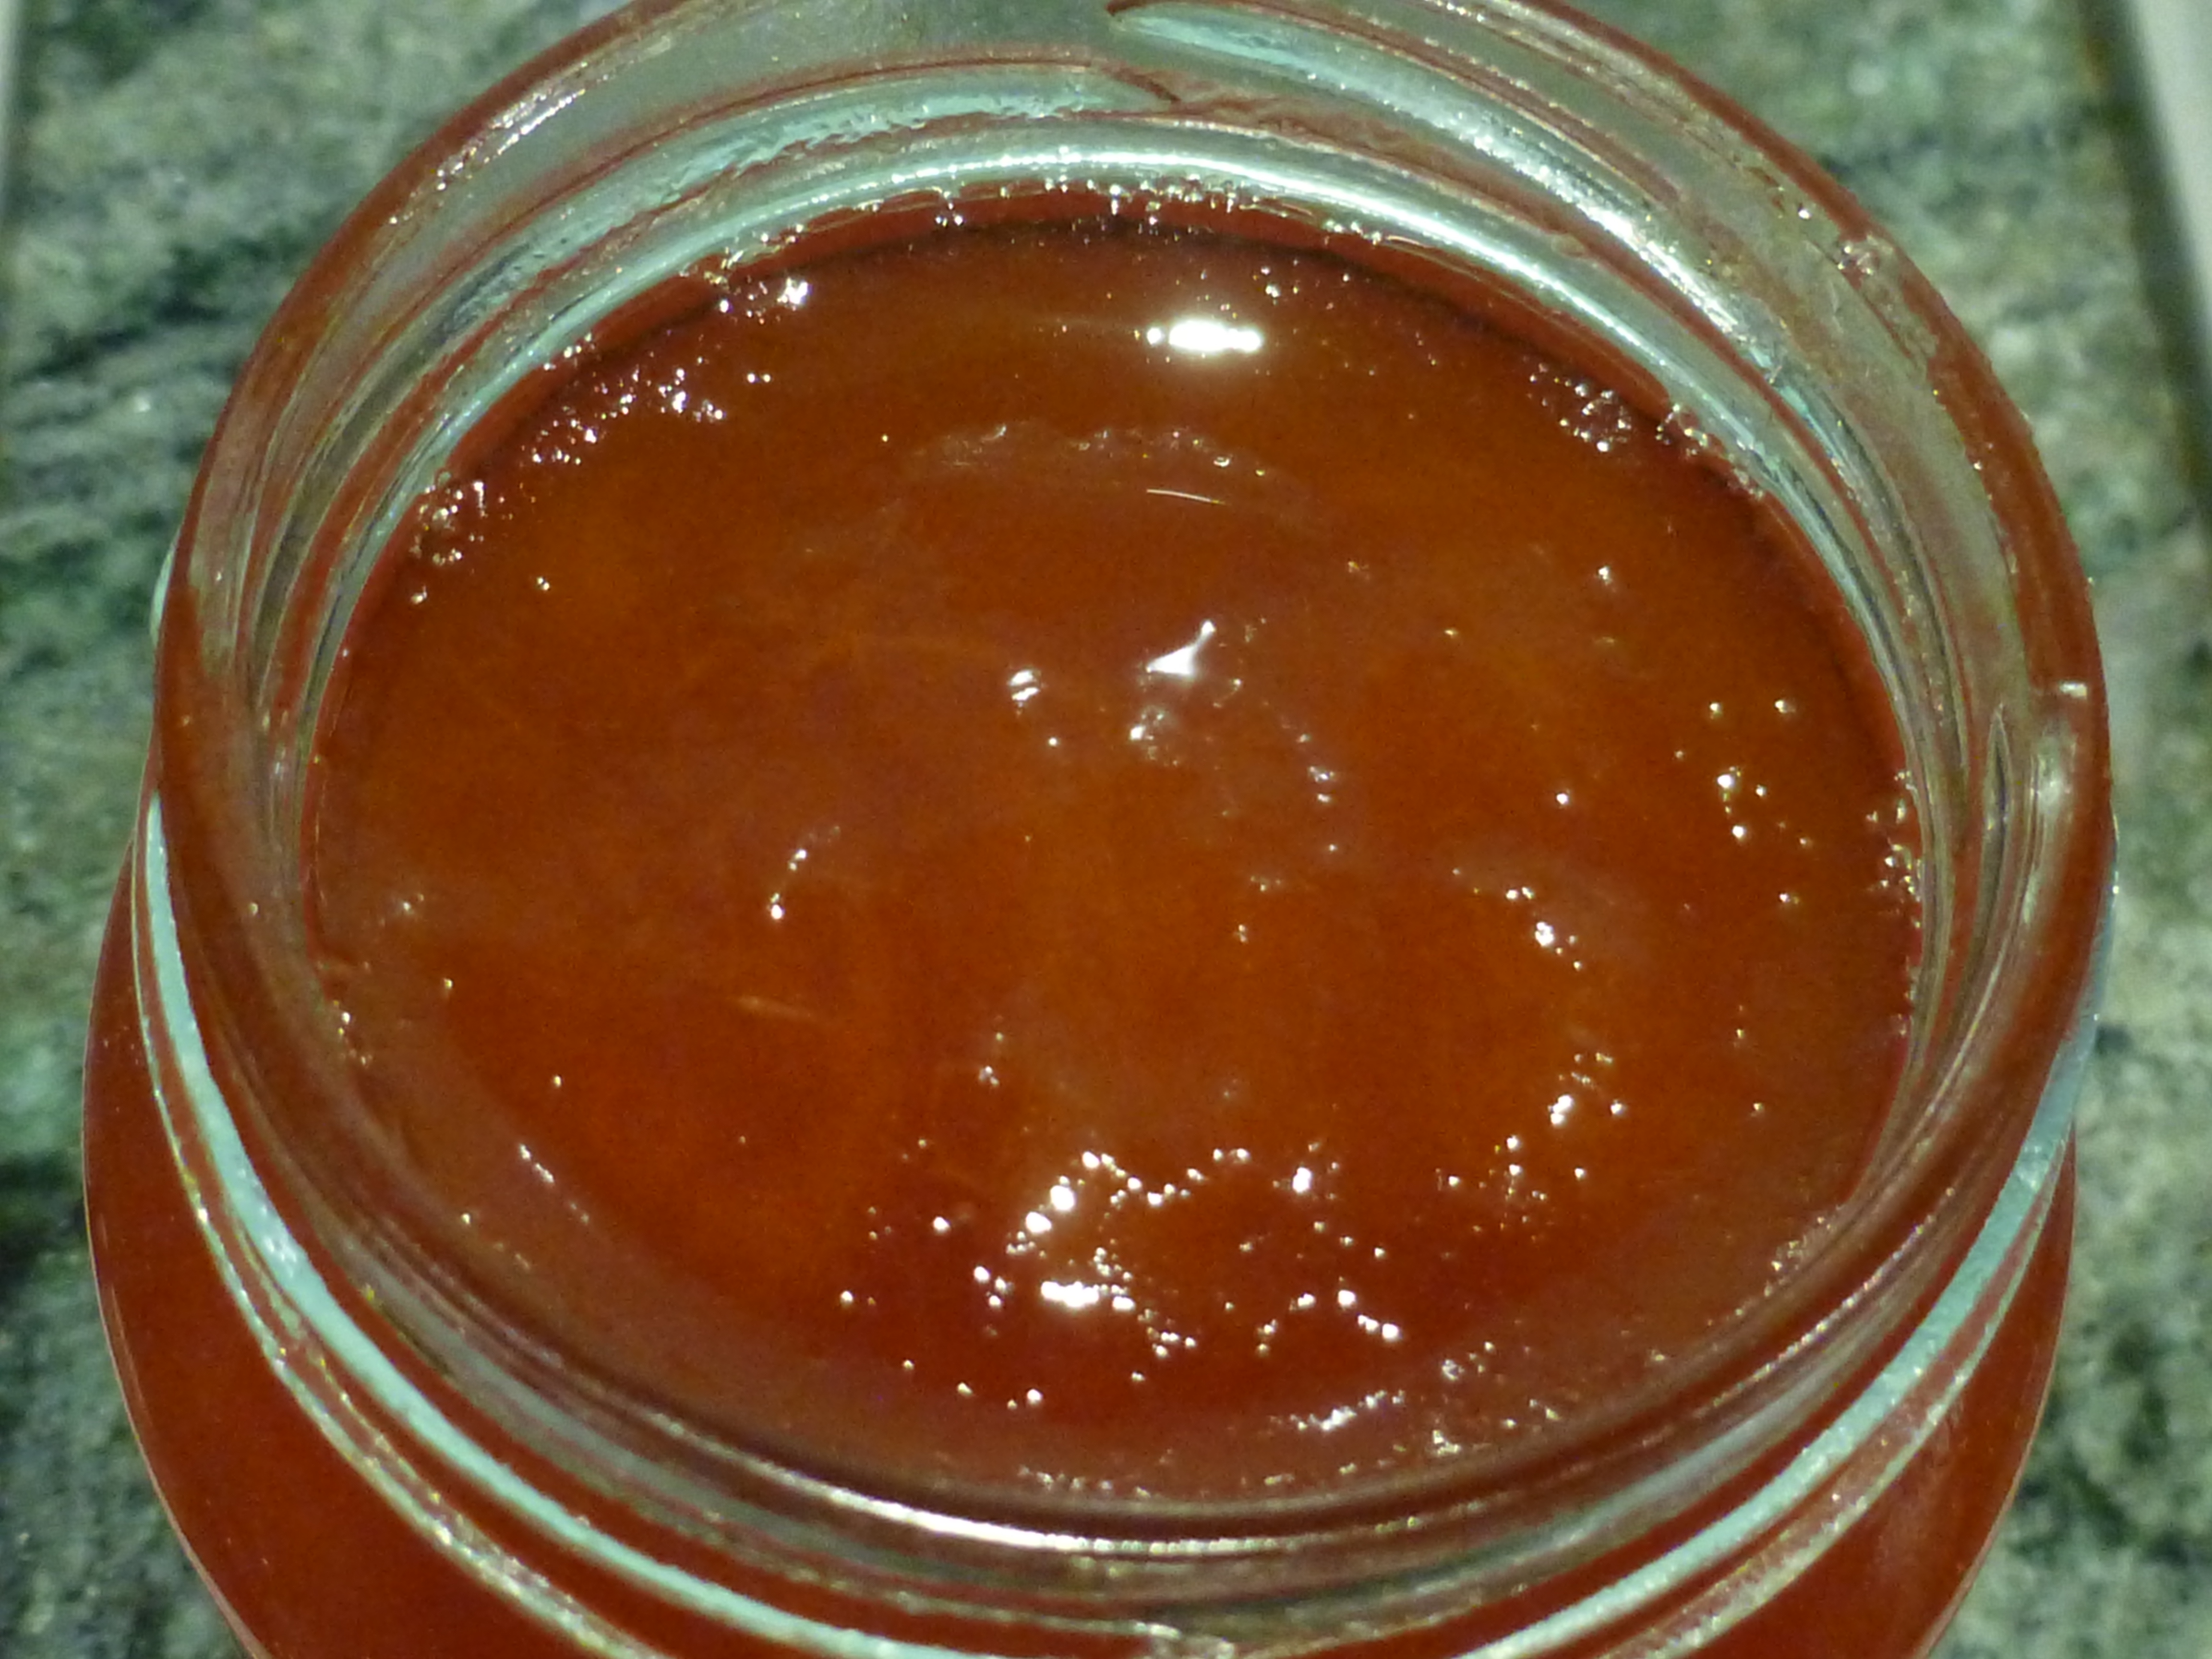
• For jelly making, after fruit has cooked, allow to drip through jelly bag overnight, without squeezing. Jelly should be completely clear and properly set.
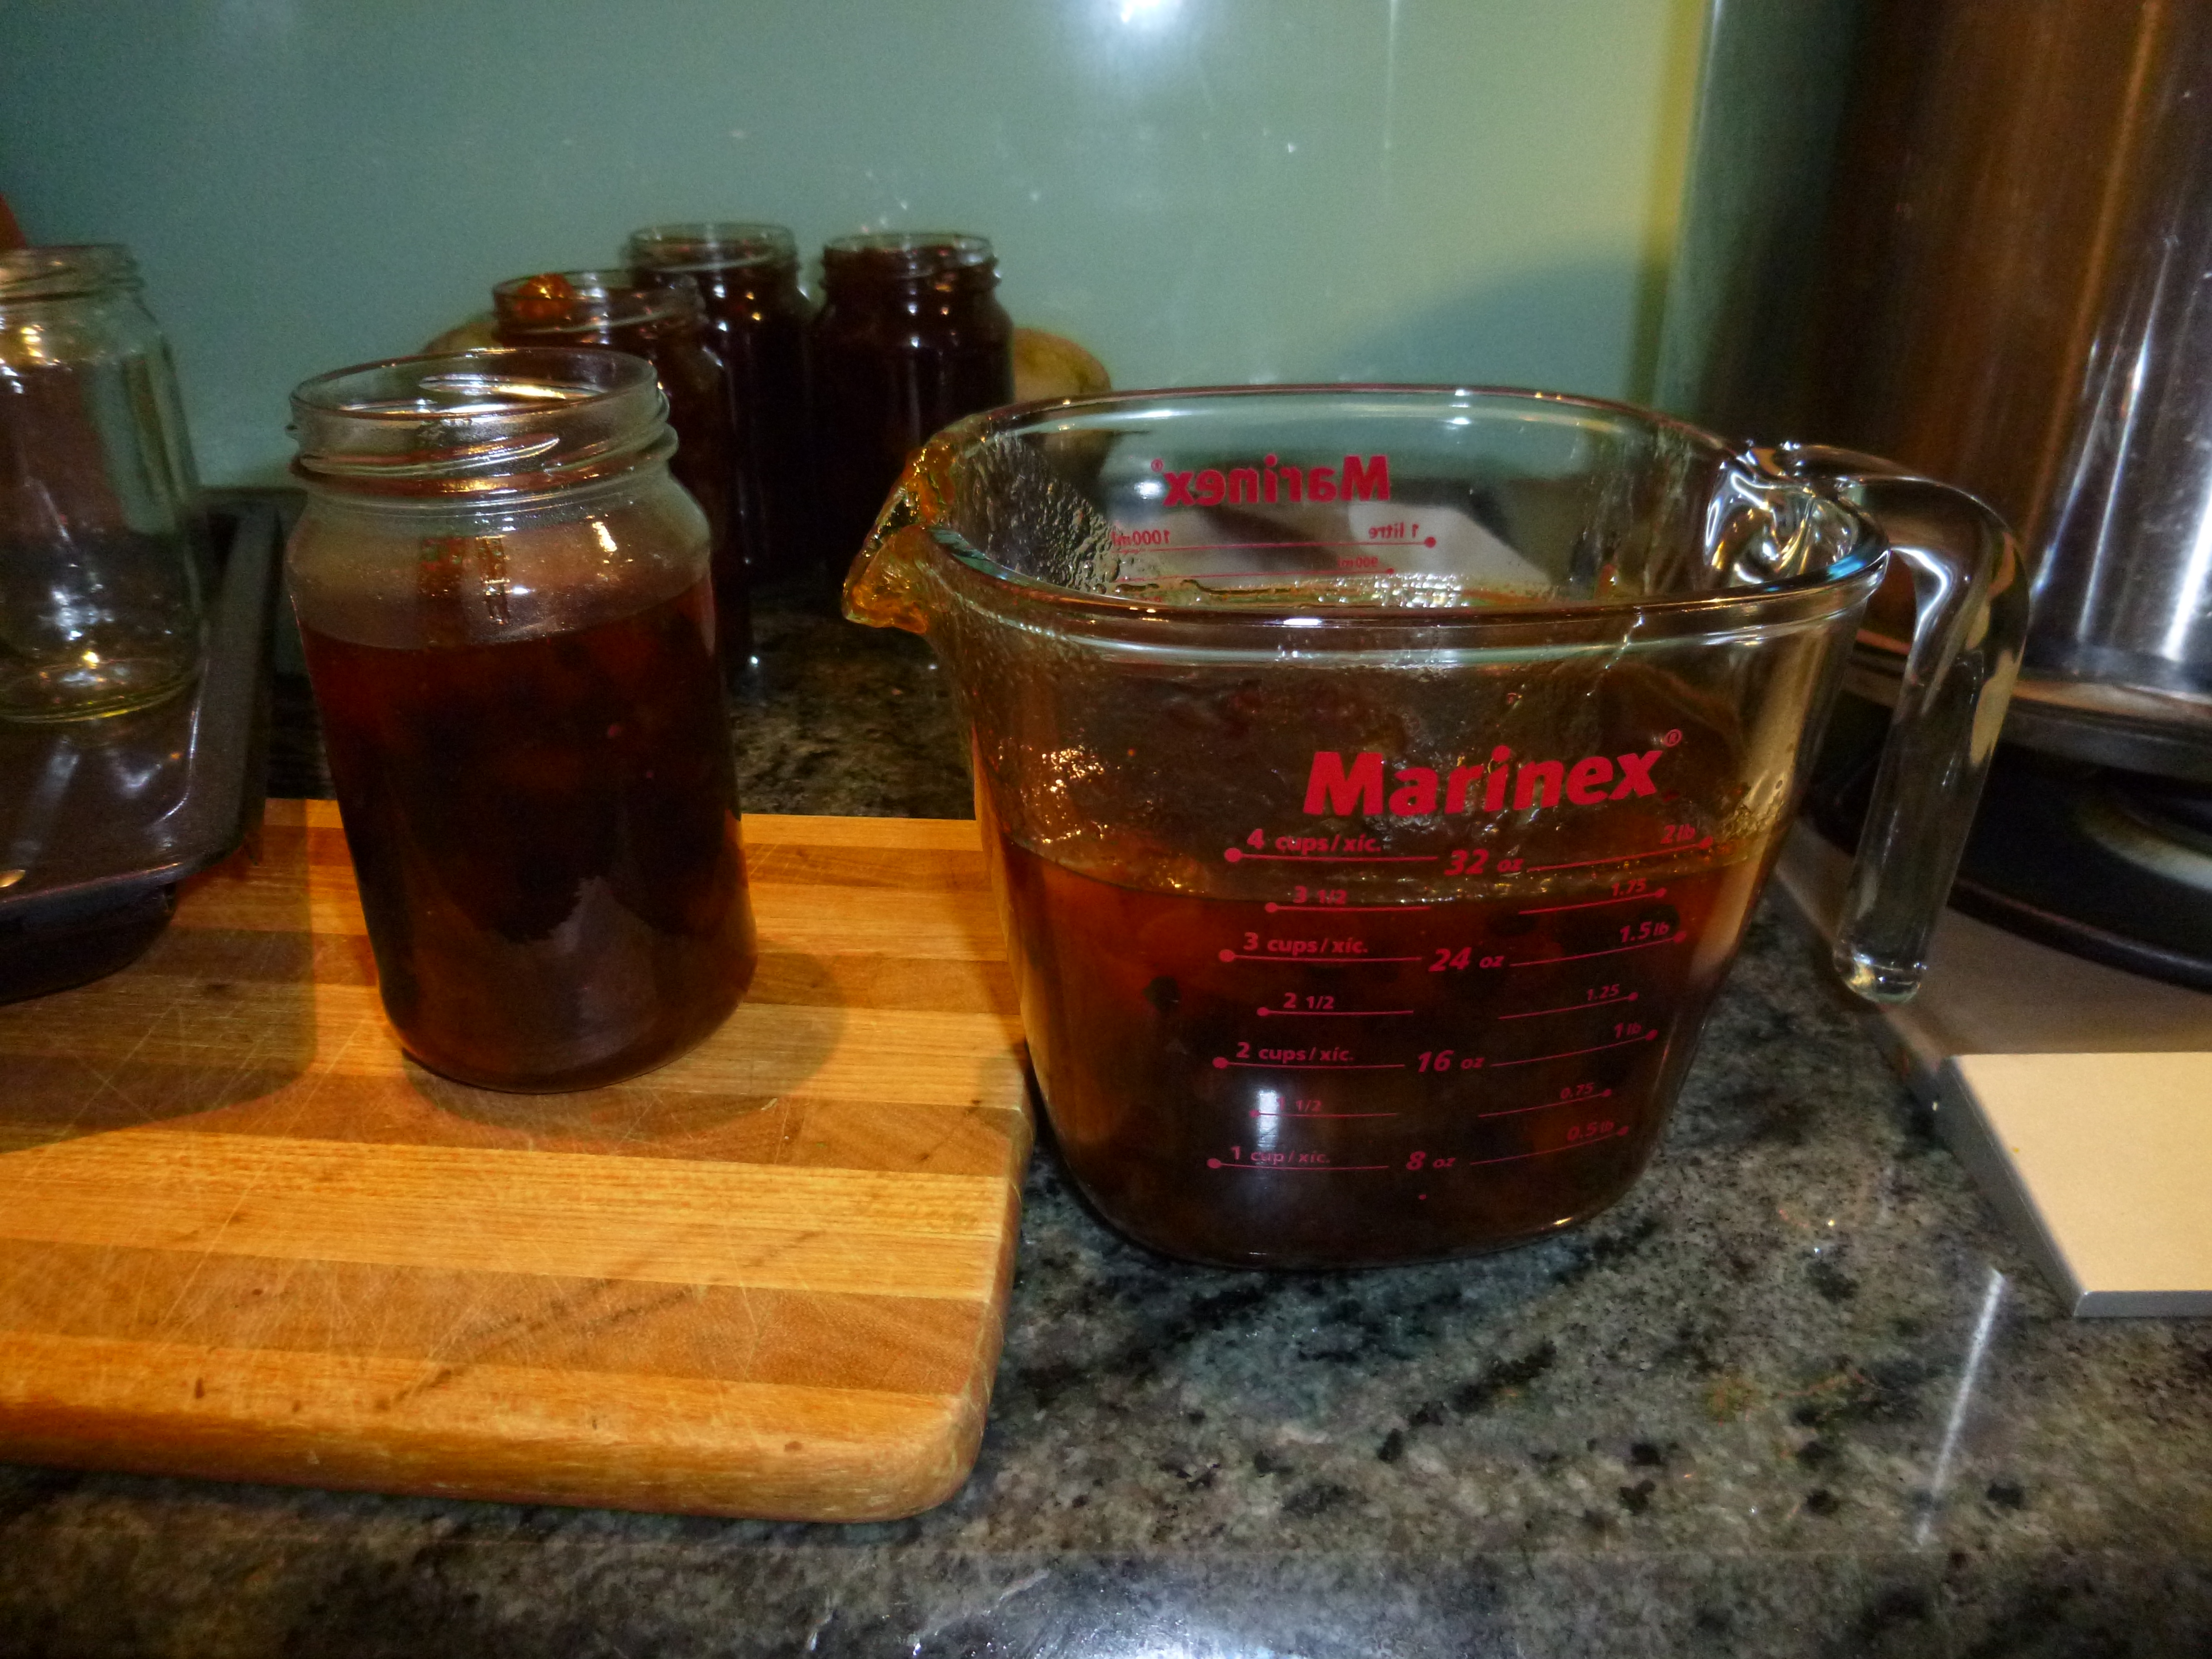
• Ensure that jars are properly sterilized before use. Clean in dishwasher if possible, and then thoroughly sterilise before using. Use oven mits to avoid burns with hot jars and preserves.
• Put lids on jars immediately after filling with preserves to inhibit moulds. Store carefully – in the fridge if necessary.
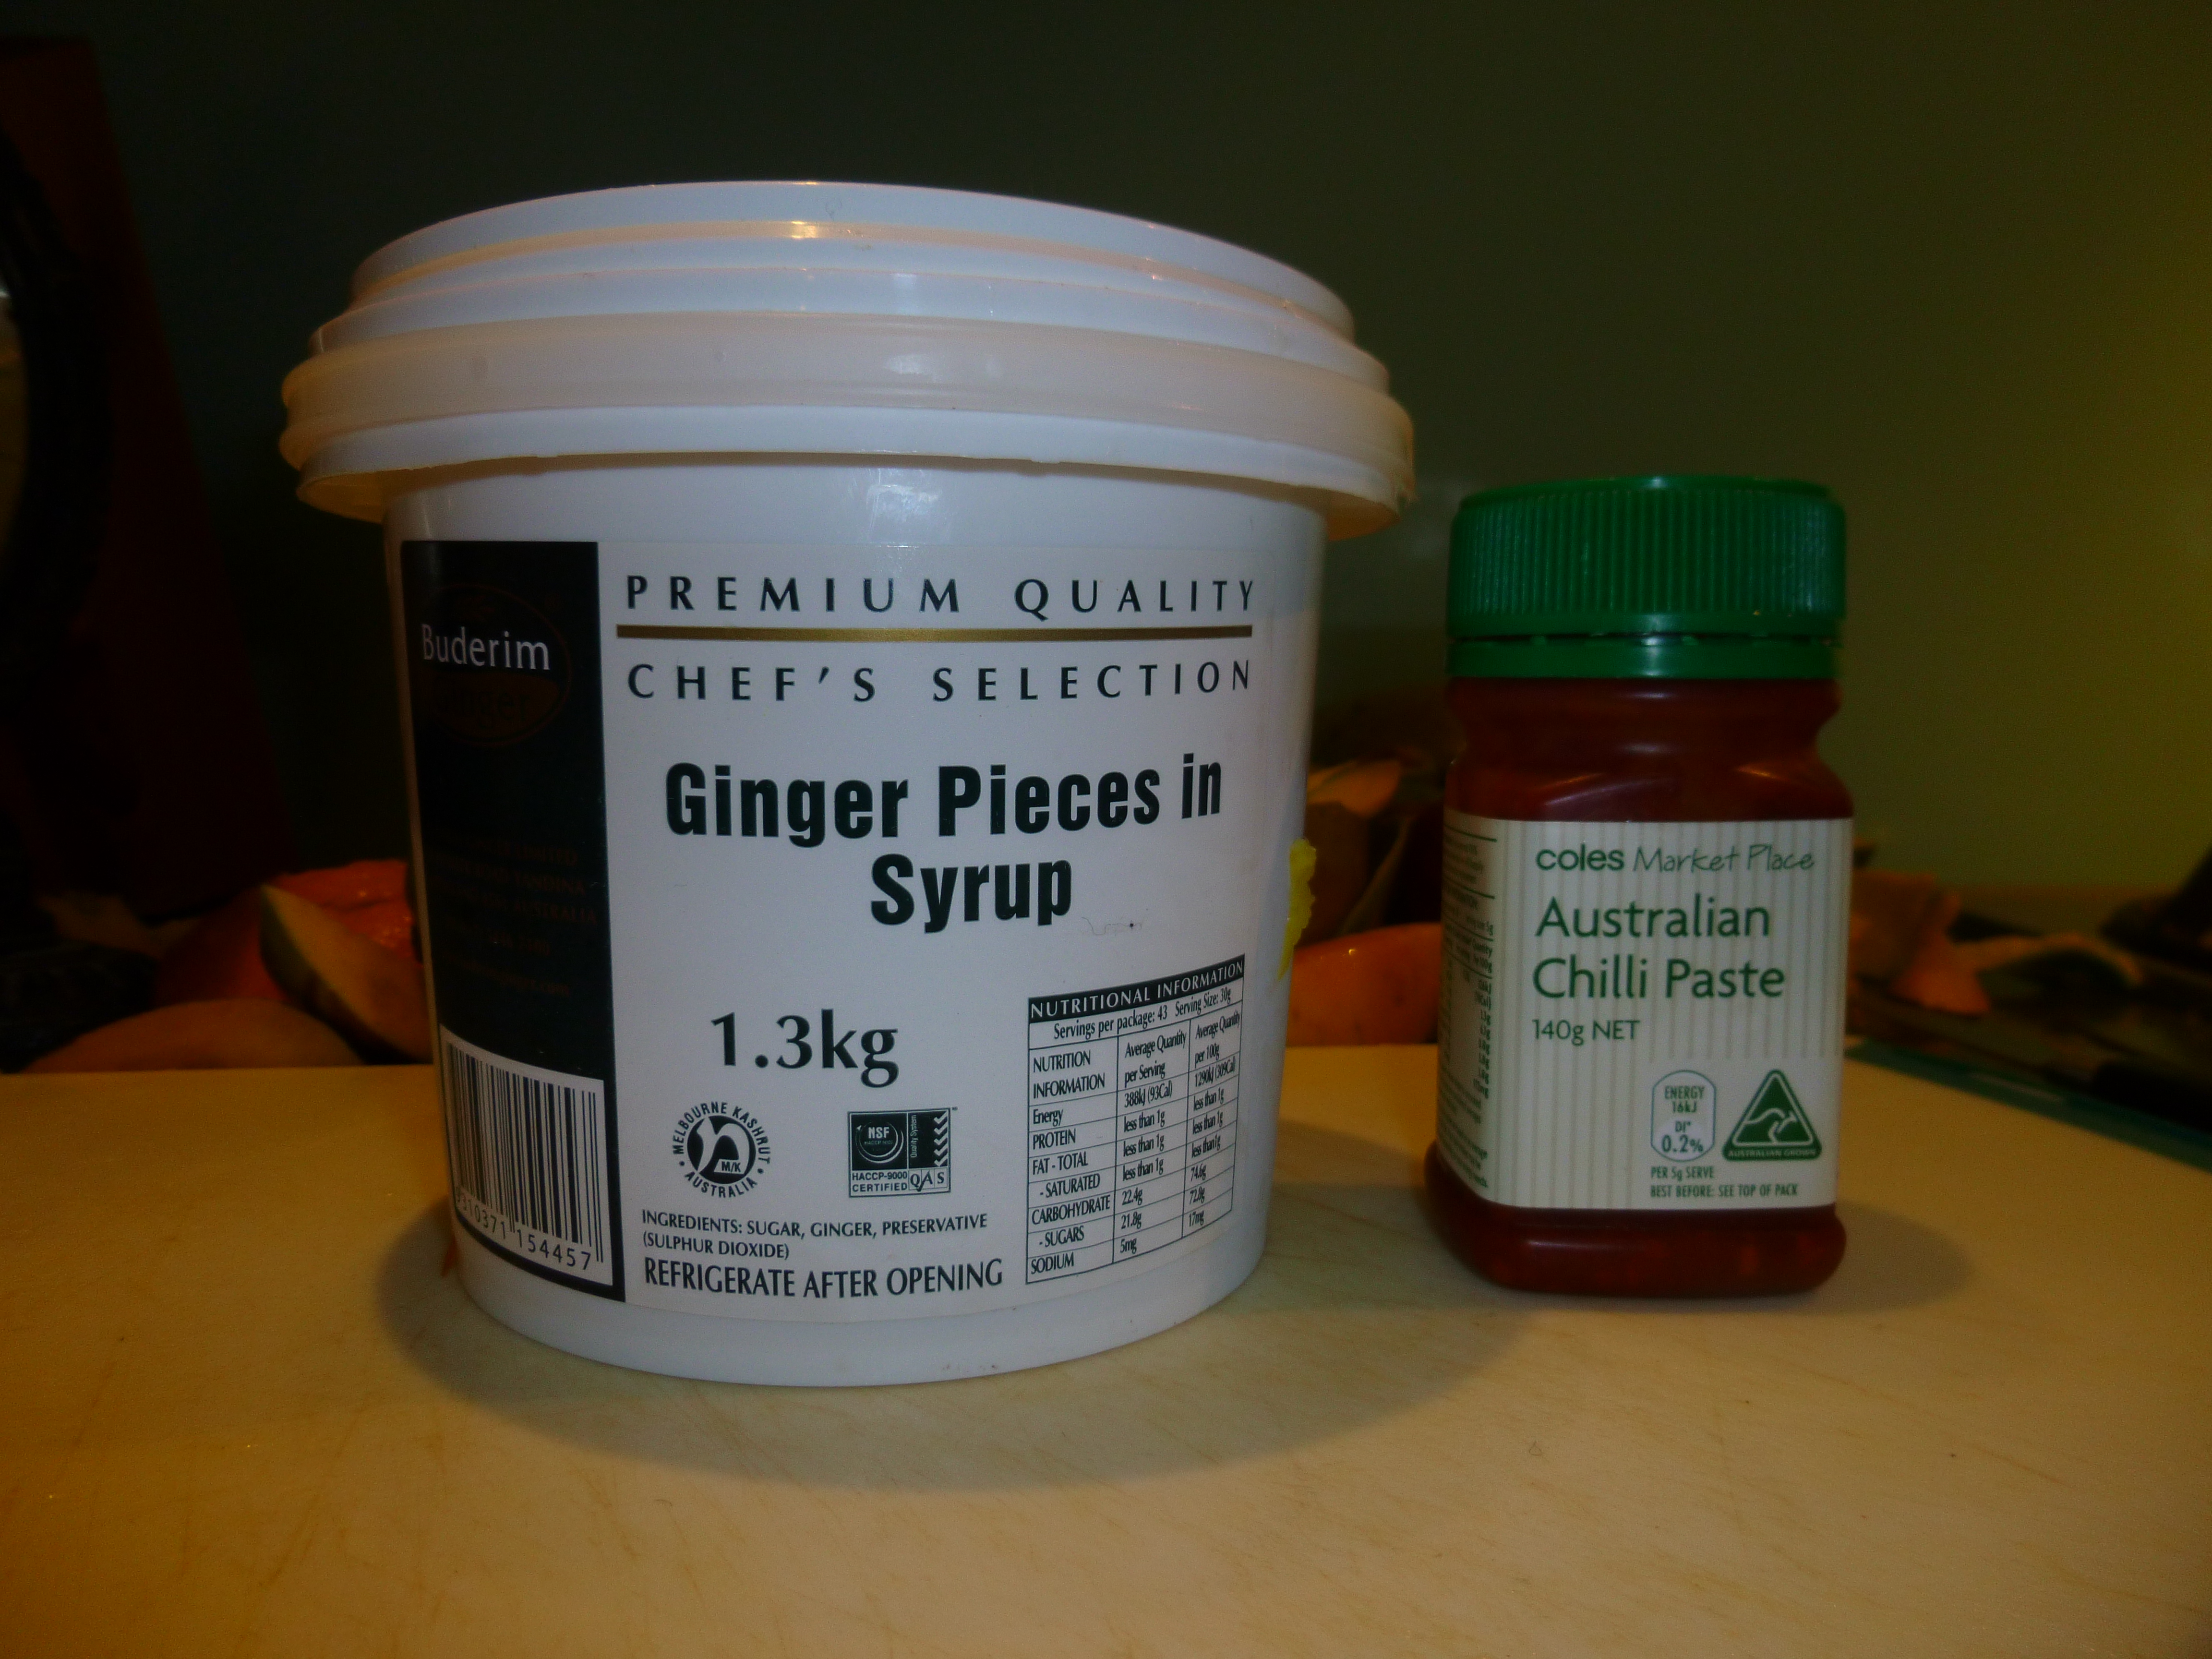
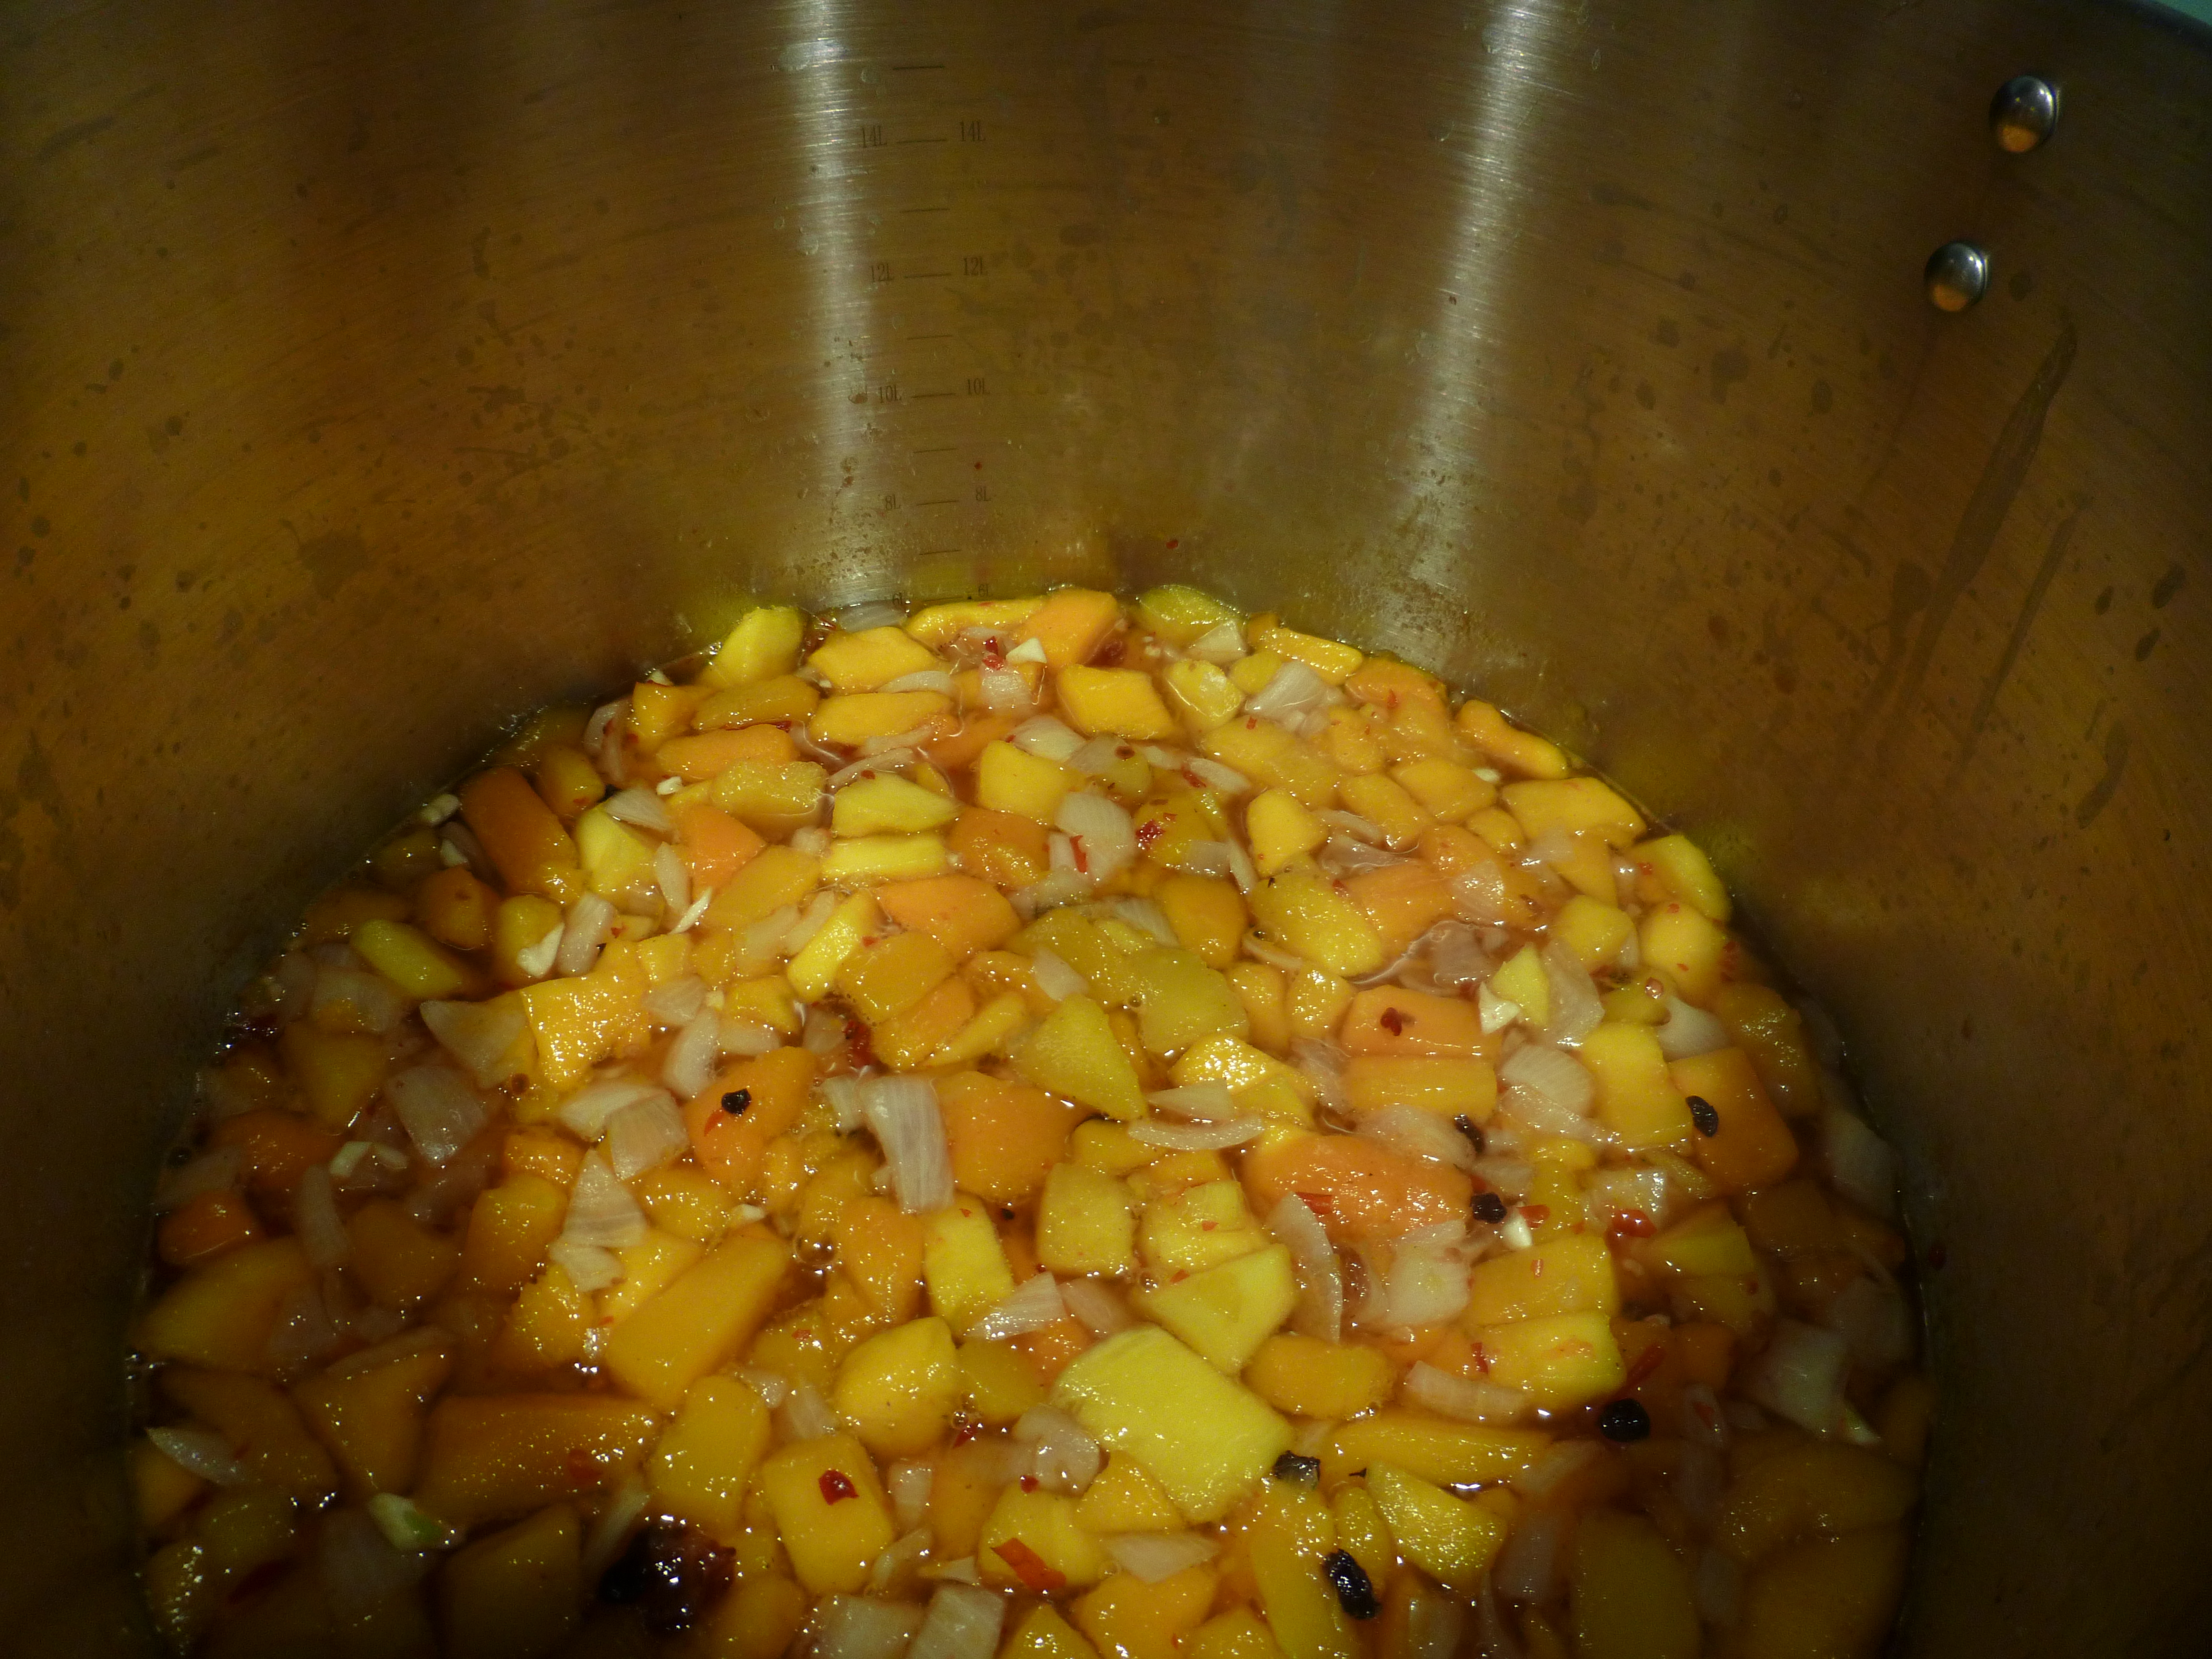
• Make chutneys a month or two ahead of time if possible to allow flavours to develop. This is a common reason why otherwise great chutneys don’t make it to the winner’s circle. If you make it the day before the Show, unfortunately it will taste like it.
• Jam, jelly and marmalade making is often a frustrating experience. Sometimes the fruit is overripe, there was too much rain before the fruit was picked and not enough pectin in the fruit, or it just doesn’t work out. It happens to everyone, and sometimes when it doesn’t jell, it’s nothing to do with the skill of the cook. If instead of a jam you have a runny sauce, your family might appreciate a nice dessert sauce instead!
Jams, jellies and marmalades
Here are some tips and tricks for preparing show entries in the cookery sections of a Show. Disclaimer: always read your individual Show schedule, as requirements vary from Show to Show. These tips apply for the Brookfield Show and will generally apply to others, but that may not necessarily be the case.
1. The most important tip is to read your Show schedule carefully and double-check before preparing your entry, particularly if you are a first-timer. Every year, we have to turn away entries where someone has misread dates and come the day after judging, or misread the entries and brought in something which can’t be entered. As this leads to heartbreak, particularly where there are children involved, check and double-check. If in doubt, ask the Chief Steward who will be able to give you guidance.
2. Read carefully the size of the plates allowed, and don’t exceed the size under any circumstances. Each Show has limited space available for display, and large entries can’t be accommodated. To avoid disappointment, adhere to size requirements.
3. If the Show Schedule says bring your entry on a disposable plate, please don’t bring it on your best China! Unfortunately this happens multiple times each year, and we have to either transfer the entry with possible damage, or the China plate slips through and then often can’t be reunited with its owner.
4. Judging is always anonymous at every Show. Don’t write your name on the plate.
5. Ice cakes the day before judging so that icing sets. This is important, particularly with childrens entries, as otherwise the result can be very messy!
6. Turn off your oven fan if possible when baking, to avoid dome tops on cakes and muffins. This is a common problem. If your oven fan can’t be turned off, experiment with a lower heat, but it is going to be more difficult to get a good result.
7. For general cake classes, normally ice cakes on top only (check your Show schedule for anything different, but this is a general rule), and keep decorations to a minimum. Decorations must always be appropriate to the cake. If in doubt, leave it out.
8. Don’t test with a skewer in the middle of the cake, as it will be cut there for judging, and your skewer mark will mar the appearance of the cake when cut.
9. For Show work don’t use any cream, mock cream, custard or similar icings or fillings. There is no refrigeration, and your entry will normally be unable to be accepted.
10. Slices or brownies are best cut into even sized pieces (eg, 5 cm square), with a hot knife if necessary. Check your Show schedule for any differences to this.
11. Scones should be light in texture; and shouldn’t touch each other when cooking.
12. The more traditional recipes are best for Show cooking, eg WW/ CWA cookbooks.
13. Make sure the cake tin you use is the right size for the type of cake entered. Cakes are sometimes brought in too small, and are either disqualified or ruled not competitive, as can be seen with the cake in the photo at the top of this post. This is particularly important for fruit cakes.
Mango Chutney
Mango chutney recipes abound, and in my long experience of seeing Show entries, they are the most closely guarded within families of any recipes, particularly in Queensland! So many of us have mango trees in the backyard, and recipes are handed down through the generations. Mango chutney is the chutney I mainly remember my mother making, but sadly the recipe died with her over 30 years ago. The recipe I am using here is adapted from one of my cookery heroes, Miss Amy Schauer. Miss Schauer was a big figure in my childhood, with her Schauer Cookery Book, Improved Eighth Edition, 1939, figuring large in my kitchen escapades, and everything I cooked as a child (ie cakes) came from the book. It was not only my mother’s favourite cook book, it was her only cookbook. When I last counted a long time ago, I had over 300 cookbooks, and I had to stop collecting them in the same quantity, mainly for space reasons. How much things have changed! I was particularly impressed as a child that Miss Schauer had “graciously consented to the reproduction of her photograph” in that edition. She was a very kindly looking lady, and I looked at her often. The fact that this was my mother’s only cookery book (at least that I recall) puts into context that I spilt water on the pages as a little girl, causing a subsequent deterioration, which meant it hasn’t aged well. I still feel guilty about that. For my mother and Miss Schauer. Hopefully I have redeemed myself by now, but I still well remember how awful I felt to have damaged the book, and how cross my mother was!
But back to the mango chutney recipe, which I have adapted from another of Miss Schauer’s wonderful works, The Schauer Fruit Preserving Book, no date, but around the 60’s or 70’s. You can still pick up a copy of this small paperback at a second hand store or Lifeline Bookfest if you are lucky.
The original recipe specifies 24 green mangos, but the mangos of the time must have been significantly smaller than my R2E2 and Kensington Pride giants from the backyard from trees that are from recent breeding stock. I used around ten, as you can see from the photo. Mango chutney recipes are necessarily vague, as they are often used (at least in my case!), to use up excess mangos from the backyard, or from a tray which we can often buy in Queensland, so you can vary the recipe a little.
Ingredients
– Mangos – around 8-10 green, verging on ripe if possible. Remove the skins, and slice the mango flesh from the stones, and chop into dice.
– around 350- 500 g of raisins or sultanas; I used up the rest of two packets of raisins and currents which I had on hand, leftover from Christmas. Sunbeam is the best brand if you can get it.
– 1.5 kg sugar – 3 packets in other words; it sounds a lot, but the sugar is essential for preserving
– 1 head of garlic
– ginger – here preserved is best, and one of my favourite products is a big tub of Buderim Ginger preserved ginger in syrup, which makes fantastic jams and chutneys; use a few good heaped tablespoons, chopped finely. If you can’t get this, you can often buy a similar product in the shops, or you can use a quantity of fresh ginger, grated or chopped or even a good tablespoon of powdered.
– some chilli to give it a bite – I used a few teaspoons of chilli paste
– one bottle of vinegar – I used a 2 litre bottle of apple cider vinegar. Here opinions differ on using a white wine vinegar or malt. I like the apple cider vinegar, but it depends what I have on hand. In my Mother’s day you used plain old white vinegar or malt vinegar most of the time, depending on the recipe.
– the original recipe said 2 ounces of salt, which is around 60 grams. Salt is important for preservation, so you do need to use around this amount for preservation and for flavour, as frightening as it appears to modern readers!
Method
Boil all of the ingredients for around 1 1/2 – 2 hours until it reaches a thick, chutney like consistency, but remember that it will thicken once it cools. Chutney has a nasty tendency to stick very badly at the end and burn on the bottom, so be careful! If this happens, don’t scrape it up with the spoon and stir it in; you can save the chutney by pouring it off.
Pour into sterilised, heated jars, and immediately put the lids on.
This recipe made ten 500 gram jars. While chutney improves with age, be careful in a hot humid climate, and store preserves in the fridge where possible. Always store in the fridge after opening.
It’s the end of stone fruit season, and there is just time to make jam with some fabulous summer fruit! This recipe is very similar to that used for plum or fig jam, and the same principles apply. Although there are several ways of making apricot jam, my favourite technique is using the sugaring method, which I am describing below. It produces a great result, although apricot jam is very fickle, and it’s all too easy to make Burnt Apricot Jam instead. Not that there’s anything wrong with that, but it’s not exactly Show material! This is a simple recipe, but good, and the resulting jam has a lovely sweet and tart flavour in equal parts, and lasts well.
Ingredients are apricots, water, and a lemon.
Take a quantity of apricots, preferably just ripe – I used 800 grams. If they are too ripe the jam won’t jell, and I will deal with the reasons for this in a separate post. Then cut the apricots in halves or quarters, and take out the stones. You can also peel them (scald in boiling water), but I don’t normally do this. Then take an equal amount of sugar, and sprinkle the half the sugar over the cut apricots in layers. Leave overnight, or at least 4-6 hours. By then the apricots should render a lot of juice. Add the apricots to a preserving pan with the remainder of the sugar, and heat gently until the sugar is dissolved. Add the strained juice of one lemon; more if you increase the quantity of apricots. The mixture mustn’t be allowed to boil until the sugar is all dissolved and if necessary, add a little water to assist the process – I added around a cup as the mixture was too thick, and wouldn’t have had time to boil enough before jelling. Stir with a wooden spoon during this part of the process. Allow to come to jelling point, and test for setting point either with a jelly thermometer (104 degrees), or if the mixture “sheets” off the wooden spoon, or wrinkles when cooled on a plate and a finger is run through. Apricot jam will suddenly jell, so watch carefully after around 15-20 minutes. It also has a tendency to burn, so watch carefully for this, and stir frequently. The time taken to jell will be somewhere around 20 minutes, depending on your quantity of apricots, and a few other factors including how quickly it is boiled.
Bottle immediately into hot, sterilised jars, and lid straight away.
All in all, my 800 grams of apricots made just over two jars of jam. Perhaps not the most economical, but a delicious result, and apricots, figs and plums make outstanding jam.
Recent Comments