All about Show cooking

Strawberry Jam

image

Strawberries are in season August through to November, depending on the season, and are plentiful and cheap at the moment. When fruit is at the height of the season is also the best time to make jam, as the quality of the fruit will be at its peak. Strawberry jam can be difficult to set, and more than once I’ve ended up making strawberry sauce instead of jam, but no matter what happens, it’s great to eat!

Ingredients

Equal amount strawberries to sugar – this batch used 1.25 kg strawberries
1.25 kg sugar
Juice of half a large lemon

Method

Trim the tops of the strawberries and cut in half. Place in pan with the sugar, and gently heat to dissolve the sugar. Don’t allow to boil until the sugar is dissolved.

image

With a pastry brush, brush away any sugar crystals on the side of the pan with a little water.

image

Once the sugar is dissolved, boil rapidly, stirring occasionally.

image

Keep boiling rapidly until the setting point is reached (104 degrees) and the jam jells. You can tell when it is set as the bubbles change to more of a rolling boil, and more “spits” are sent up. Either use a candy thermometer, use the “wrinkle” test on a cold plate (the jam will wrinkle and stay apart when you run a finger through a small amount on the plate), or see if it “sheets” off the spoon (see other jam recipes on this website to see how that is done).

image

When the jam is jelled, take it off the heat, and allow to sit for 5-10 minutes and skim the foam off the top. Pour into heated and sterilised jars using a heated glass jug. Seal immediately. This recipe made four 500g jars of delicious jam.

Advertisement

image

Emboldened by my previous experiment with microwave cumquat marmalade (see last post), I decided to take it one step further and make lemon marmalade using the food processor and microwave oven. Definitely look away now if you are a marmalade purist! OK, I confess to being one too, but this was rather fun. Definitely not something you should do for Show marmalade though, as the result wasn’t exactly clear and glistening. But for transforming fruit to marmalade in under an hour, it was pretty good, and the taste certainly was good too.

I used Lemonade fruit, which is a cross between a lemon and a navel orange. Perhaps because it is a hybrid, my Lemonade tree is more susceptible to pests than the other fruit trees, and we haven’t had ideal growing conditions for years, so the tree is stressed, and therefore the fruit isn’t in great shape. However it was fine for this purpose, and I used three for this recipe.

image

Ingredients

500g lemonades or lemons (I used three)
1 1/2 cups water
3 cups sugar

Method

Top and tail the fruit, and cut in half vertically. Remove seeds, and soak in a little water (from the allowance). Using the slicing attachment on the food processor, finely slice the fruit. You can of course do this by hand, but in the food processor it takes seconds and the result is excellent. I do however pick through it and take out the ends which slice too thickly.

image

Put the fruit together with the water in a microwave dish (mine was around 3 litres), and cook for 10 minutes until the rind is tender.

image

Add the sugar, and strained liquid that the seeds were soaking in. Cook until jelled, somewhere between 20-30 minutes; mine was closer to 30. Bottle immediately and lid straight away.

VoilĂ !

image

Warning: For any preserves purists, look away now!

It’s late winter, and we are full on into the citrus season, with lemons falling on the ground, and the Seville oranges ready in a few weeks. Over the past few years we have been cycling through drought and then too much rain which is playing havoc with my fruit trees, but this year there were just enough cumquats to make marmalade, although the quality wasn’t great. I was toying with using them for marmalade, knowing that it wouldn’t work out well due to too much rain (always a killer for jams and marmalades setting), and spotty fruit. Right on cue, my sister rang, excited having tried her first ever batch of jam, which happened to be cumquat, and made in the microwave. Intrigued, I thought it might be worth the experiment, as a small amount of fruit wasn’t going to work out well, together with everything else. Happily, I got a great result, and here is the recipe, adapted from the original Australian Womens Weekly Microwave Cookbook, circa 1986.

The beauty of using the microwave is that no overnight soaking or pre-cooking is required, making the process much quicker and cleaner. Not recommended for show cooking, but if you have a small batch and want to get a quick result, this might just be worth trying!

500g Cumquats, de-seeded and cut into quarters
1 1/2 cups water
3 cups sugar

image

Add the water to the cumquats in a microwave proof dish (mine was about 3 litres), and microwave on high for 10 minutes until the cumquats are cooked and the rind tender. Add the sugar and stir well, so that the sugar dissolves before you boil the mix. Microwave on high until the mixture jells, and the marmalade “sheets” off the spoon (see other posts on cooking jams and marmalades to see what this means). This took around 25-30 minutes. Allow to sit for 5 minutes, then bottle and seal immediately.

image

One of the best parts of the Brookfield Show is Sandy’s Fudge, which she has sold at the Show for the past 12 years, and which supports the Cookery Pavilion. It’s a Brookfield Show tradition, and always sells out. Sandy is also a volunteer steward in the Cookery Section, where she has supported us for at least the past 15 years. It is wonderful that local volunteers like Sandy do so much for the Show, and are instrument in its success. Thanks Sandy, and to everyone else, come and buy some fudge!

image

Fig Jam

image

Figs are still available in the shops in late Autumn, and they can make fantastic jam. I also like to make fig and ginger jam, as it is superb eaten with cheese, especially brie, camembert, and blue vein. Match made in heaven!

Figs are an unusual fruit, as they are inside out. They are one of the earliest fruits, and feature in the Bible and many early writings. I think they make an outstanding jam, but it isn’t exactly economical to make! It is also notoriously fickle, and has a nasty habit of burning on the bottom of the pan. Luckily burnt fig jam is another sub-genre, and pretty good too!

Ingredients

Figs
sugar
lemon

Method

Trim the top off the figs and cut into quarters. Sprinkle with sugar, the same weight as the figs, and leave overnight, or at least 4-5 hours so that they disgorge all of their liquid.

Place in a pan with the strained juice of one or two lemons (depending on the weight of the figs – for a large batch use two lemons), and ensure that the sugar is fully dissolved before you bring the mixture to the boil.

image

Once the sugar is dissolved, boil rapidly until the jam reaches the set point (104 degrees C). Either use a sugar thermometer (highly recommended), use the “wrinkle test” (place a small teaspoon of jam on a plate, and draw your finger through – if the jam wrinkles and holds it shape, it is done); watch for it “sheeting” off the spoon; or look for changes to look and feel and smell, in particular the bubbles will get much bigger, the mixture will try to boil over, and it will send up a some spits.

Fig jam will jell quite quickly, particularly using this method, and needs to be carefully watched and frequently stirred. If it does stick to the bottom and burn, you can still save the mixture by not stirring in the burned bits from the bottom.

image

Once the jam has jelled, take it immediately off the heat, wait five minutes and bottle immediately into heated, sterilised jars (see Orange Marmalade recipe for how to do this). Lid immediately.

Hint – pans and jam making equipment are easy to clean when soaked in cold water – just rinse off, and no detergent or further washing required. Same with any spills on the stove, just soak in cold water and wipe straight off. As with all preserves, the hot mix is very dangerous and can cause very nasty burns. Never make jam with little children around, and always wear oven mits, and take care when handling the mixture.

image

Orange cake is one of my all-time favourites. I have an old family recipe which my mother used to make and I love. I have entered it enough times in the Show (many years ago) to know that it isn’t a Show recipe, but I hope that the recipe below will bring you more luck! This recipe is adapted from an old madiera cake recipe.

Ingredients

120 g butter
120 g sugar (use caster sugar for Show work)
grated rind of an orange
2 eggs
1/4 cup milk
180 g Self Raising Flour

Method

Pre-heat oven to 180 degrees Celsius. Beat the butter and sugar on high speed in Mixmaster or KitchenAid until lighter in colour and creamy in texture.
image

Add the orange rind and mix well. Add the eggs one at a time to avoid curdling. Reduce speed to minimal (or hand mix), and add the flour and milk, alternatively, starting and ending with the flour. Fold in the flour and milk, do not beat.

image
Place mixture into a greased and lined cake tin. Cook approximately 45 minutes, or until the mixture comes away from the sides of the pan, and springs back to the touch.

Cook on a wire cooler (covered with a tea towel for Show work), and ice with orange icing when completely cool.

image

Orange marmalade is one of the most popular preserves, and one of the easiest to make, however as with all marmalades, there are tips and tricks to get a successful outcome. For this recipe I have used navel oranges, which are highly recommended, and will give the best outcome. I also grow Seville oranges which make an excellent marmalade, and these come into season very late and well after other winter citrus, around August/September. There are many different methods of making orange marmalade, and the one below is simple to follow and works consistently. For show work, some exhibitors make a jelly marmalade using the squeezed juice and very thinly sliced in very fine strips, which is very difficult to jell, but spectacular when it works and the fine strips of orange skin are suspended in the jelly.

For this recipe I used five oranges, the juice of one lemon, and sugar, lots of sugar. Apart from taste, sugar is a preserving agent, and an important part of the chemical process which sets a jam, jelly or marmalade. Getting a preserve to set is a magical combination of sugar, acid and pectin, which in the right combination, and at the right temperature, sets to give jams and marmalades that distinctive texture or jell. With a sweet orange marmalade, the juice of a lemon will often be necessary to provide the necessary acid.

Method

image

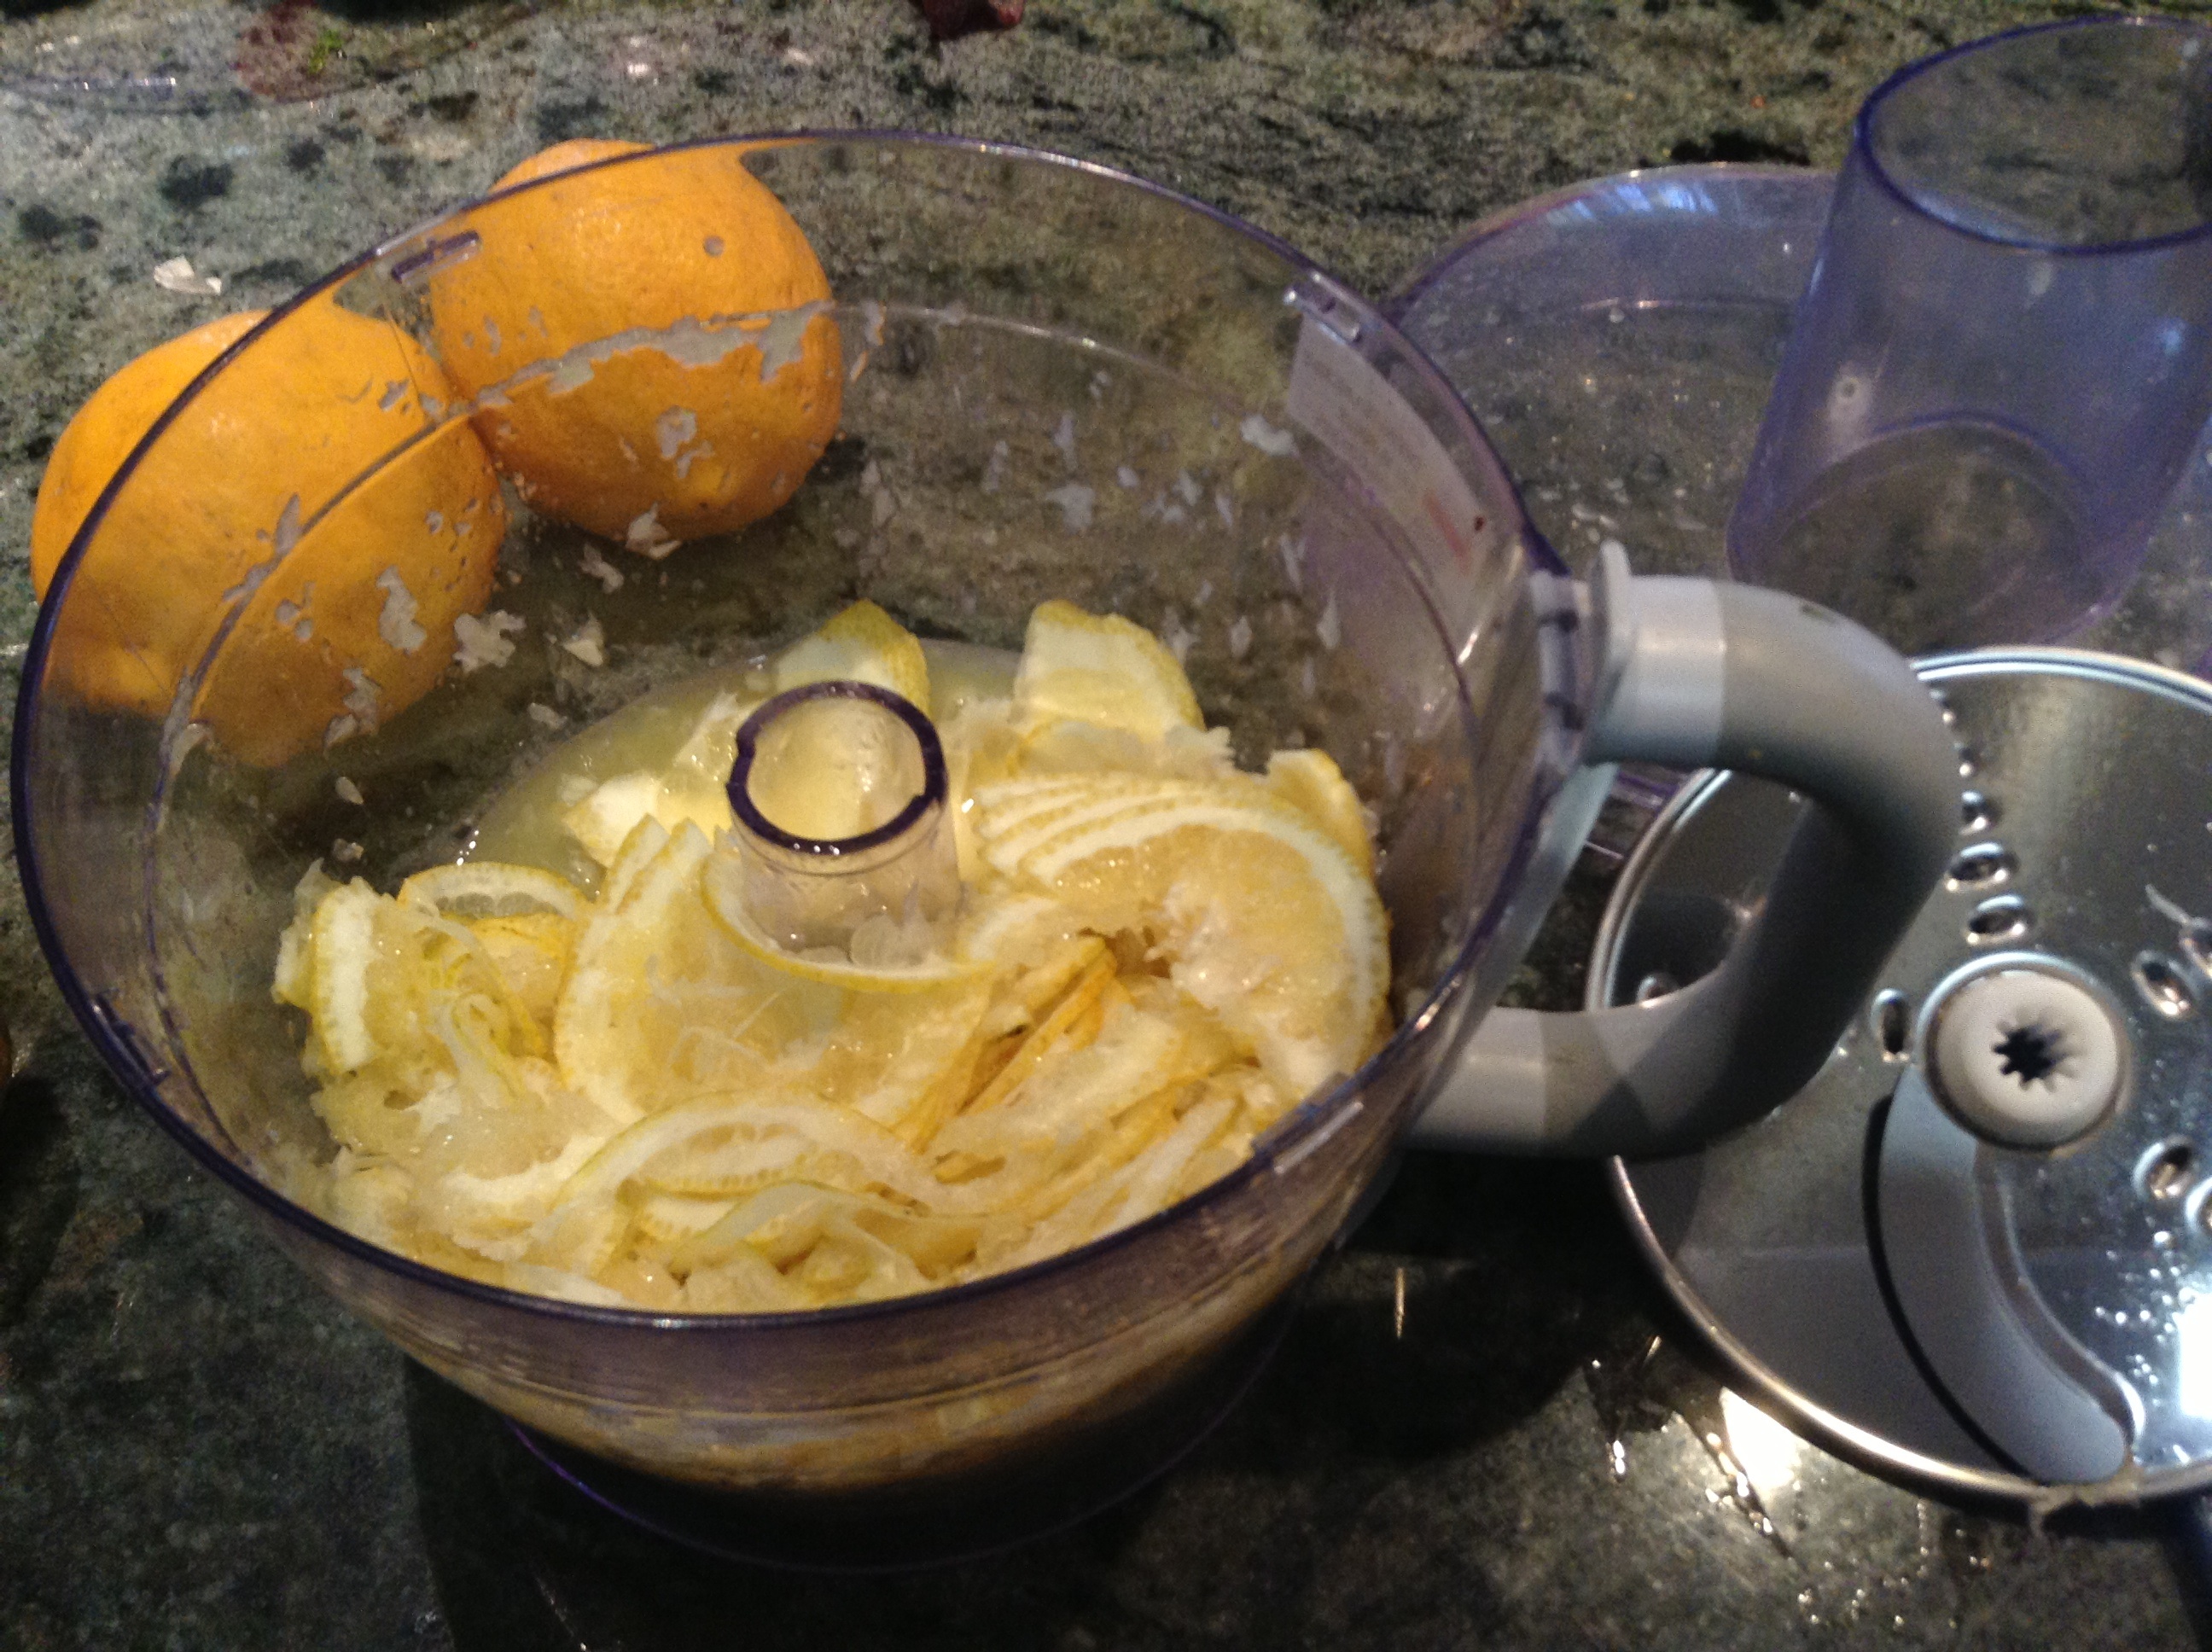
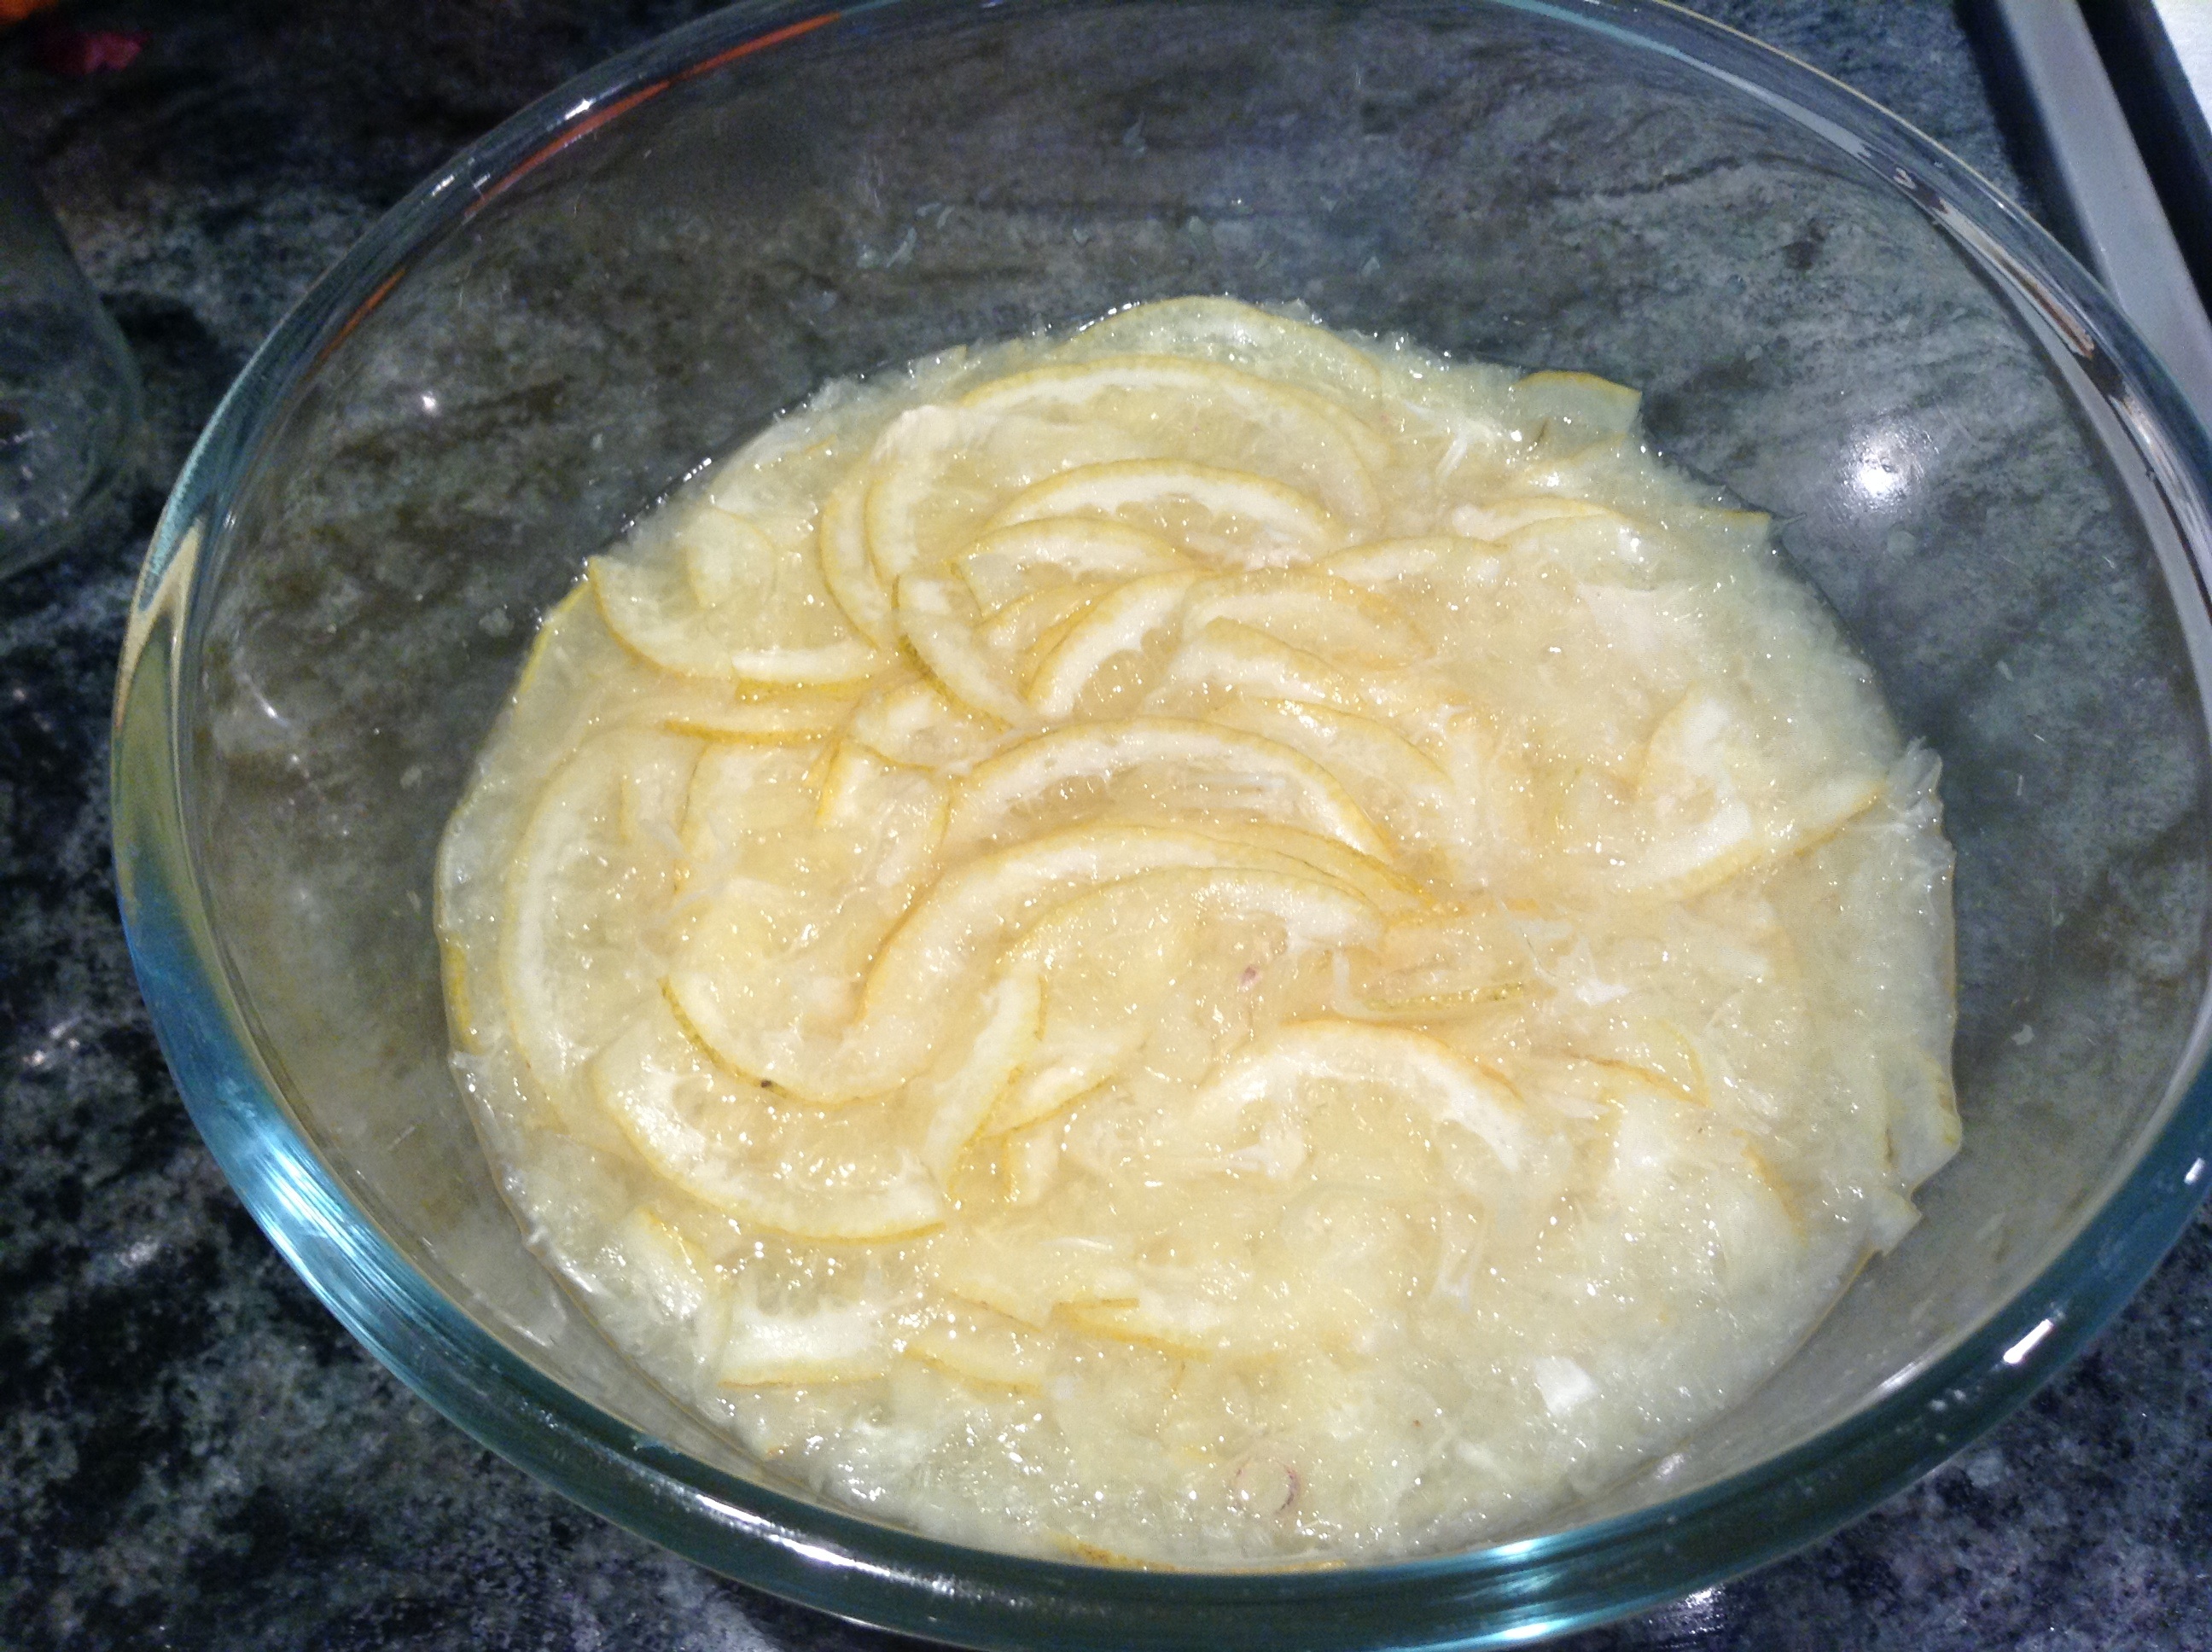
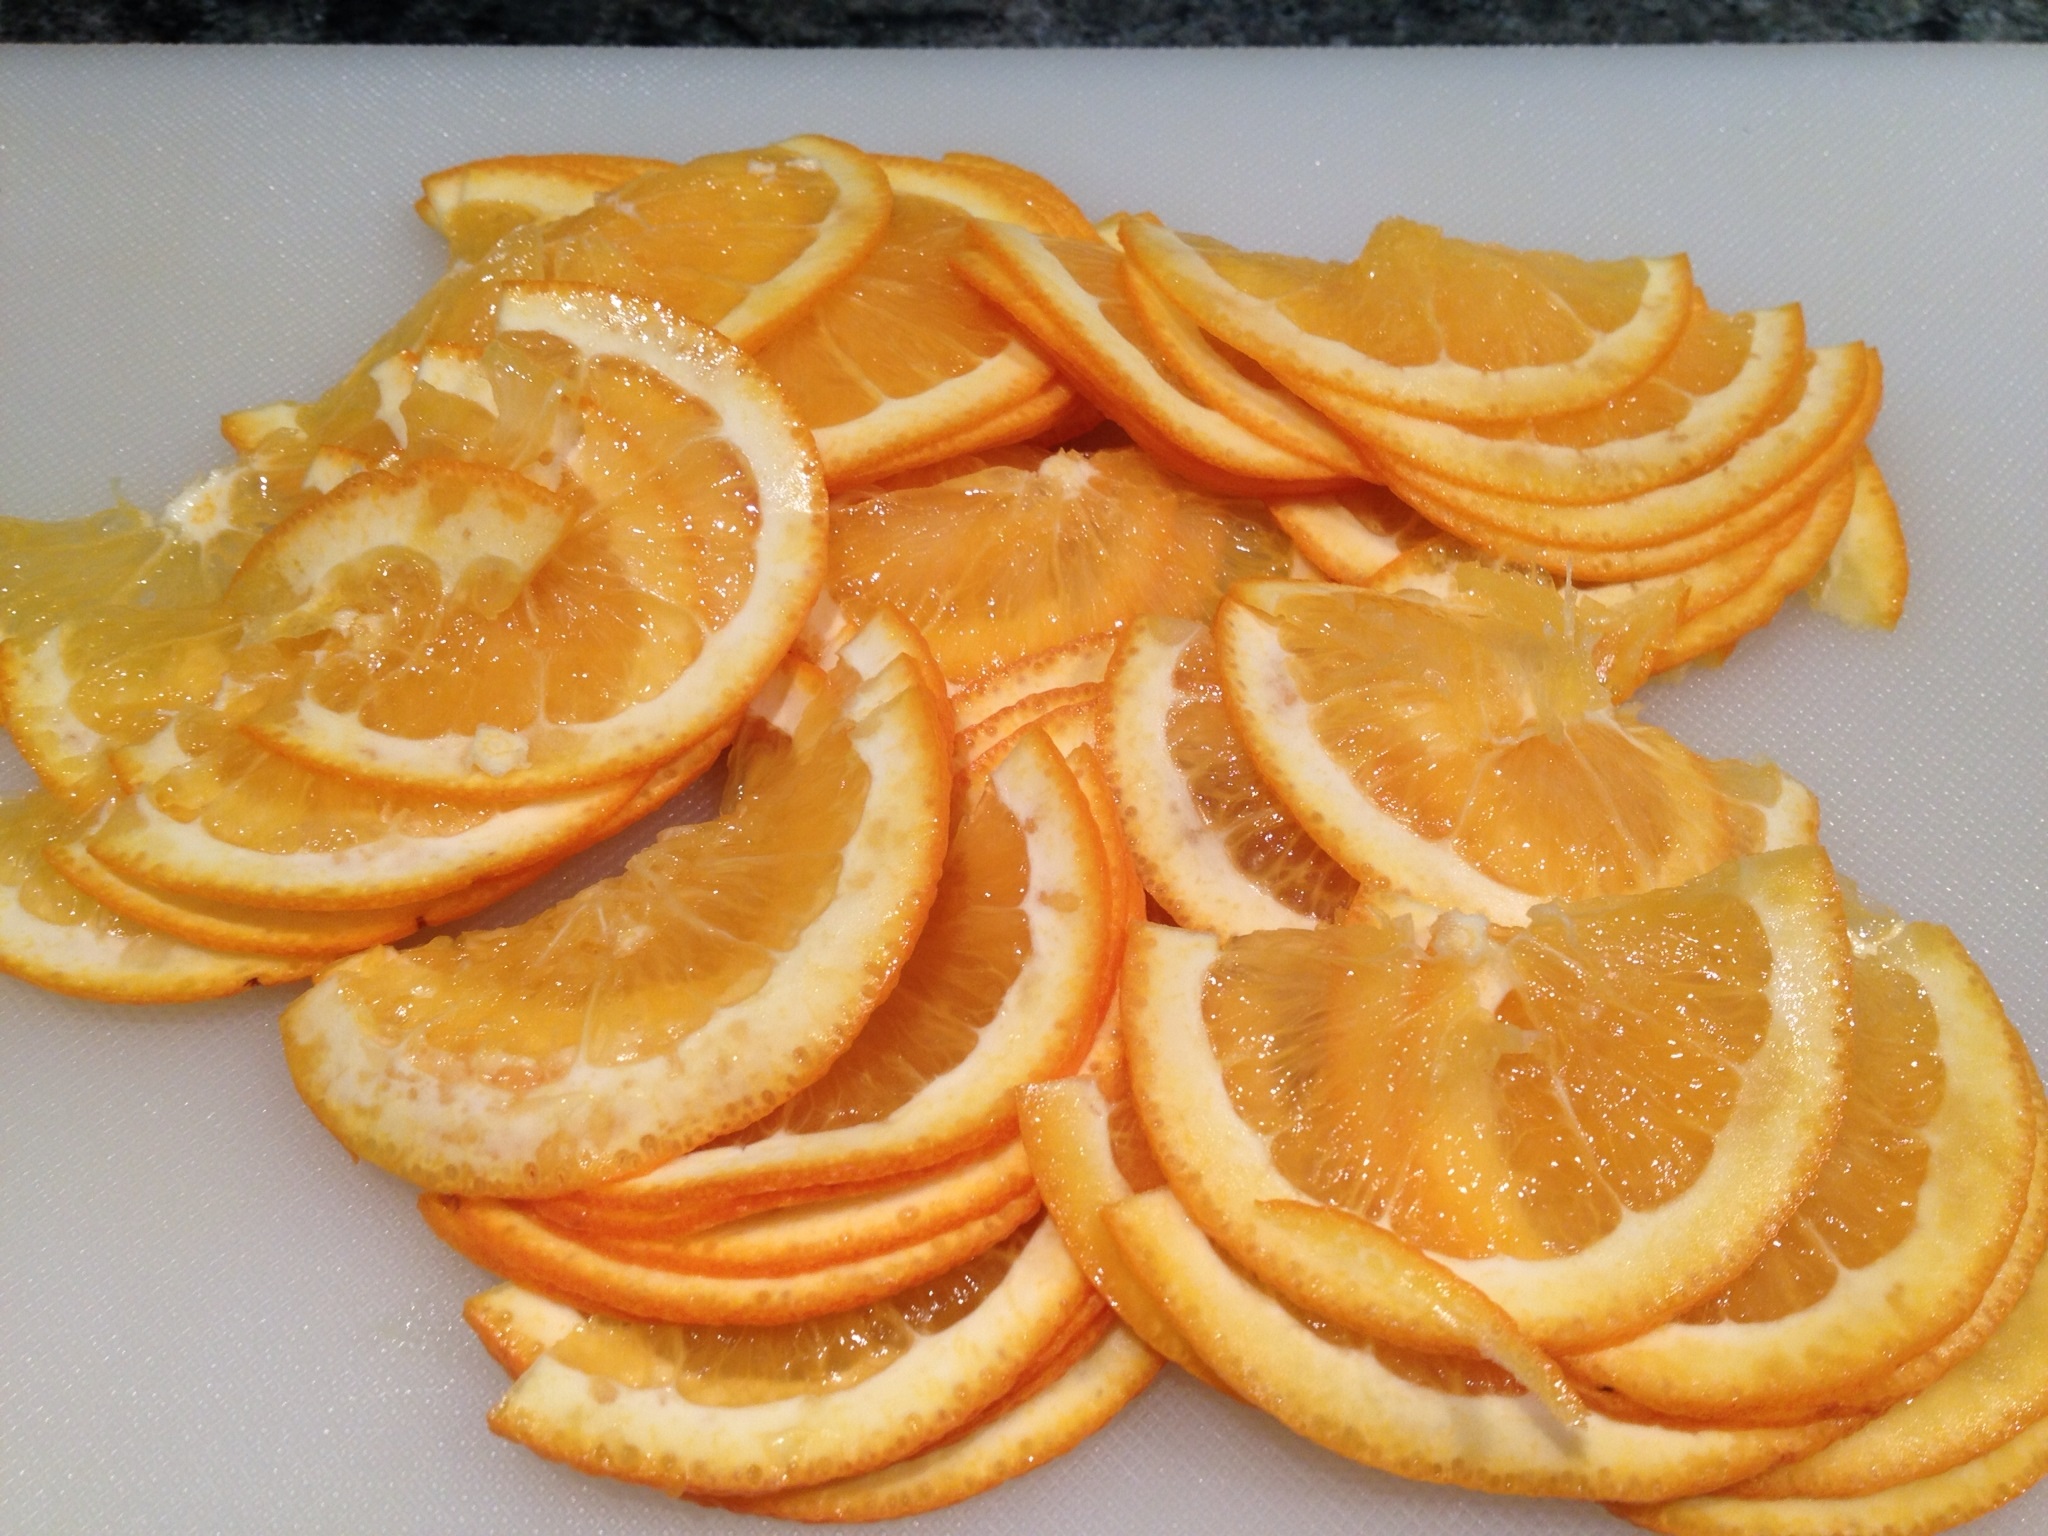
Top and tail the oranges, cut in half or quarters lengthwise, and slice the oranges as thinly as possible. Place in a bowl and cover with water. I do this by feel and experience, and there is not specific amount of water. Bear in mind that a lot of the liquid will be boiled off.

Soak the oranges in the water overnight or for at least four to five hours. If you are using oranges with seeds (naval oranges don’t normally have seeds), these need to be removed and soaked separately in a small container to remove the pectin. Strain the seeds after soaking, and add the liquid to the rest of the mixture.

image

After soaking, boil the orange slices, uncovered, for one hour. This is an important step, and is needed to ensure that the orange slices will be tender.

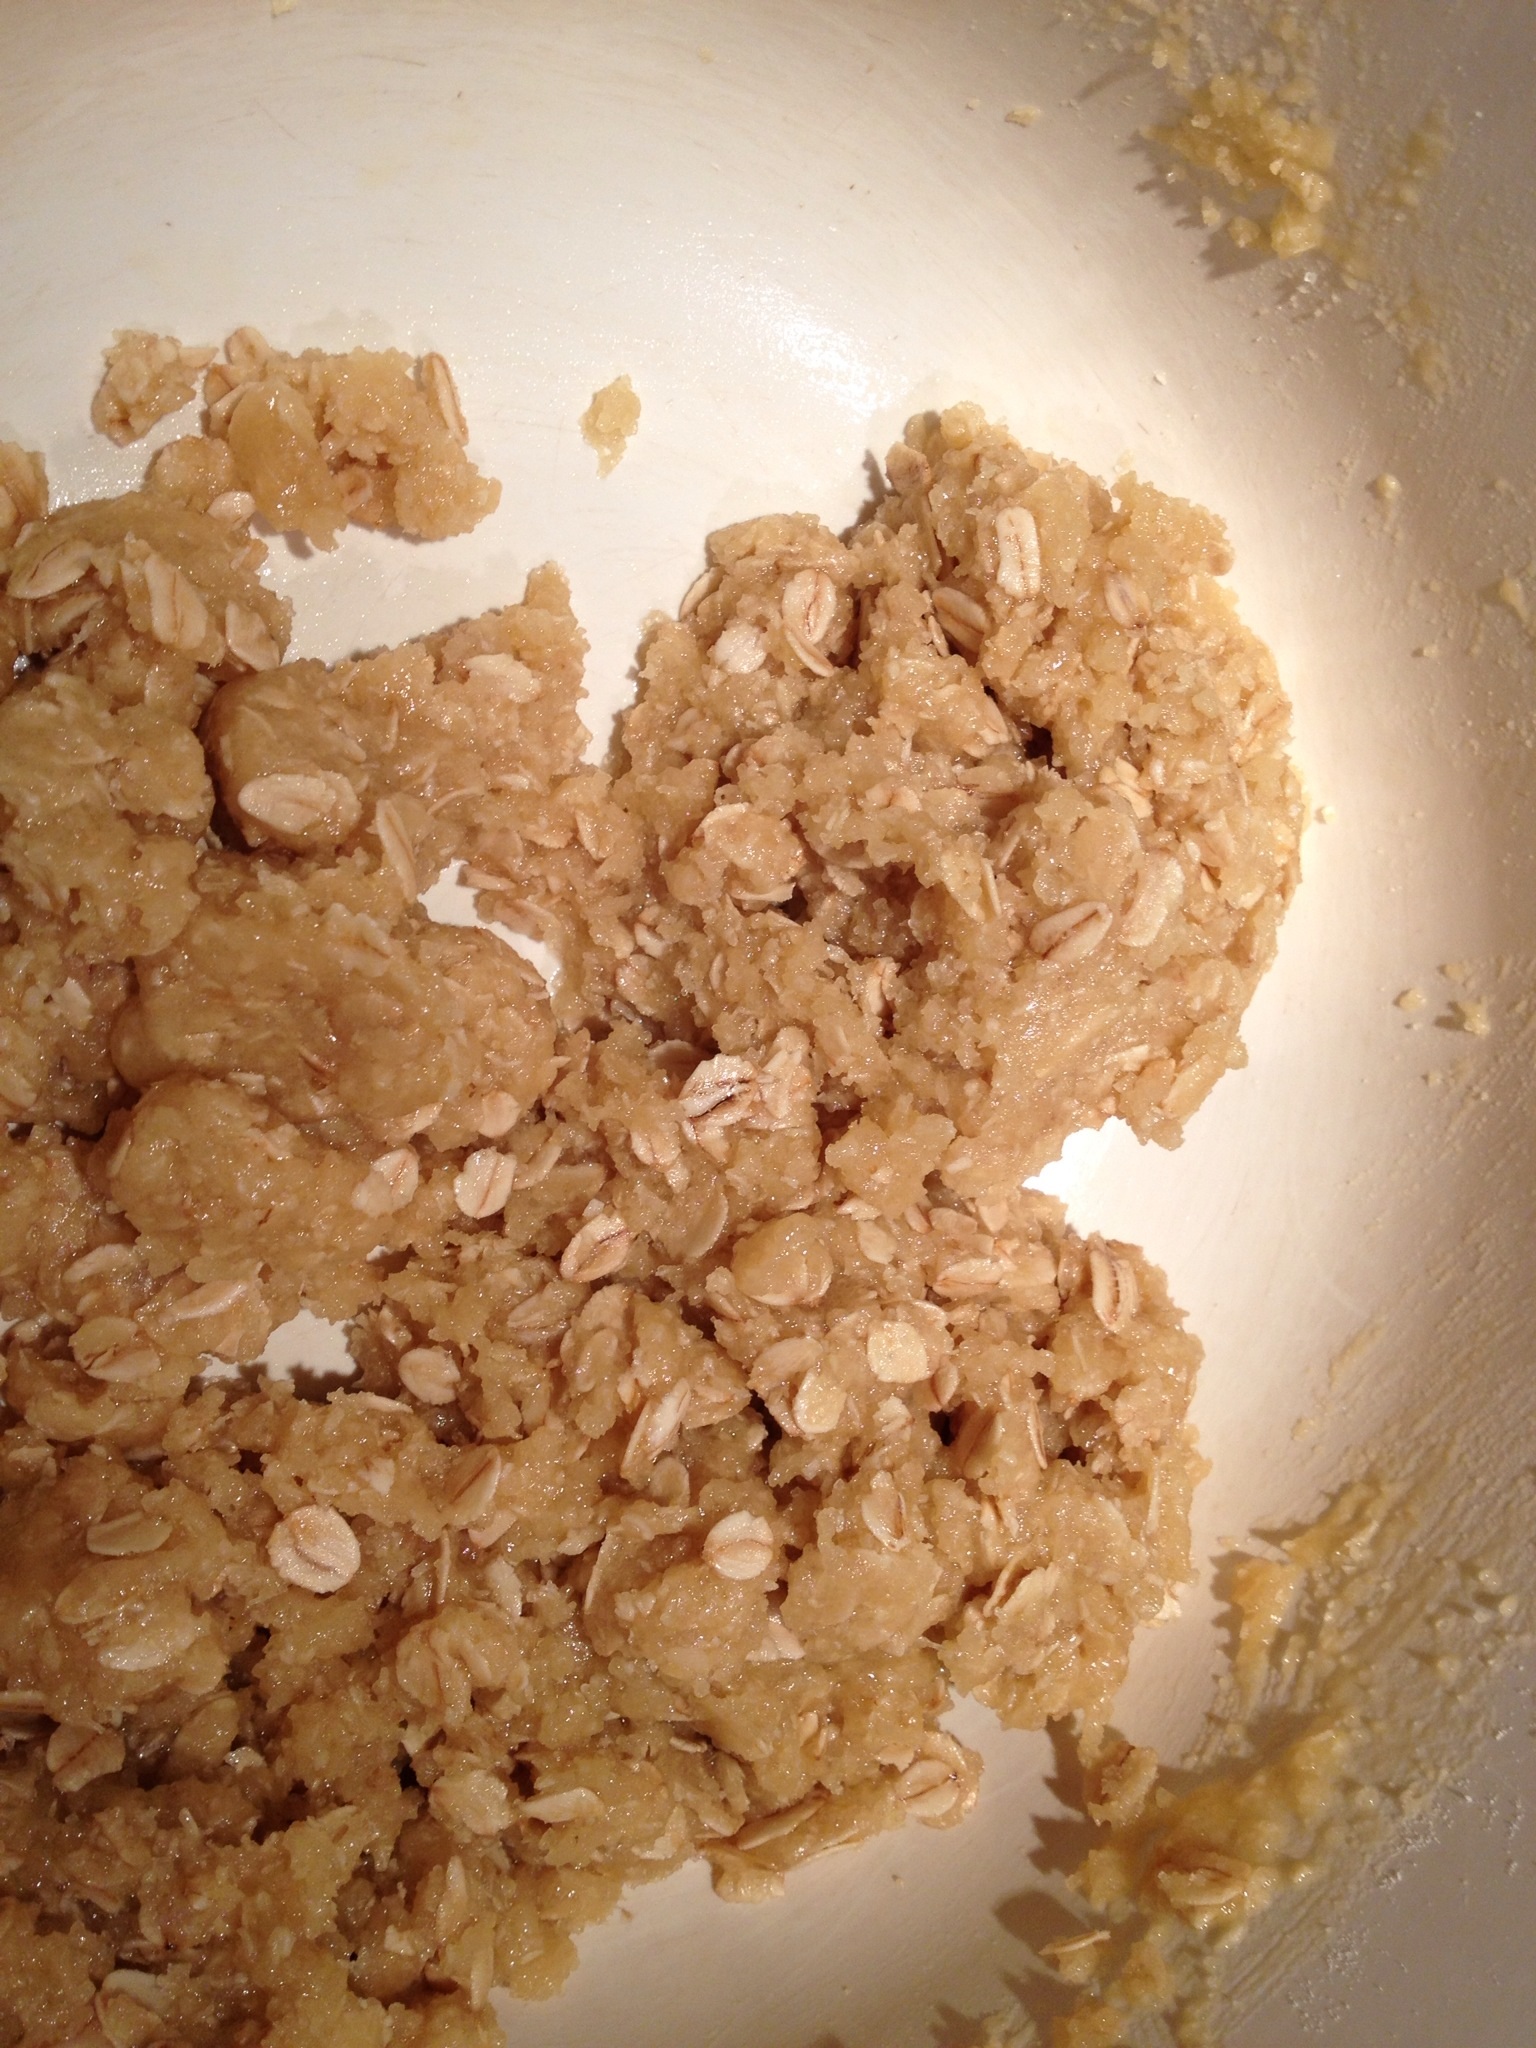
After cooking, test the mixture for pectin content, the amount of which determines the amount of sugar to be added. To do this, add one teaspoon of the cooked orange liquid to three teaspoons of methylated spirits, and tip onto a plate. If there is one big clot of the fruit mixture, you can add the sugar cup for cup. If there are smaller clots (see picture), add 3/4 sugar per cup of fruit mixture. If there are no clots, you have a problem and are unlikely to get the marmalade to set. Add more lemon than you otherwise would to give it a chance of setting.

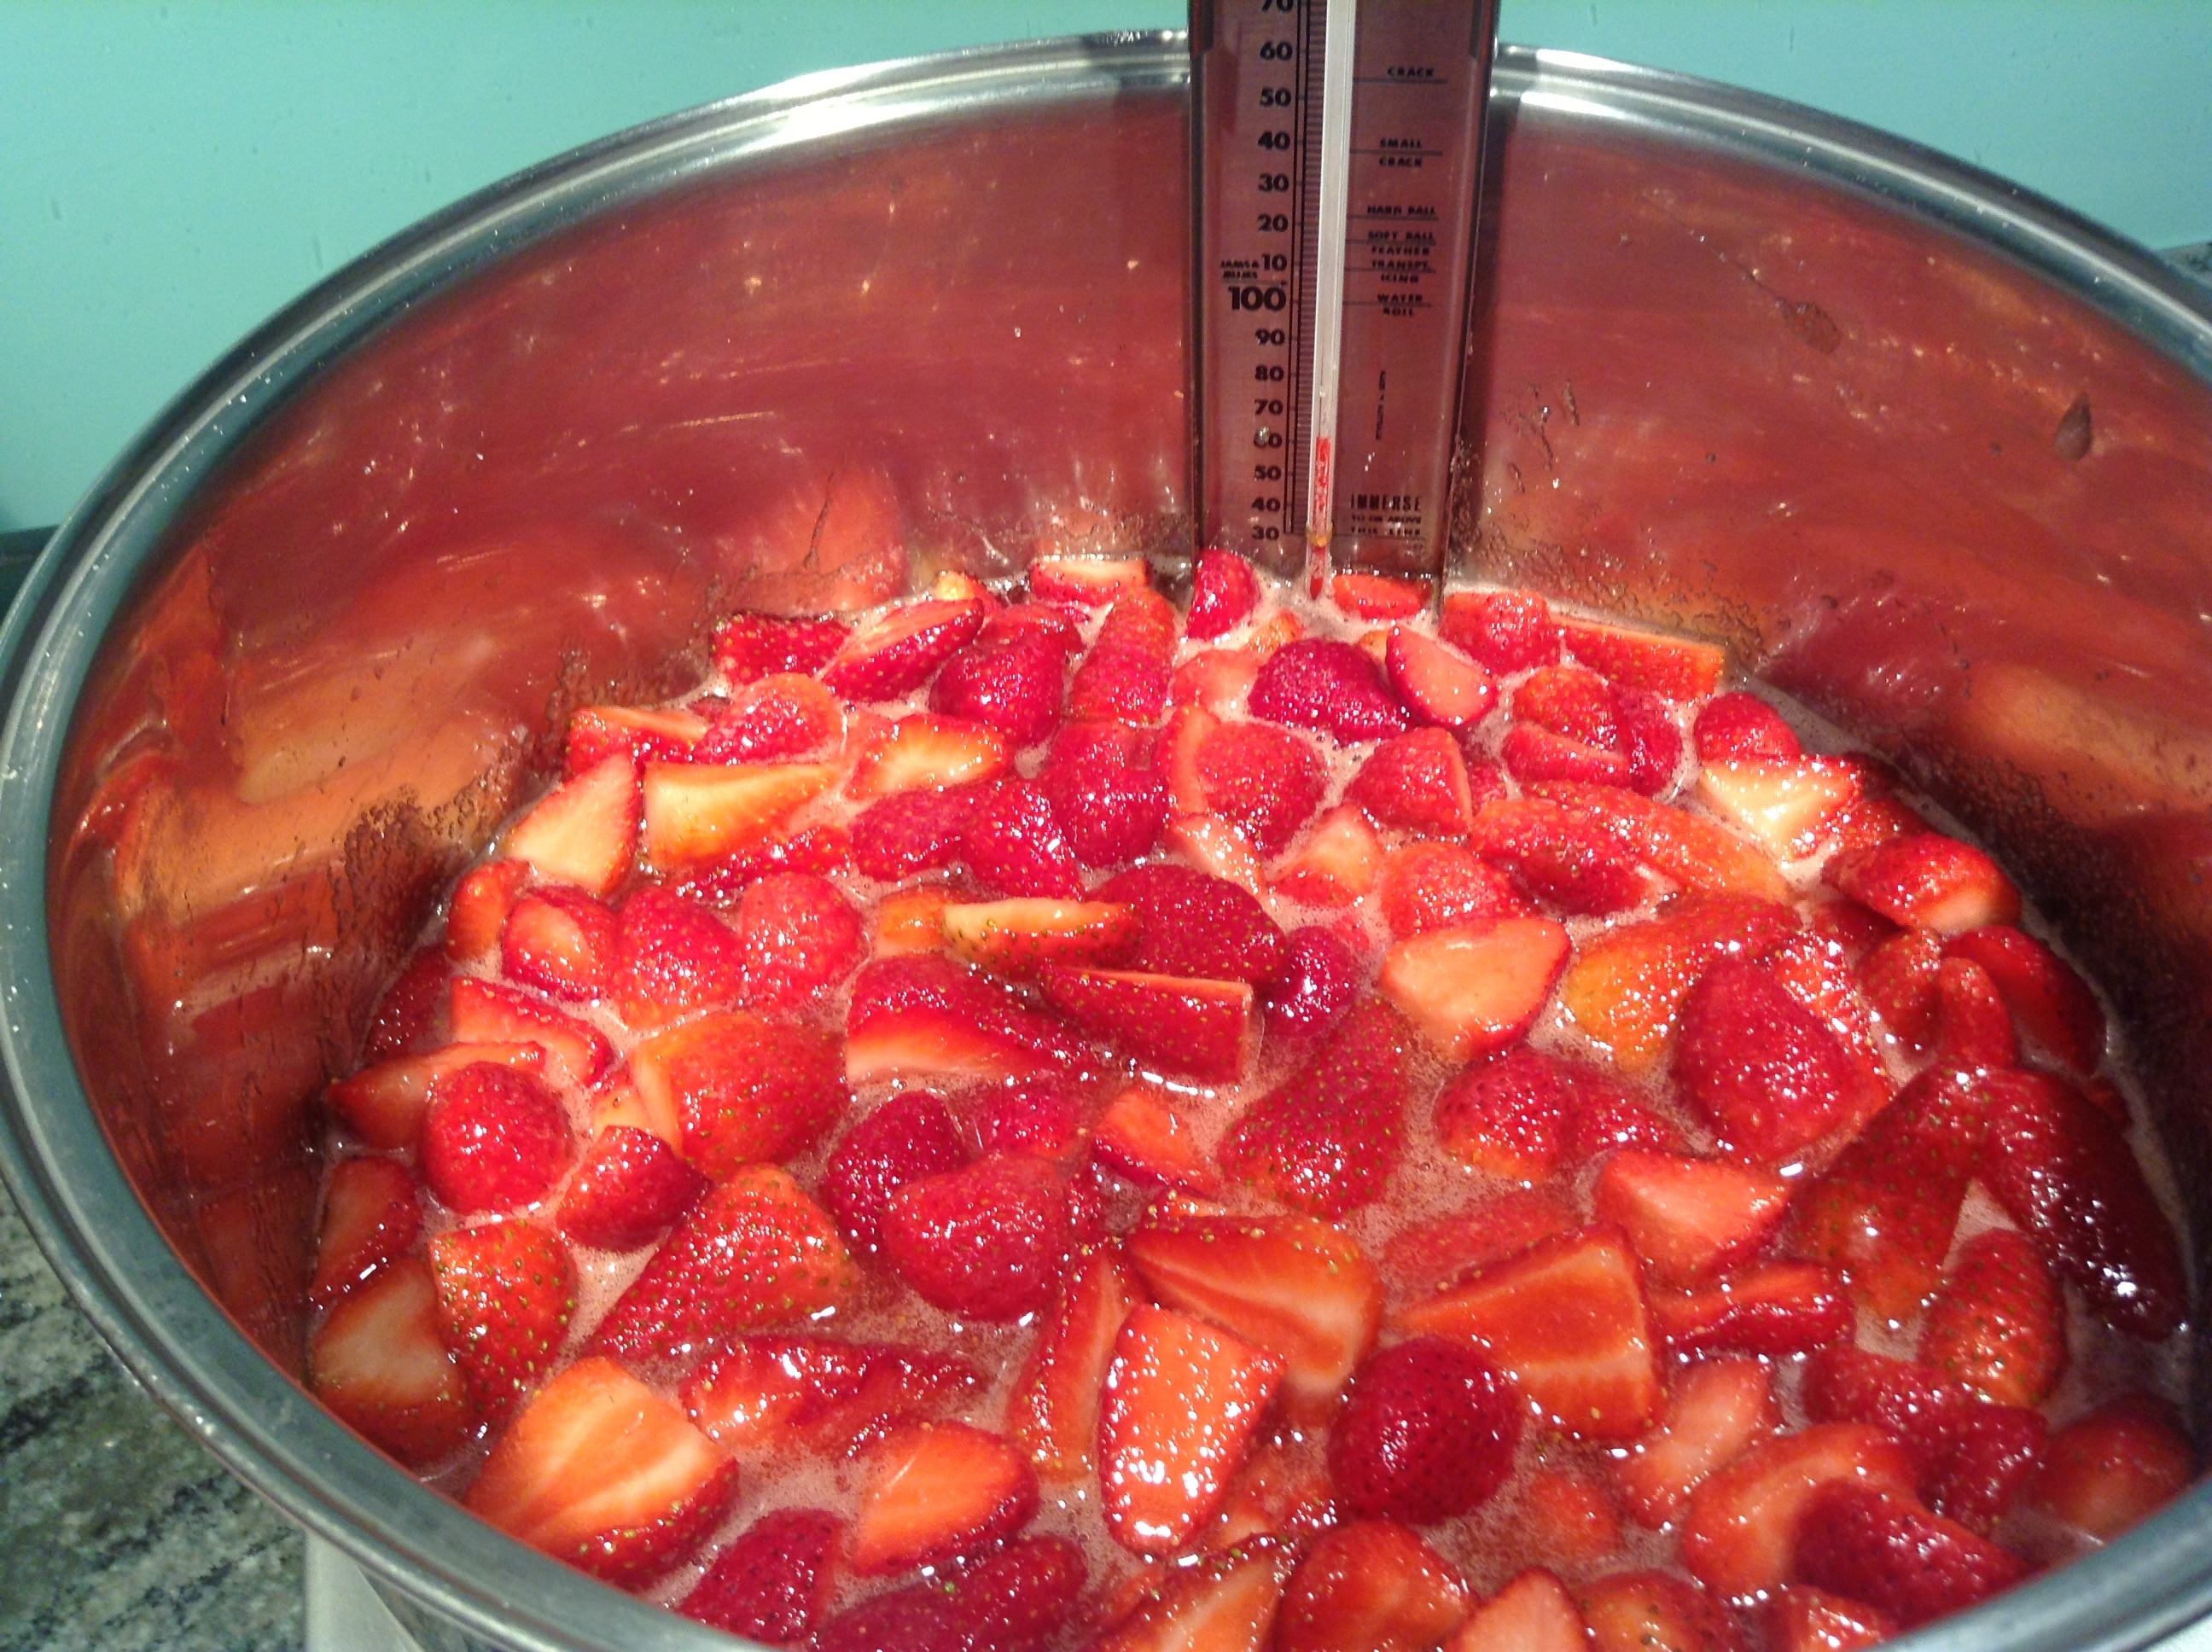
After adding the sugar, put back on the heat, but ensure that all of the sugar is fully dissolved before it boils. If you have a candy thermometer (strongly recommended), add it now.

image

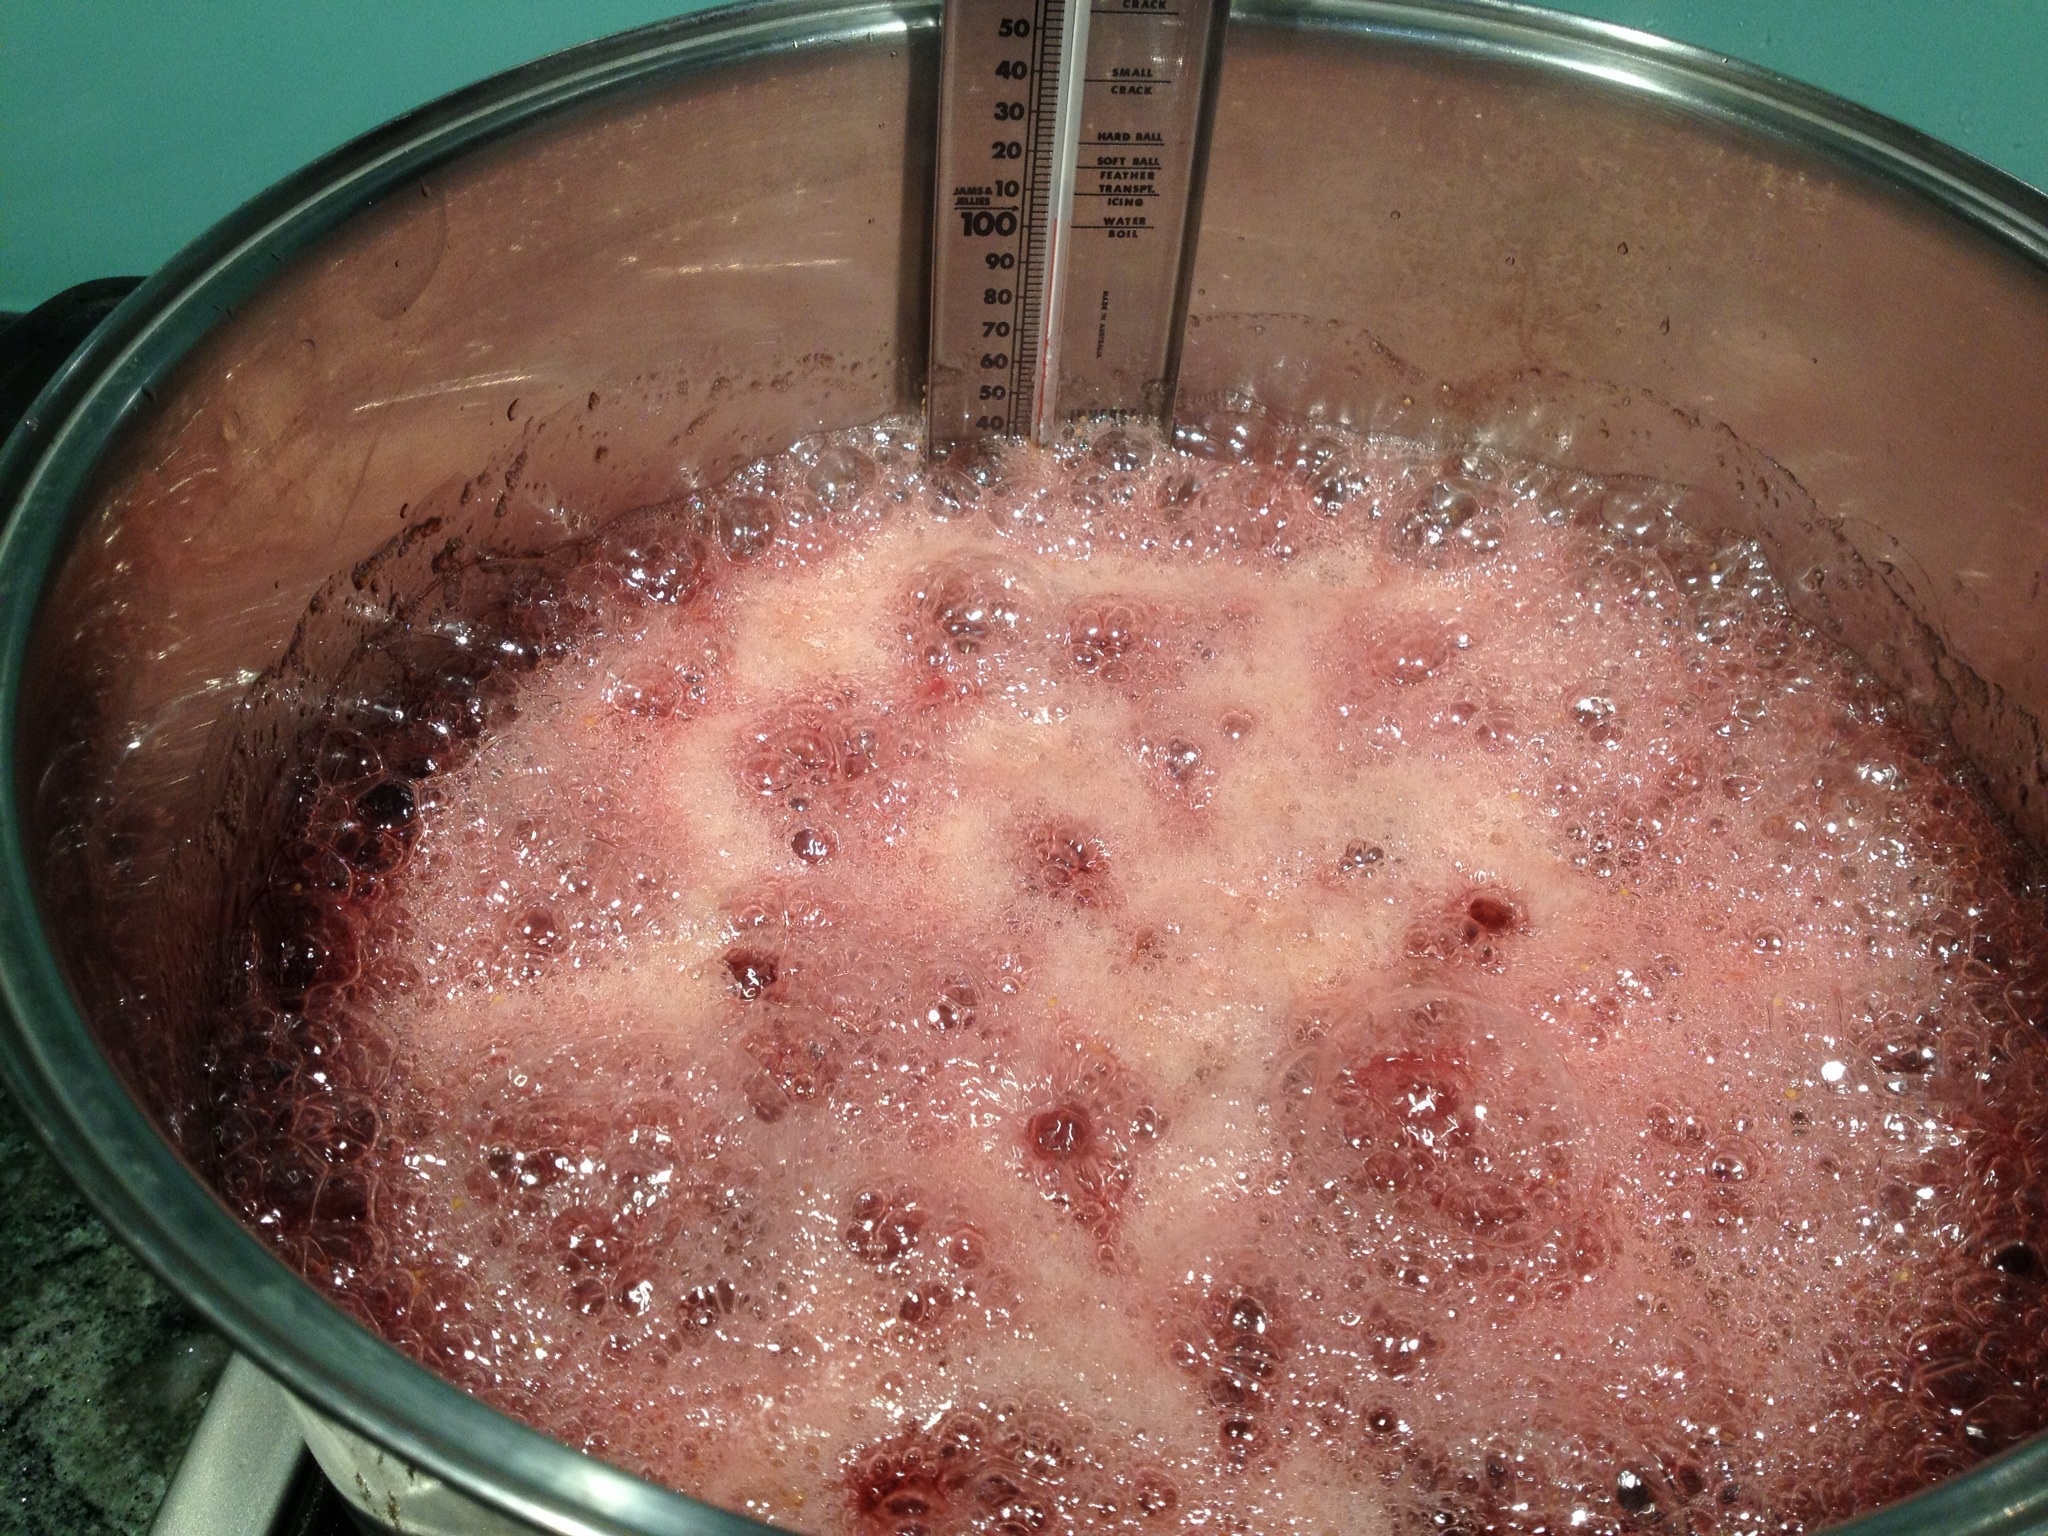
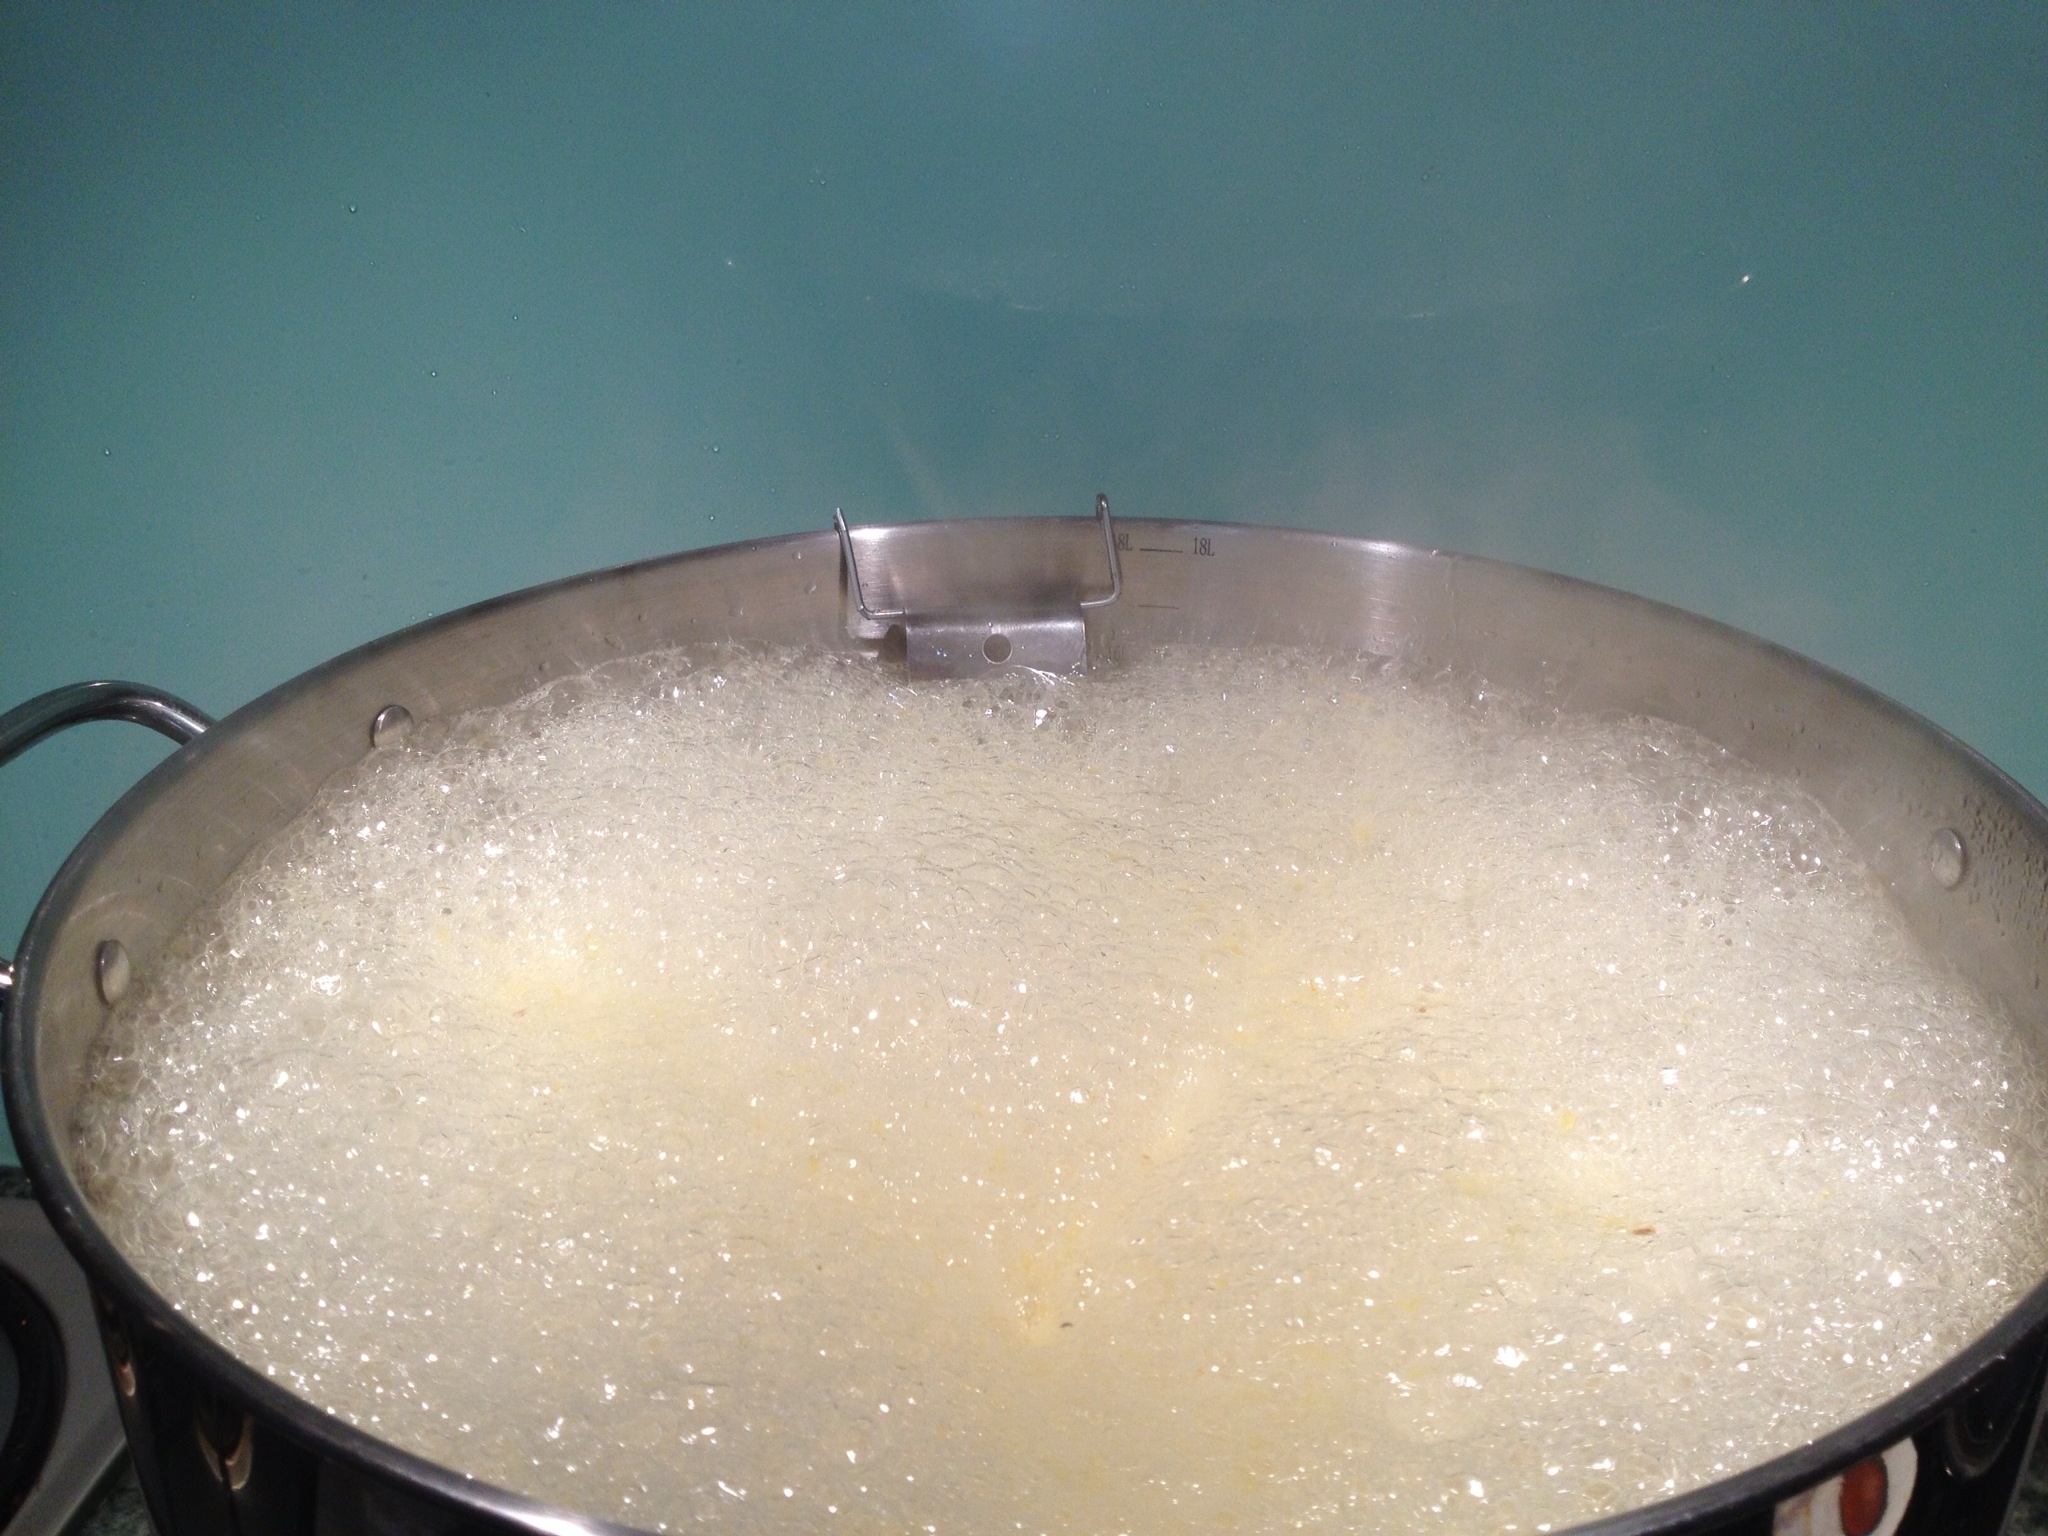
Once the sugar is dissolved, boil rapidly until the marmalade jells. This will take approximately 20 minutes.

As the marmalade approaches the setting point (104 degrees Celsius), the bubbles will change and you will see a rolling boil. It will also send up the occasional spit. At this point, being testing for jelling, and also keep stirring to prevent the marmalade from sticking to the bottom and edges of the pan.

image

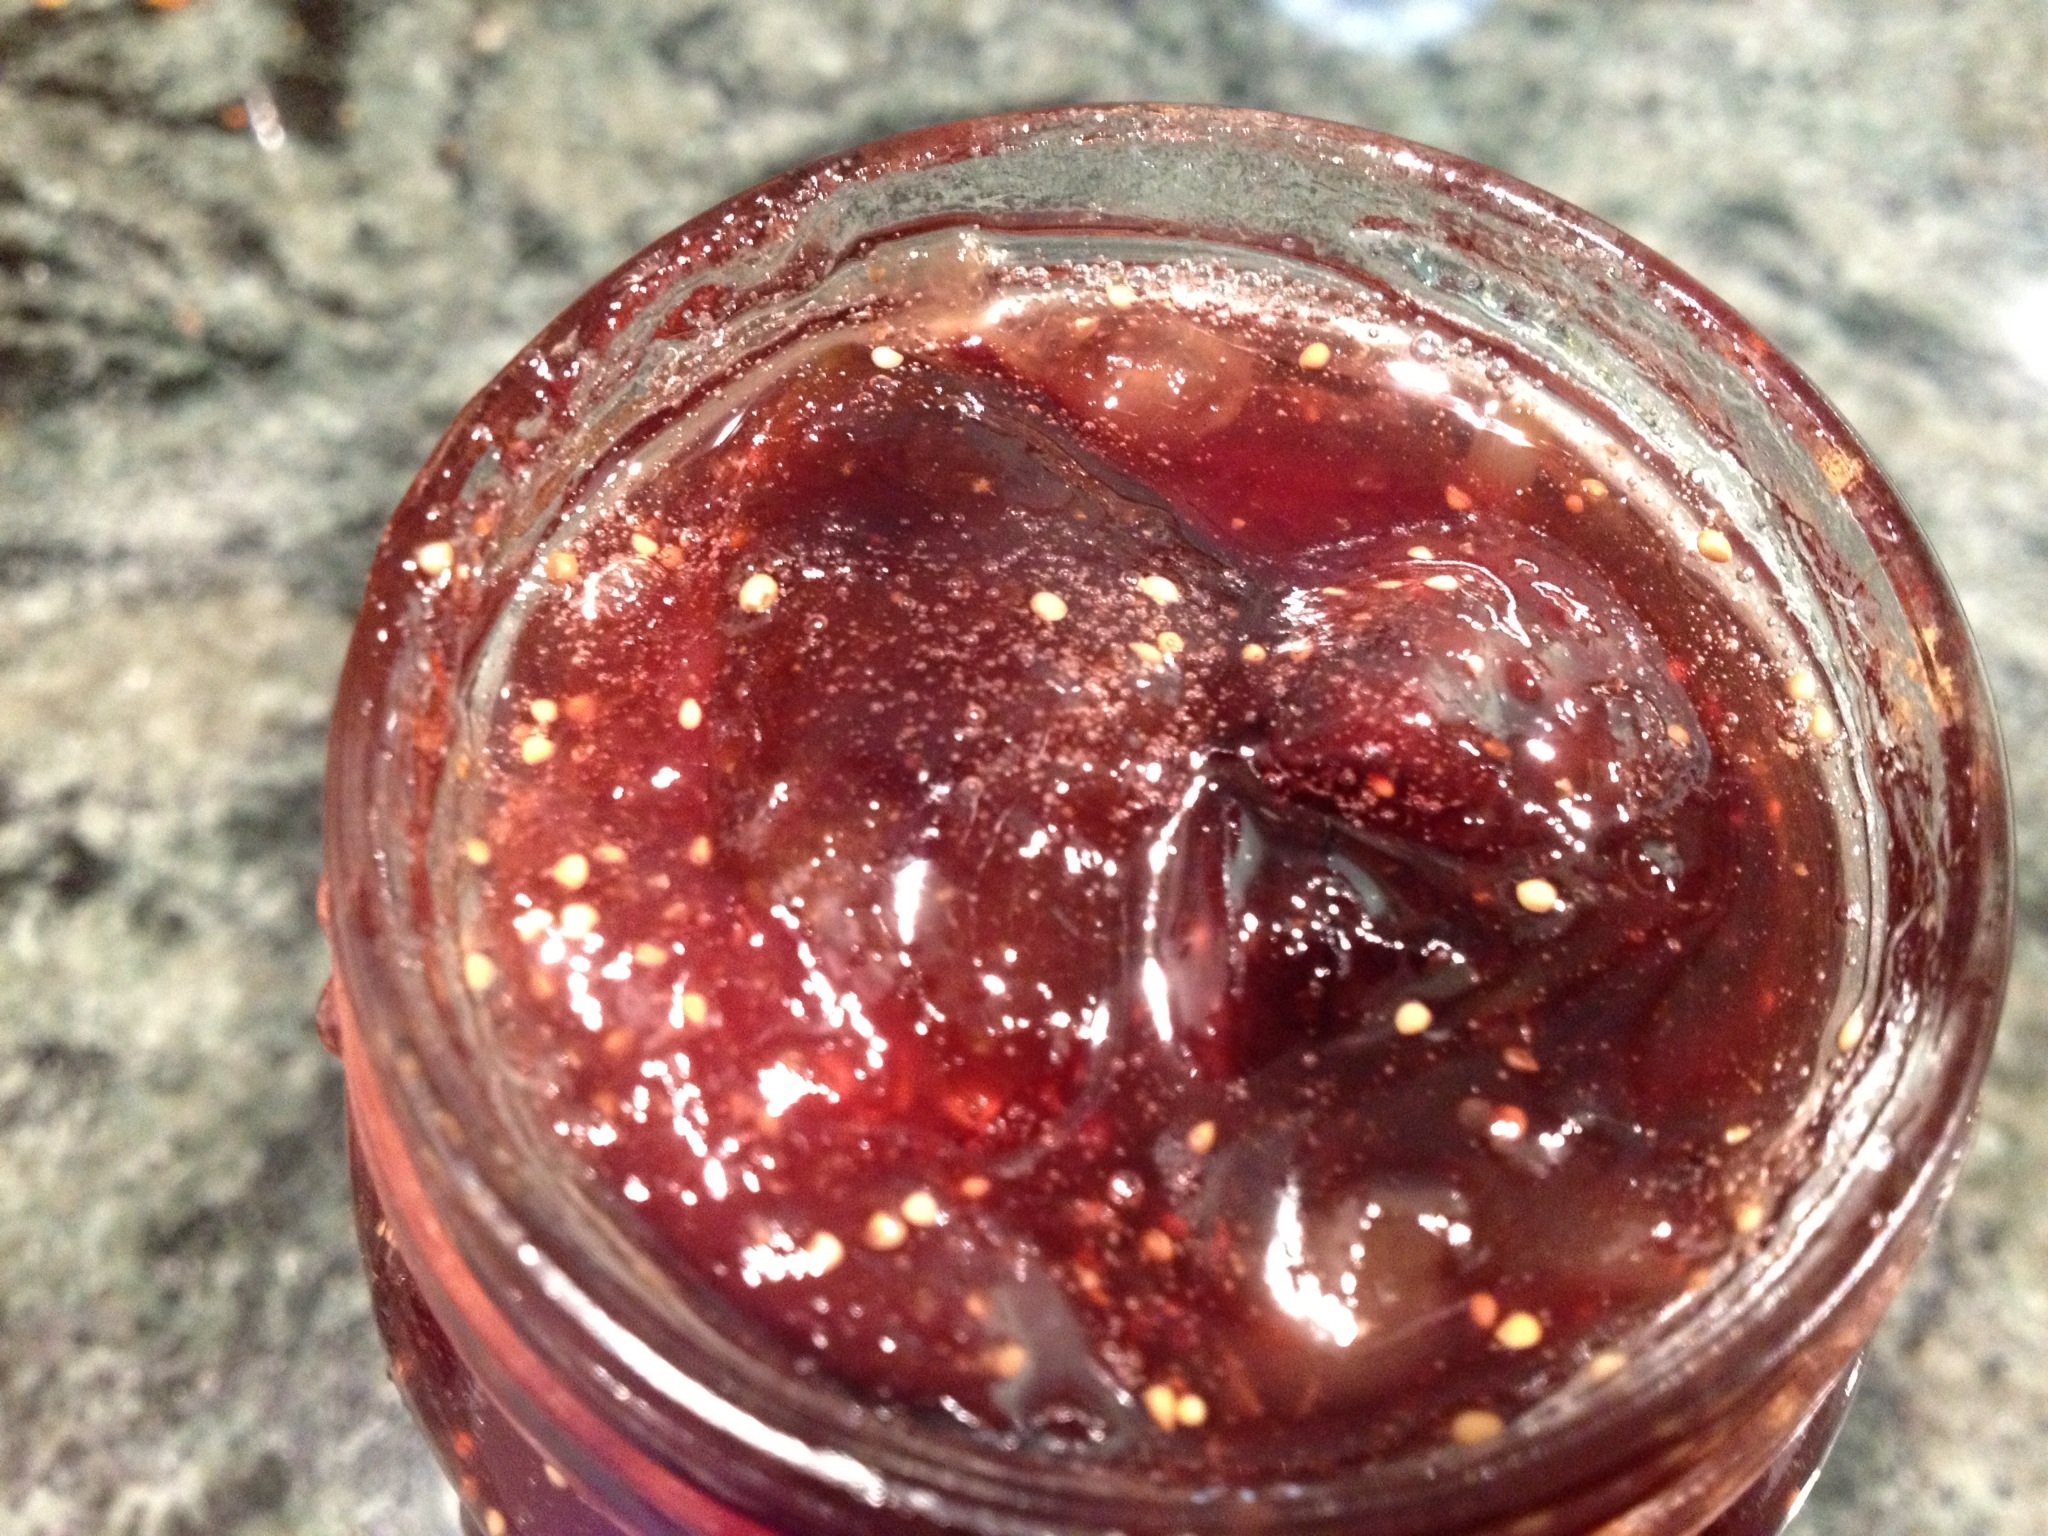
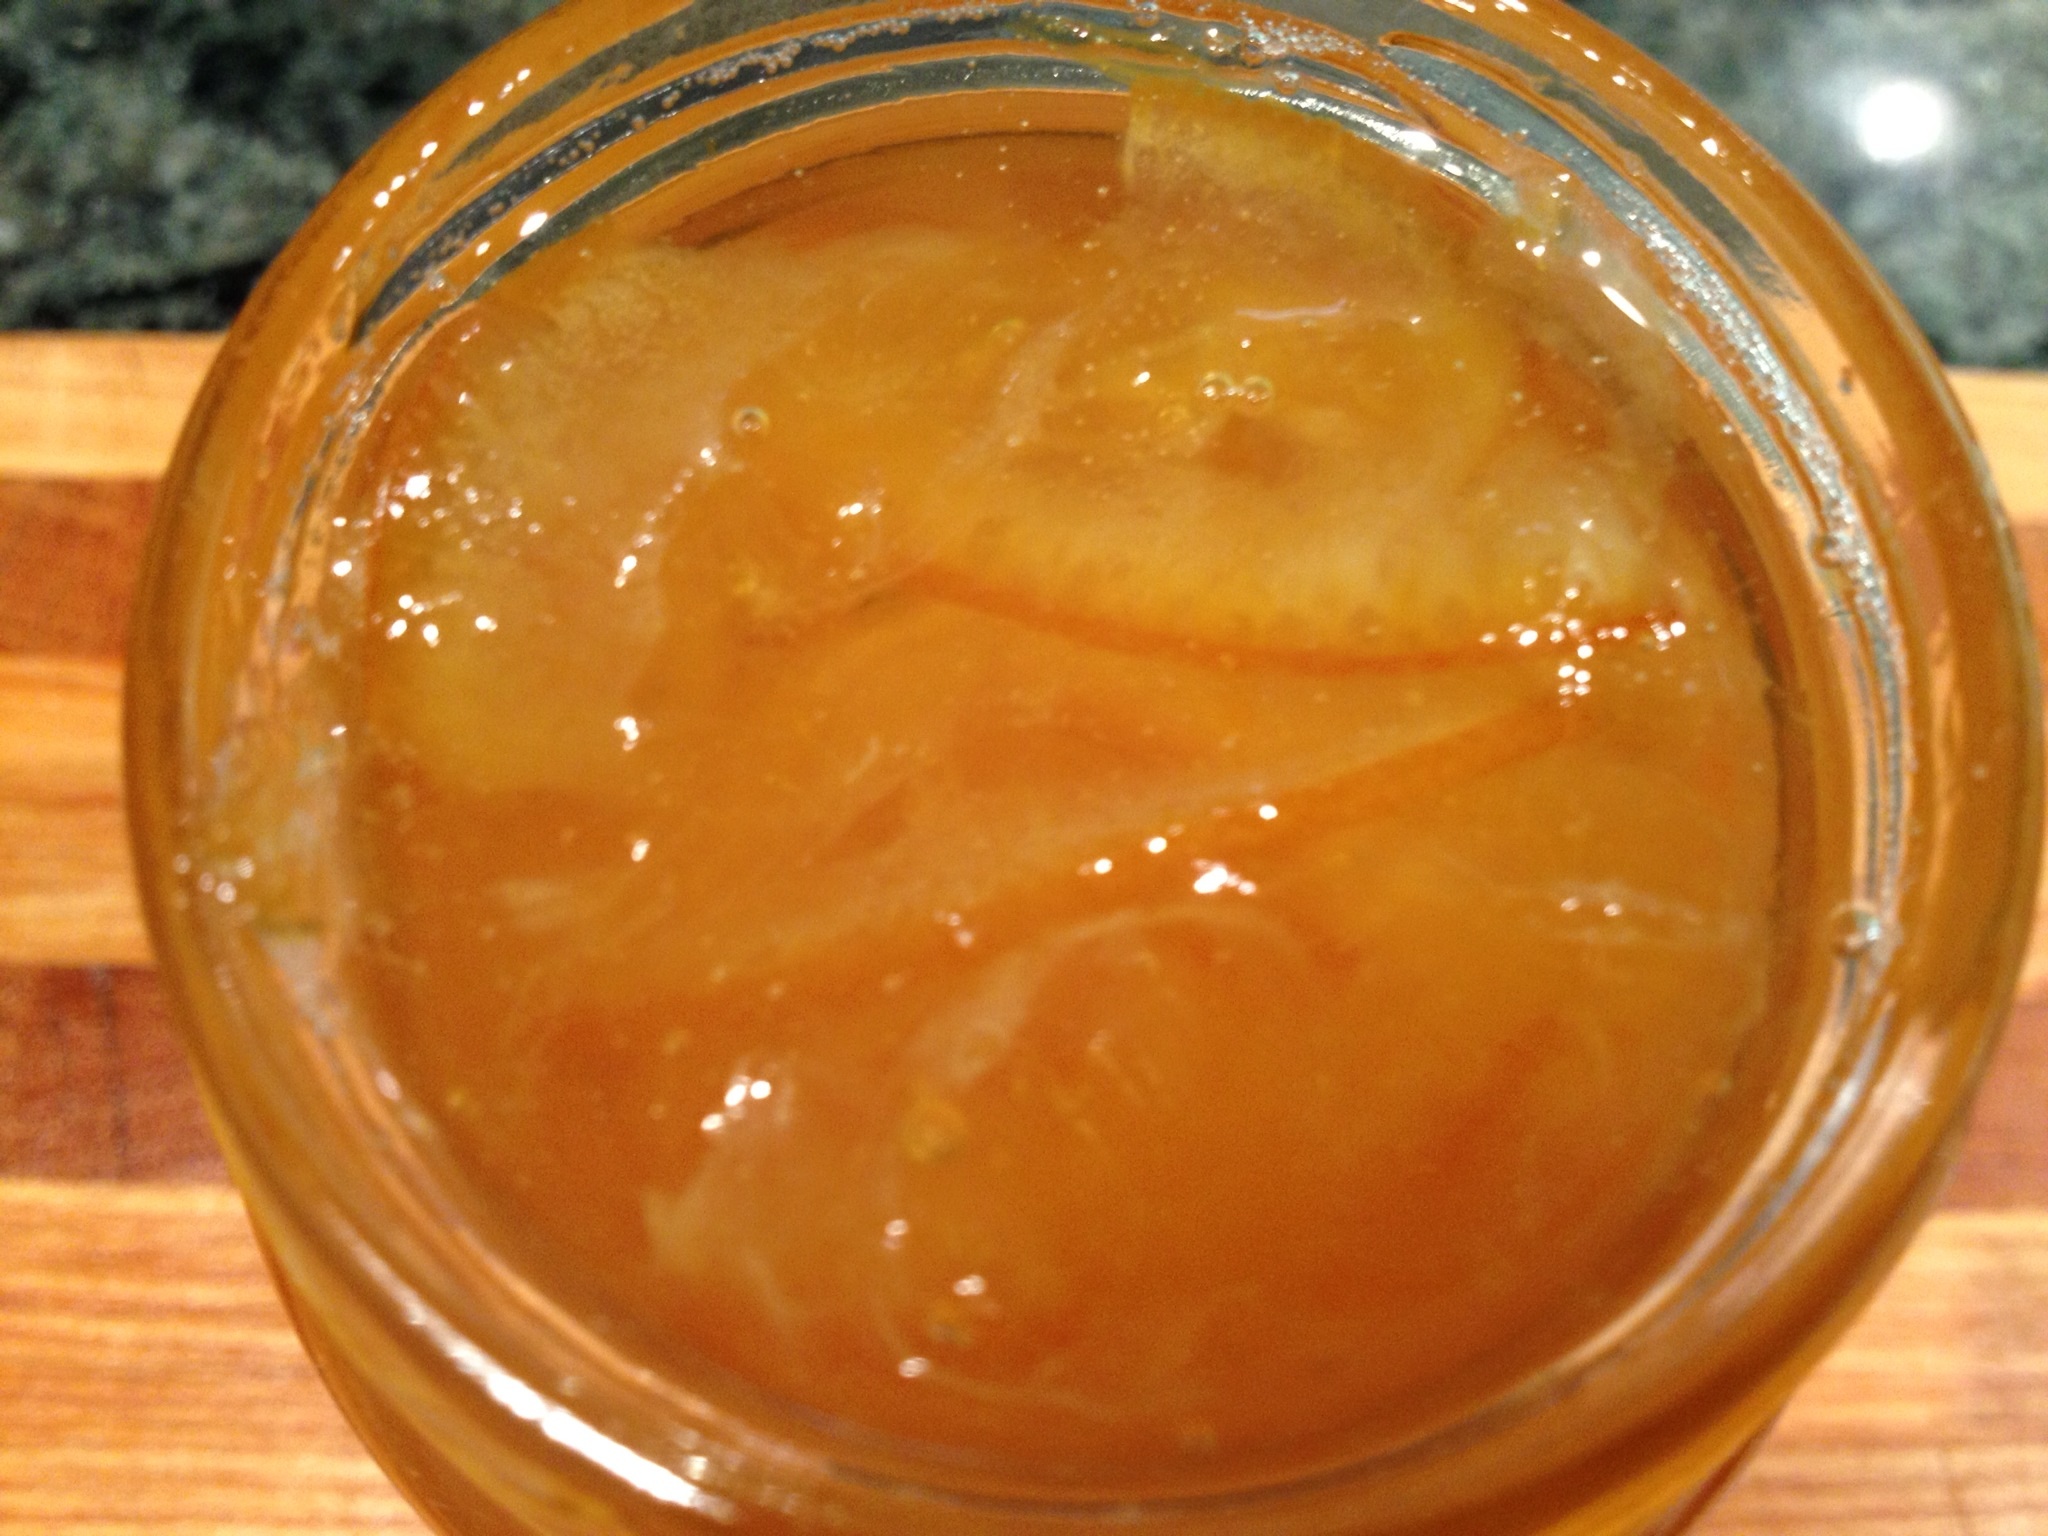
Once the marmalade is set, remove from the heat, and allow to sit for 5 minutes.

image
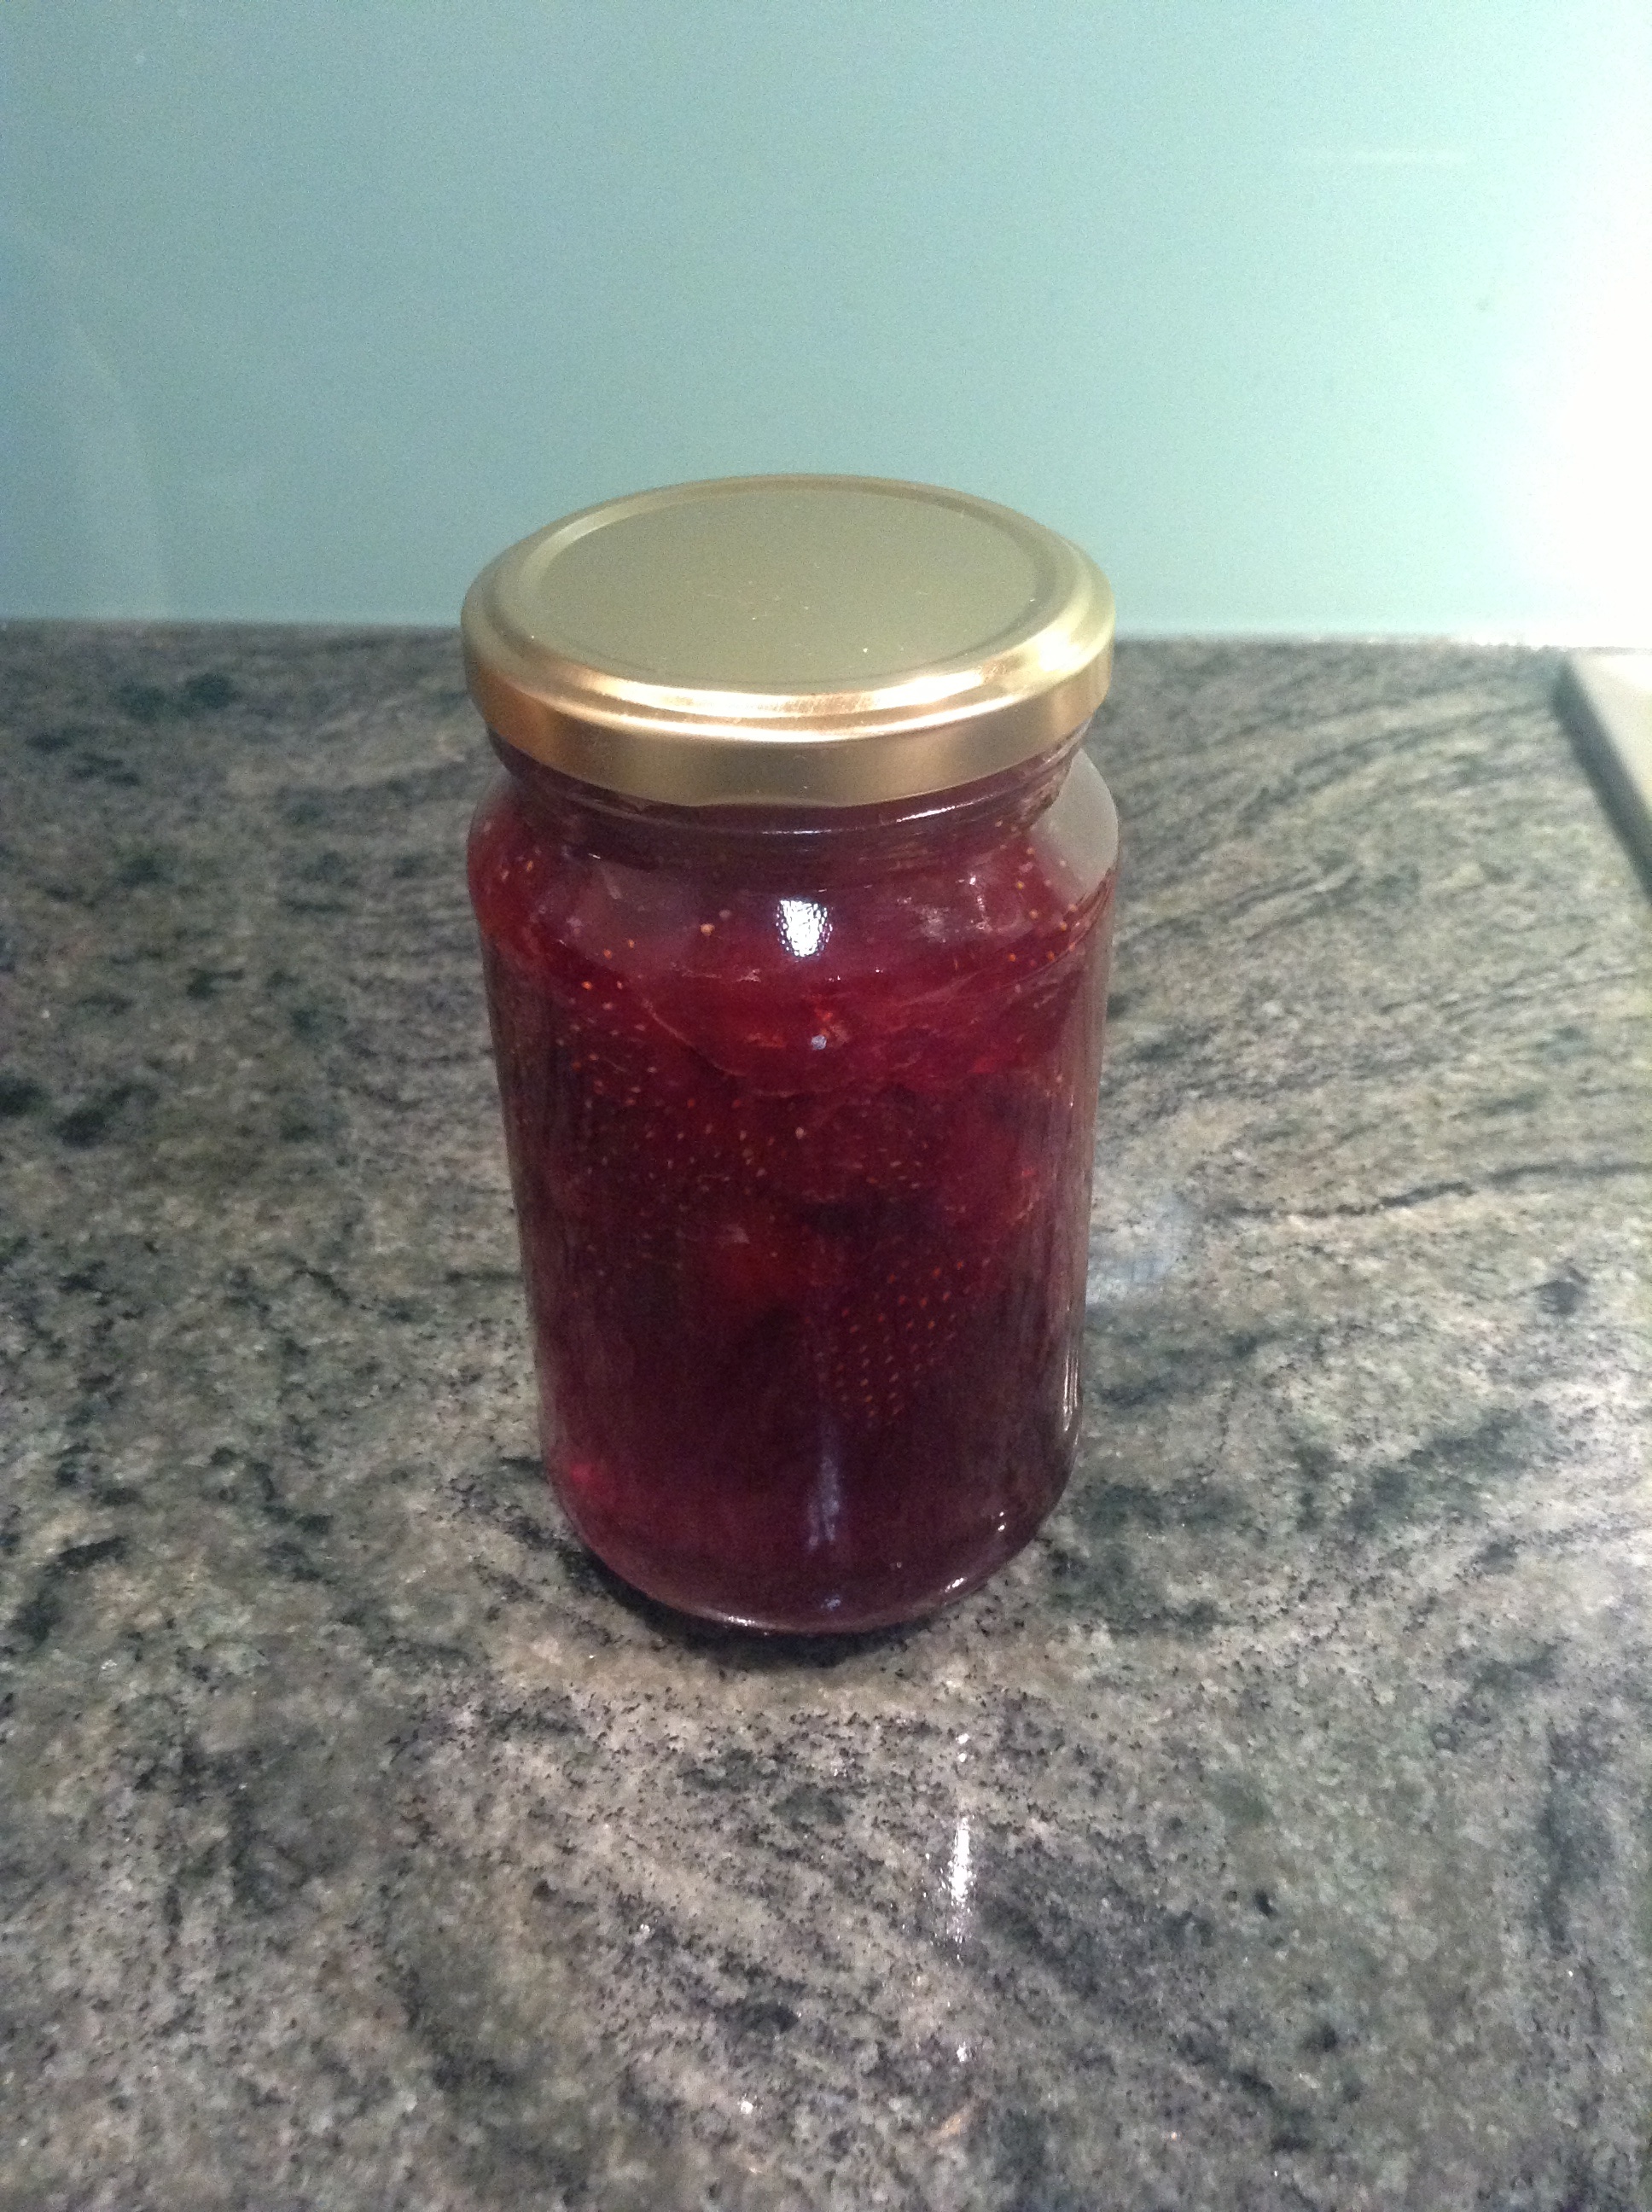
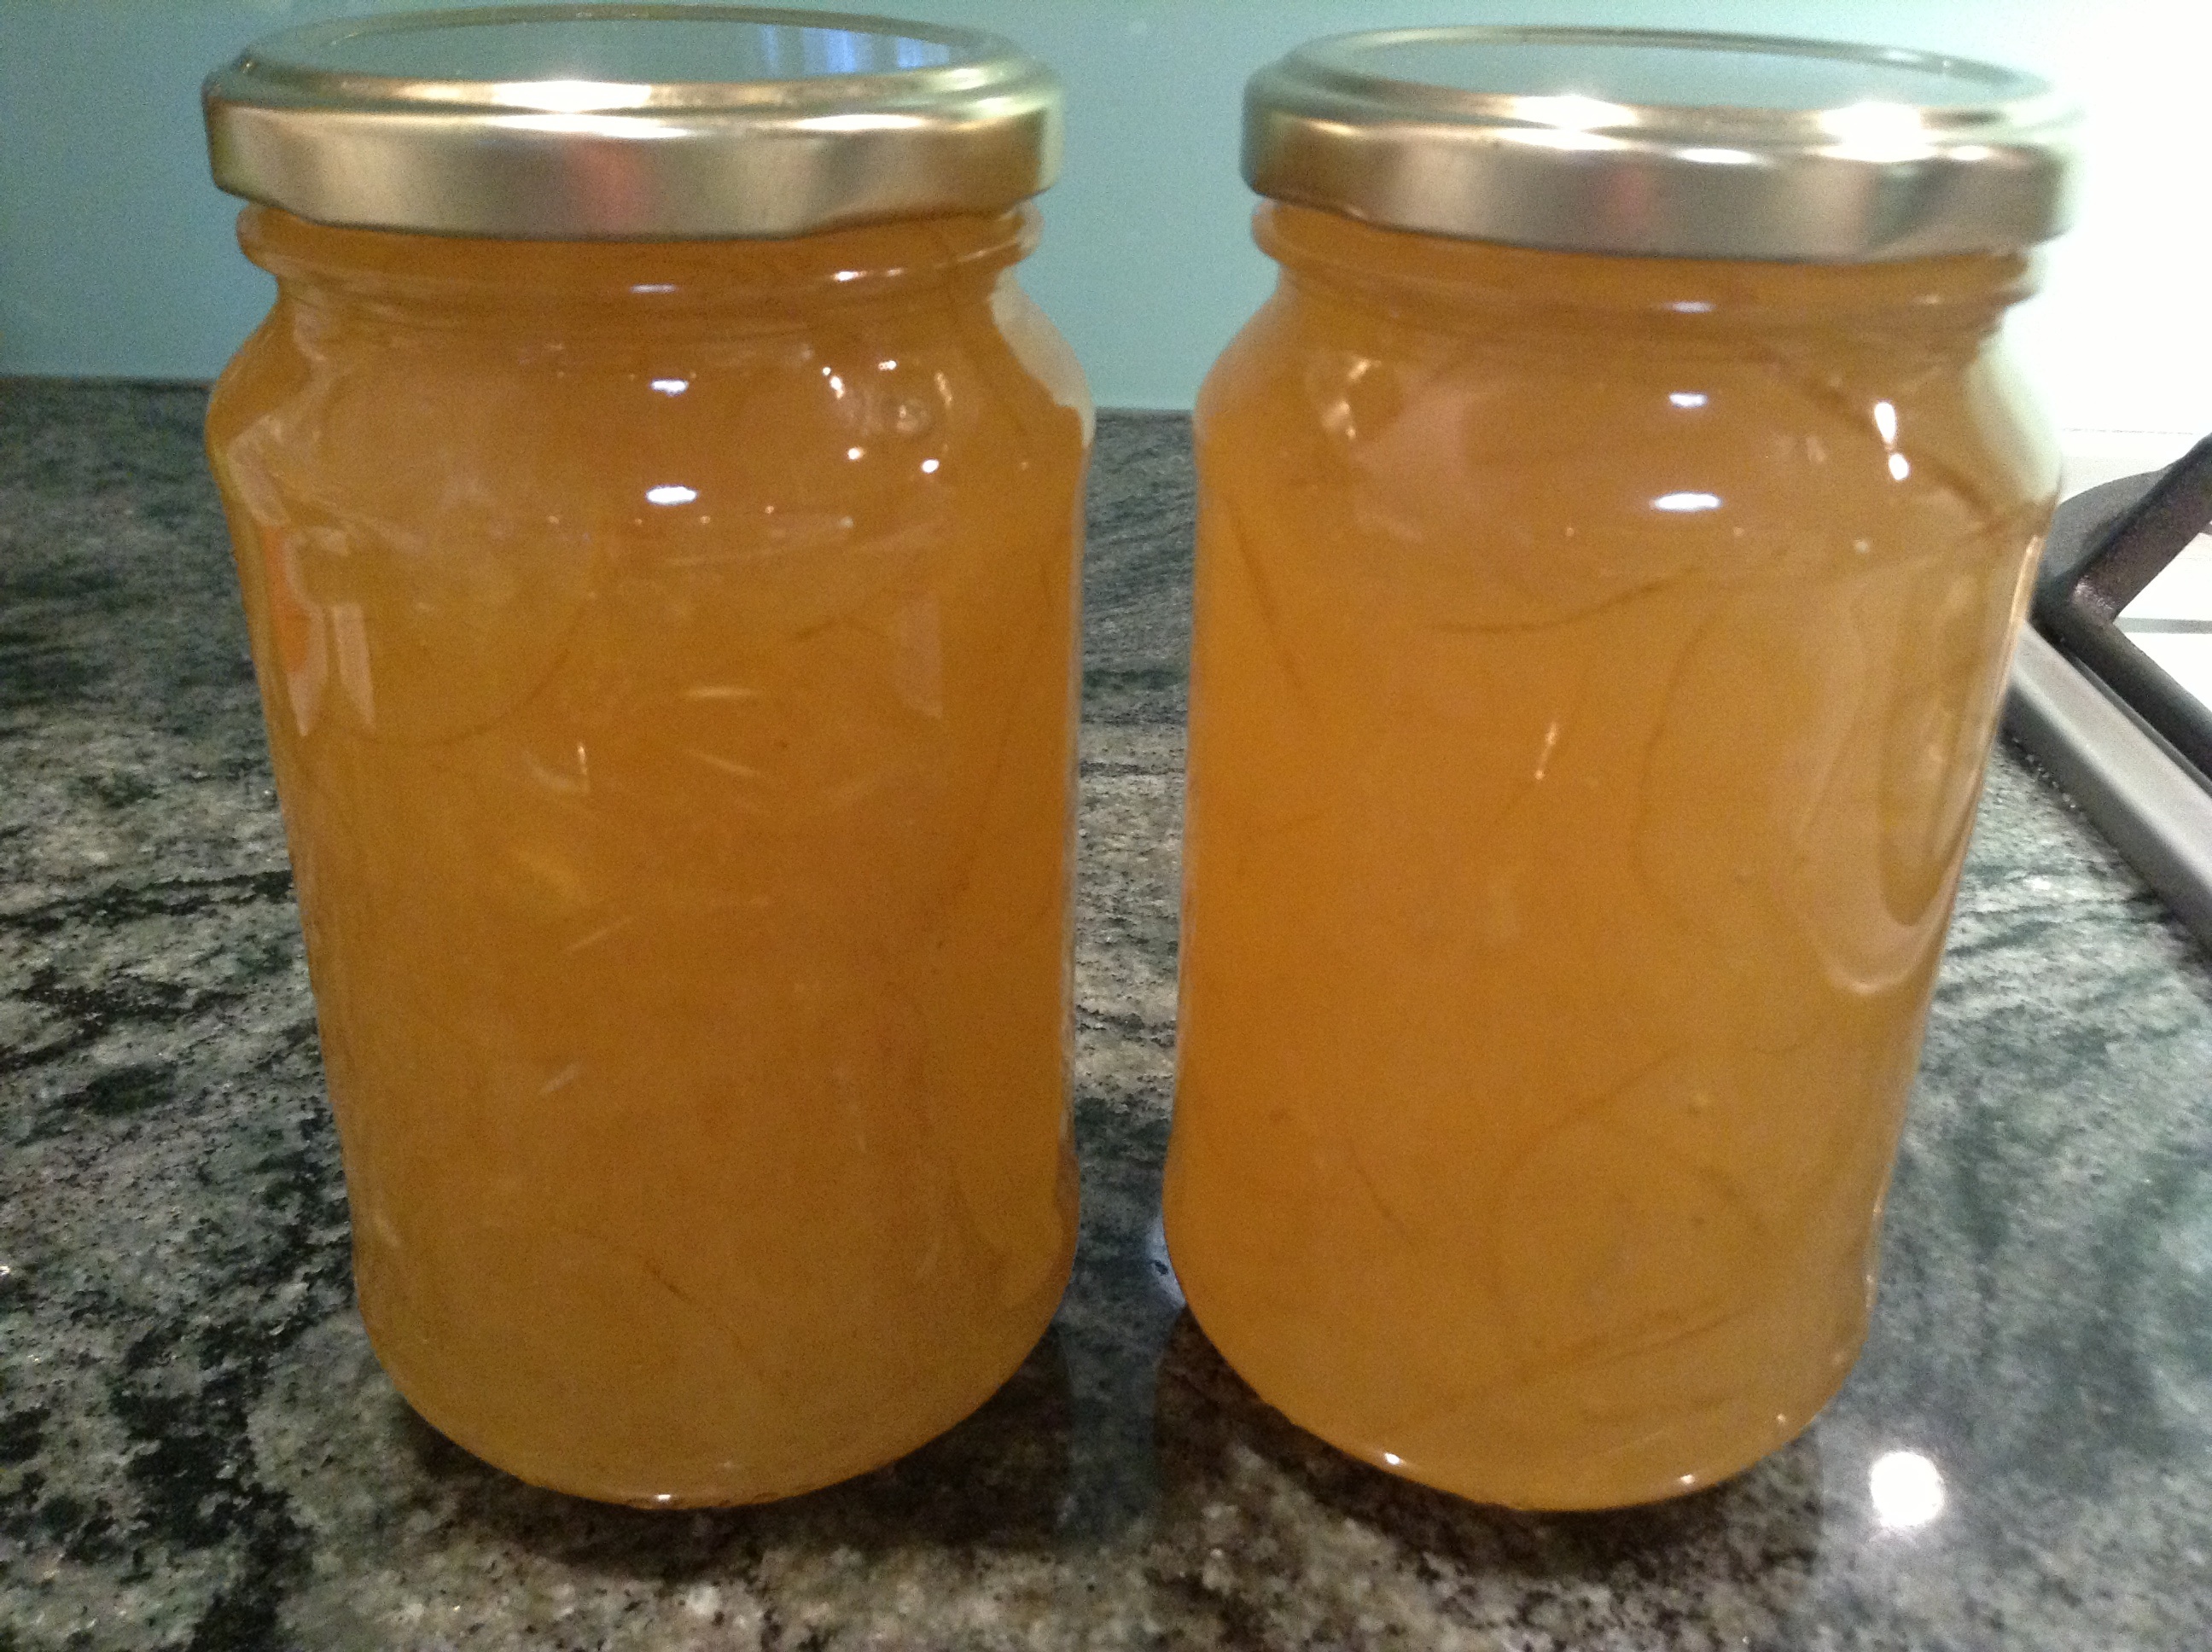
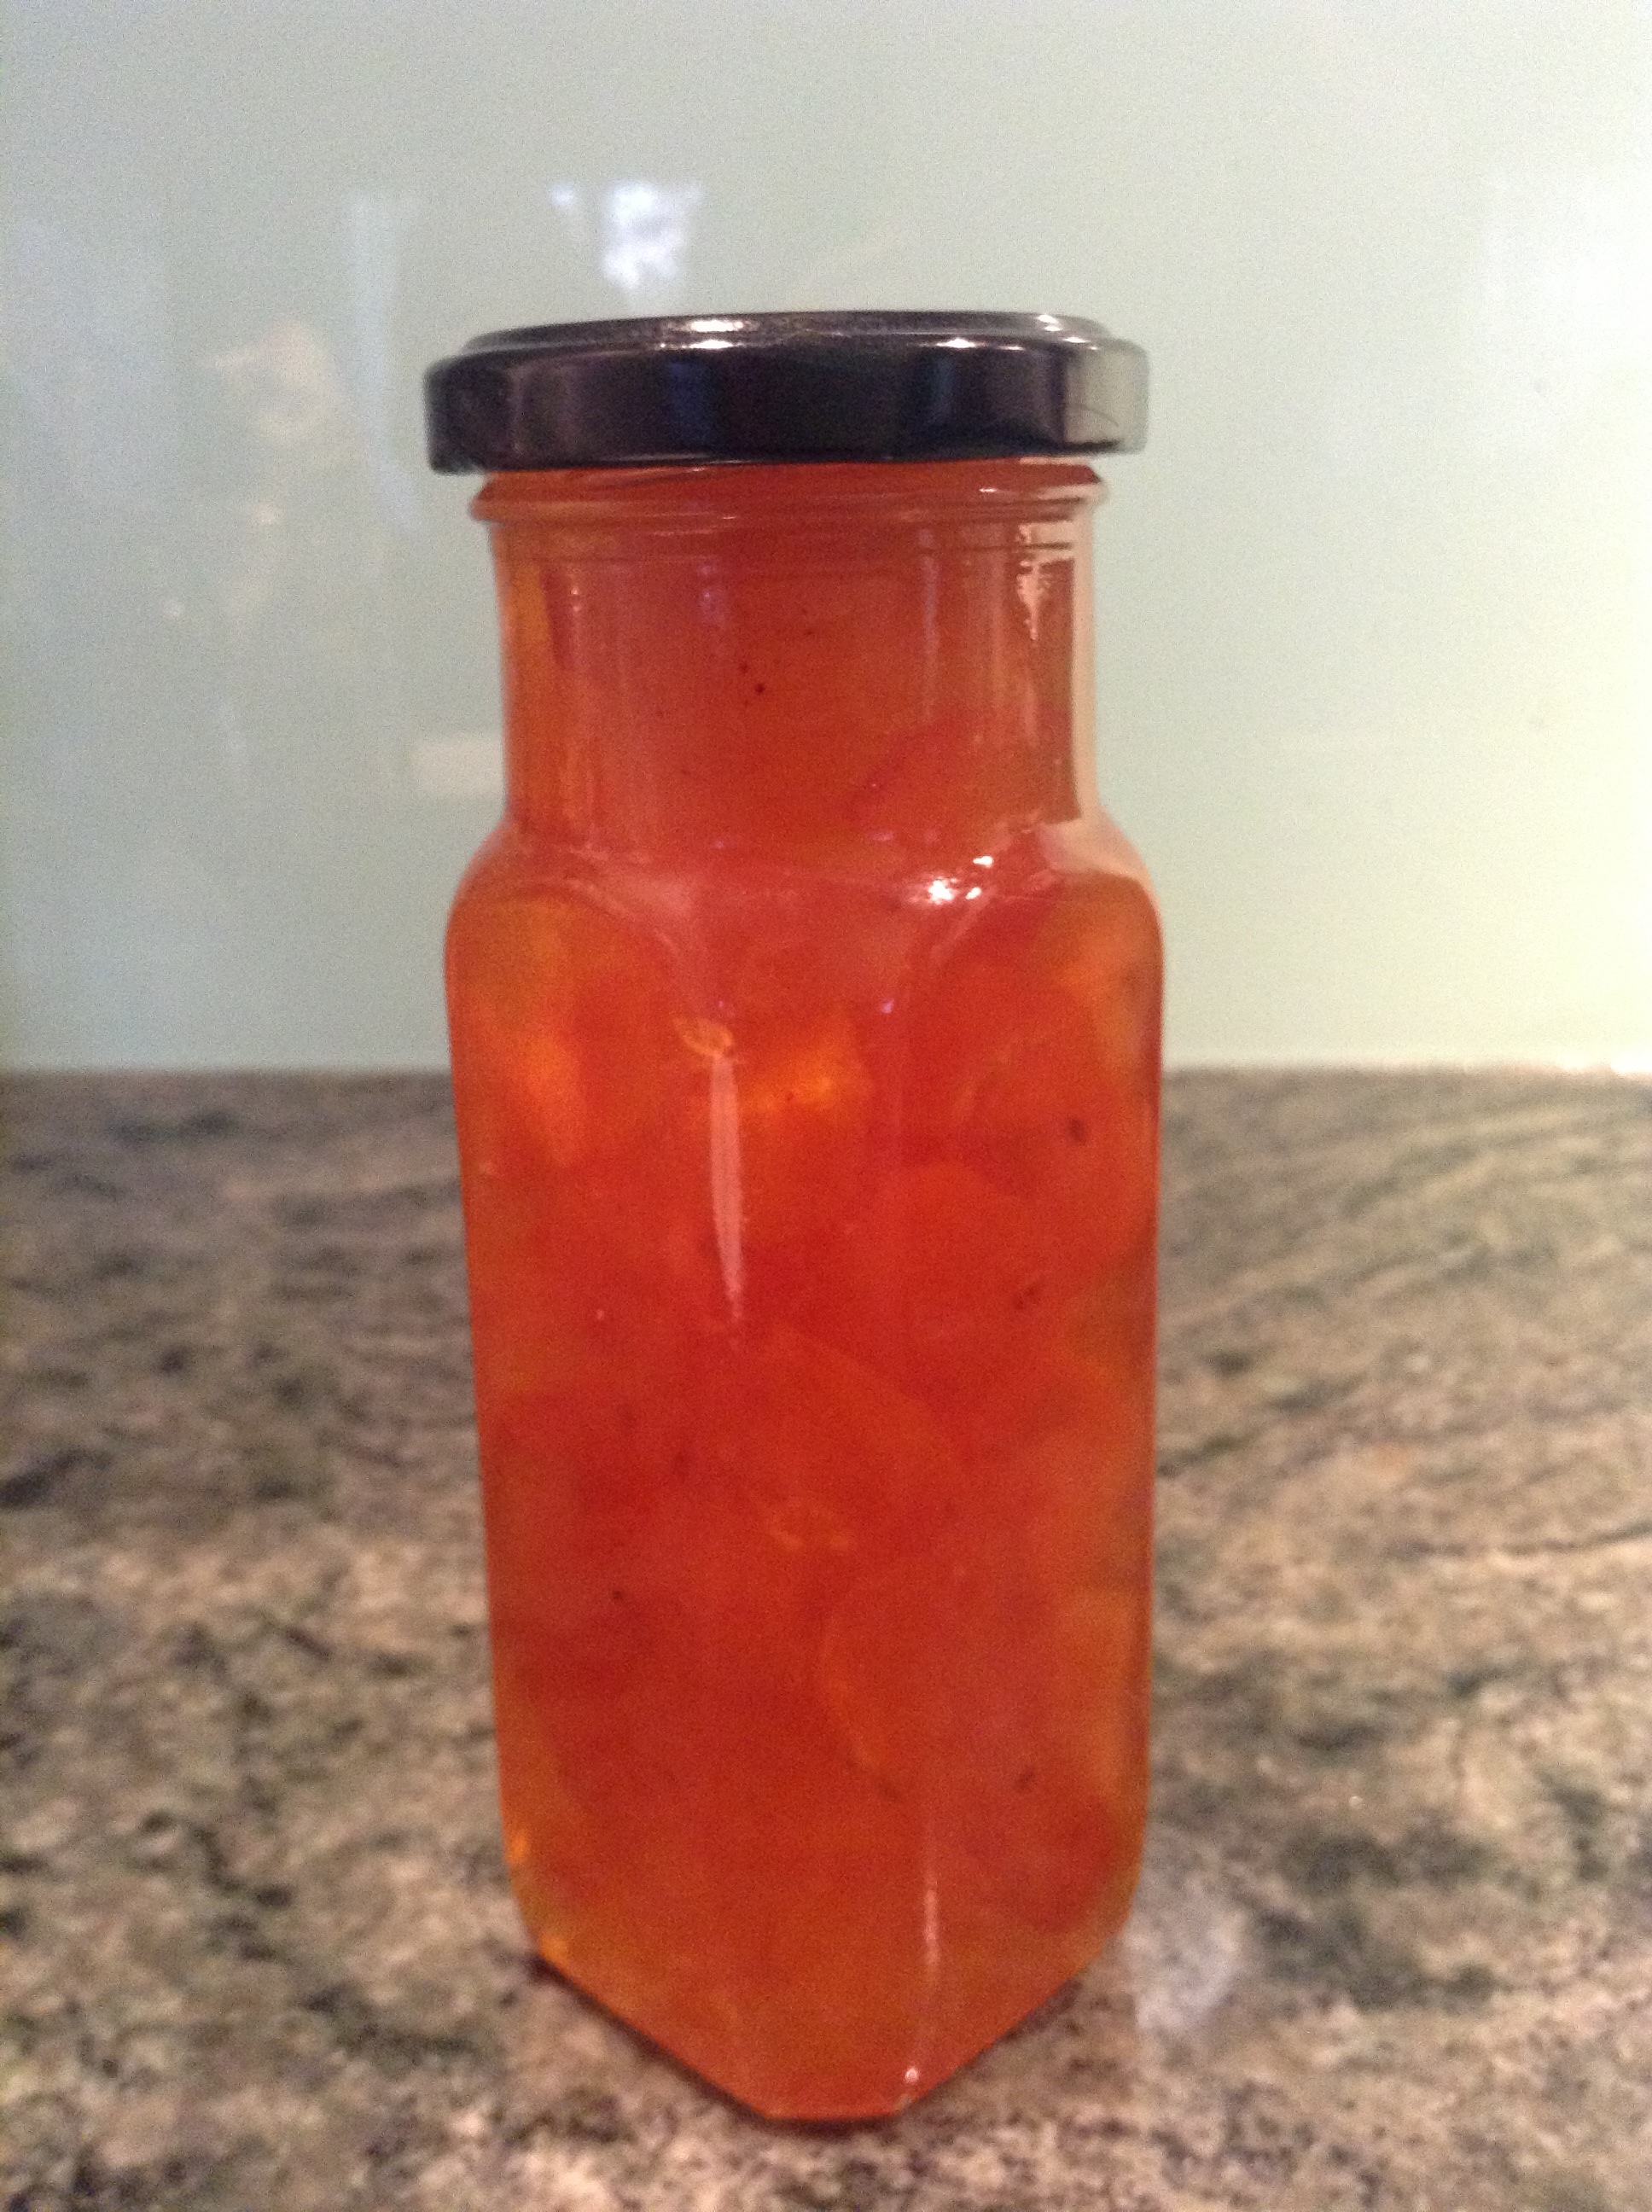
Pour into heated, sterilised bottles (after sterilisation, heat for 15- 20 minutes in the oven at 150 degrees), then lid immediately.

image

image

No Show Society can exist without commercial sponsors, and the Brookfield Show Cookery section is no exception. Each year we have some wonderful sponsors, and our most long standing is renowned local butcher James’ Connoisseur Meats. We have lost count of how long this business have faithfully supported us, but 20 years would be about right!

James and his wonderful team have such high quality meat that customers come from far and wide. But he doesn’t just sell meat, as “the butcher that cooks”, he also produces a mouthwatering and very popular range of pies, curries and other prepared meals. The pies are all fantastic, but the chicken pies are to die for, and recently won a major pie competition (no surprise to me!). They also stock a wide range of other gourmet products, including Maggie Beer.

image

Please support our wonderful sponsors, I certainly do!

image

image

Anzac biscuits are an Australian and New Zealand Anzac Day tradition. There are as many recipes around as there are stories as to the origins of the biscuits. Legend says that they were made to send to the troops in World War I serving in Europe, but it seems that the original biscuit, or tiles, as they were called, were much harder and long lasting with more basic ingredients. Interestingly, the name “Anzac” is protected in Australia with an exemption for the biscuits, provided they stay true to the original recipe. Although rolled oats, sugar, coconut, flour, butter and golden syrup and bicarbonate of soda are now key ingredients (never eggs), coconut was not included in the original tile recipe, available on the Australian War Memorial website. There are a lot of recipe variations available, but they should still contain the traditional ingredients, not macadamias, ginger, chocolate, and all manner of other things. Some recipes use less sugar than this, but I checked this against the recipe published by the Australian War Memorial, which also uses one cup of sugar, but amend to your own taste.

This recipe made 27 generous sized biscuits, in three batches. It’s quick and easy and a great one for the kids to make on this special day.

Ingredients

1 cup rolled oats
1 cup plain flour
1 cup sugar
1/2 cup dessicated coconut
pinch salt
125 grams butter
2 tablespoons golden syrup
1 tablespoon water
1/2 teaspoon bicarbonate of soda

Method

Preheat oven to 180 degrees. Mix together in a bowl the first five dry ingredients. Melt the butter, golden syrup and water in a saucepan or microwave, then add the bicarb soda and mix well, which will bubble up. Add this to the dry ingredients and mix with a wooden spoon.

Anzac biscuit mix

Roll into small balls and put on a baking tray, flattening the balls with a fork.

image

Bake for 12-15 minutes in moderate oven (180 degrees), checking after 12 minutes. When golden brown, remove from oven and allow to sit for a few minutes, then slide onto a cooling tray. The easiest way to do this if the biscuits are still hot is to slide them off the baking tray still on the baking paper. As they cool, they will crisp up and harden.

image

Show cooking hints

Ensure you sift the flour and bicarb soda (not together!) before adding to their respective mixes. Check that the balls are the same size, and put fewer on the baking tray so that they don’t touch during cooking. The judges will be looking for a medium sized biscuit (not too big or small), evenly cooked, with a great flavour. Crispness of the biscuits is an important characteristic, so ensure that they are flat enough to crisp up as they cool.

Brother Howard judging the preserves section, Brookfield Show

Brother Howard judging the preserves section, Brookfield Show

At every Show we get a lot of questions about the judging process in the Cookery. So here are some commonly asked questions including myths and misconceptions, and the answers you have been seeking!

Do the judges taste everything?

It is a persistent urban myth that the judges don’t taste all of the entries, and I get asked about this many times a year. In fact, the judges taste each and every entry, unless there is some reason not to, for example, there was mould present in the jam when opened (which happens occasionally). In fact once when we opened the lid on a preserve for judging, a cockroach flew out, but that’s another story!

With the preserves, the judge takes a small amount with a spoon from the side of the jar. With the cakes, unless the cake is in the decorated cakes section (these are judged on appearance only), the cake is cut in half, and a small wedge cut off one side, including the icing (if any). With biscuits, slices, small cakes and the like, the judge takes a small piece off one item for tasting.

What are the judges looking for?

The judge looks for colour, texture, uniformity (with small cakes or slices), and a great flavour which is appropriate to the item being judged. With cakes, the texture should be even throughout with no or very few trapped air bubbles or under or overcooking evident. If for example it is an orange cake section, the judge will be looking for a strong orange flavour, and good mouthfeel. A cake should be moist, but not overly so, and how moist will depend on the variety. The judge will be able to tell straight away that it has been properly cooked, and that quality ingredients have been used.

With preserves, the judge is again looking for flavour and texture. A proper set is important for jams, marmalades and jellies, but sometimes great flavour can overcome a preserve which may not be perfectly set. Ideally jellies and marmalades should be perfectly clear and glistening. Chutneys and relishes should be perfectly cooked, reflect their variety, and be of the appropriate texture so that they can be easily spooned out and are not too runny. Any overcooked preserves will be rejected by the judges, who can tell straight away by appearance and taste. The judge can also tell straight away (by taste and texture) if you have used an artificial jam setting product, and this is frowned up in Show work.

Is judging anonymous?

Absolutely! The judge never knows whose entry they have in front of them, as all judging is done anonymously.

Why do the same people win prizes year after year?

This does happen (but not as often as you think), and is not because the judge knows who entered the exhibit. The same people win prizes because they are very experienced, and know what the judges are looking for. You can get the same results by entering, learning from your mistakes, and knowing how to win prizes. This can be a lot quicker than you think!